Querying MongoDB with Prisma and Railway
Learn how to deploy and host a MongoDB database with Railway and query data by connecting to the database with Prisma Client
All of this project's code can be found in the First Look monorepo on my GitHub.
Introduction
In this guide we will deploy a MongoDB database with Railway, add seed data to the database, connect to the database through a connection string, and create a Node script to query that seed data with Prisma Client.
Create Prisma Project
Create a blank new project and initialize a package.json.
mkdir railway-prisma-mongodb
cd railway-prisma-mongodb
yarn init -y
Install the prisma dependencies.
yarn add @prisma/client
yarn add -D prisma
Set type to module in package.json.
{
"name": "railway-prisma-mongodb",
"version": "1.0.0",
"main": "index.js",
"license": "MIT",
"dependencies": {
"@prisma/client": "^3.10.0"
},
"devDependencies": {
"prisma": "^3.10.0"
},
"type": "module"
}
Initialize Prisma Schema
prisma init scaffolds a basic Prisma project.
yarn prisma init
The only other necessary file is index.js. This is used for running test commands against our database with the Prisma Client.
touch index.js
Our project now has the following structure:
/
├── prisma
│ └── schema.prisma
├── .env
├── .gitignore
├── index.js
└── package.json
Prisma Schema
Define a Post model by adding the following to the schema.prisma file.
datasource db {
provider = "mongodb"
url = env("DATABASE_URL")
}
generator client {
provider = "prisma-client-js"
previewFeatures = ["mongoDb"]
}
model Post {
id String @id @default(auto()) @map("_id") @db.ObjectId
slug String @unique
title String
body String
}
previewFeatures must be set to mongoDb in the client generator to enable MongoDB support.
Provision a MongoDB Database with Railway
There are two ways to setup a MongoDB database with Railway, through the dashboard or through the CLI.
Railway Dashboard
To use the dashboard, click dev.new and choose "Provision MongoDB."
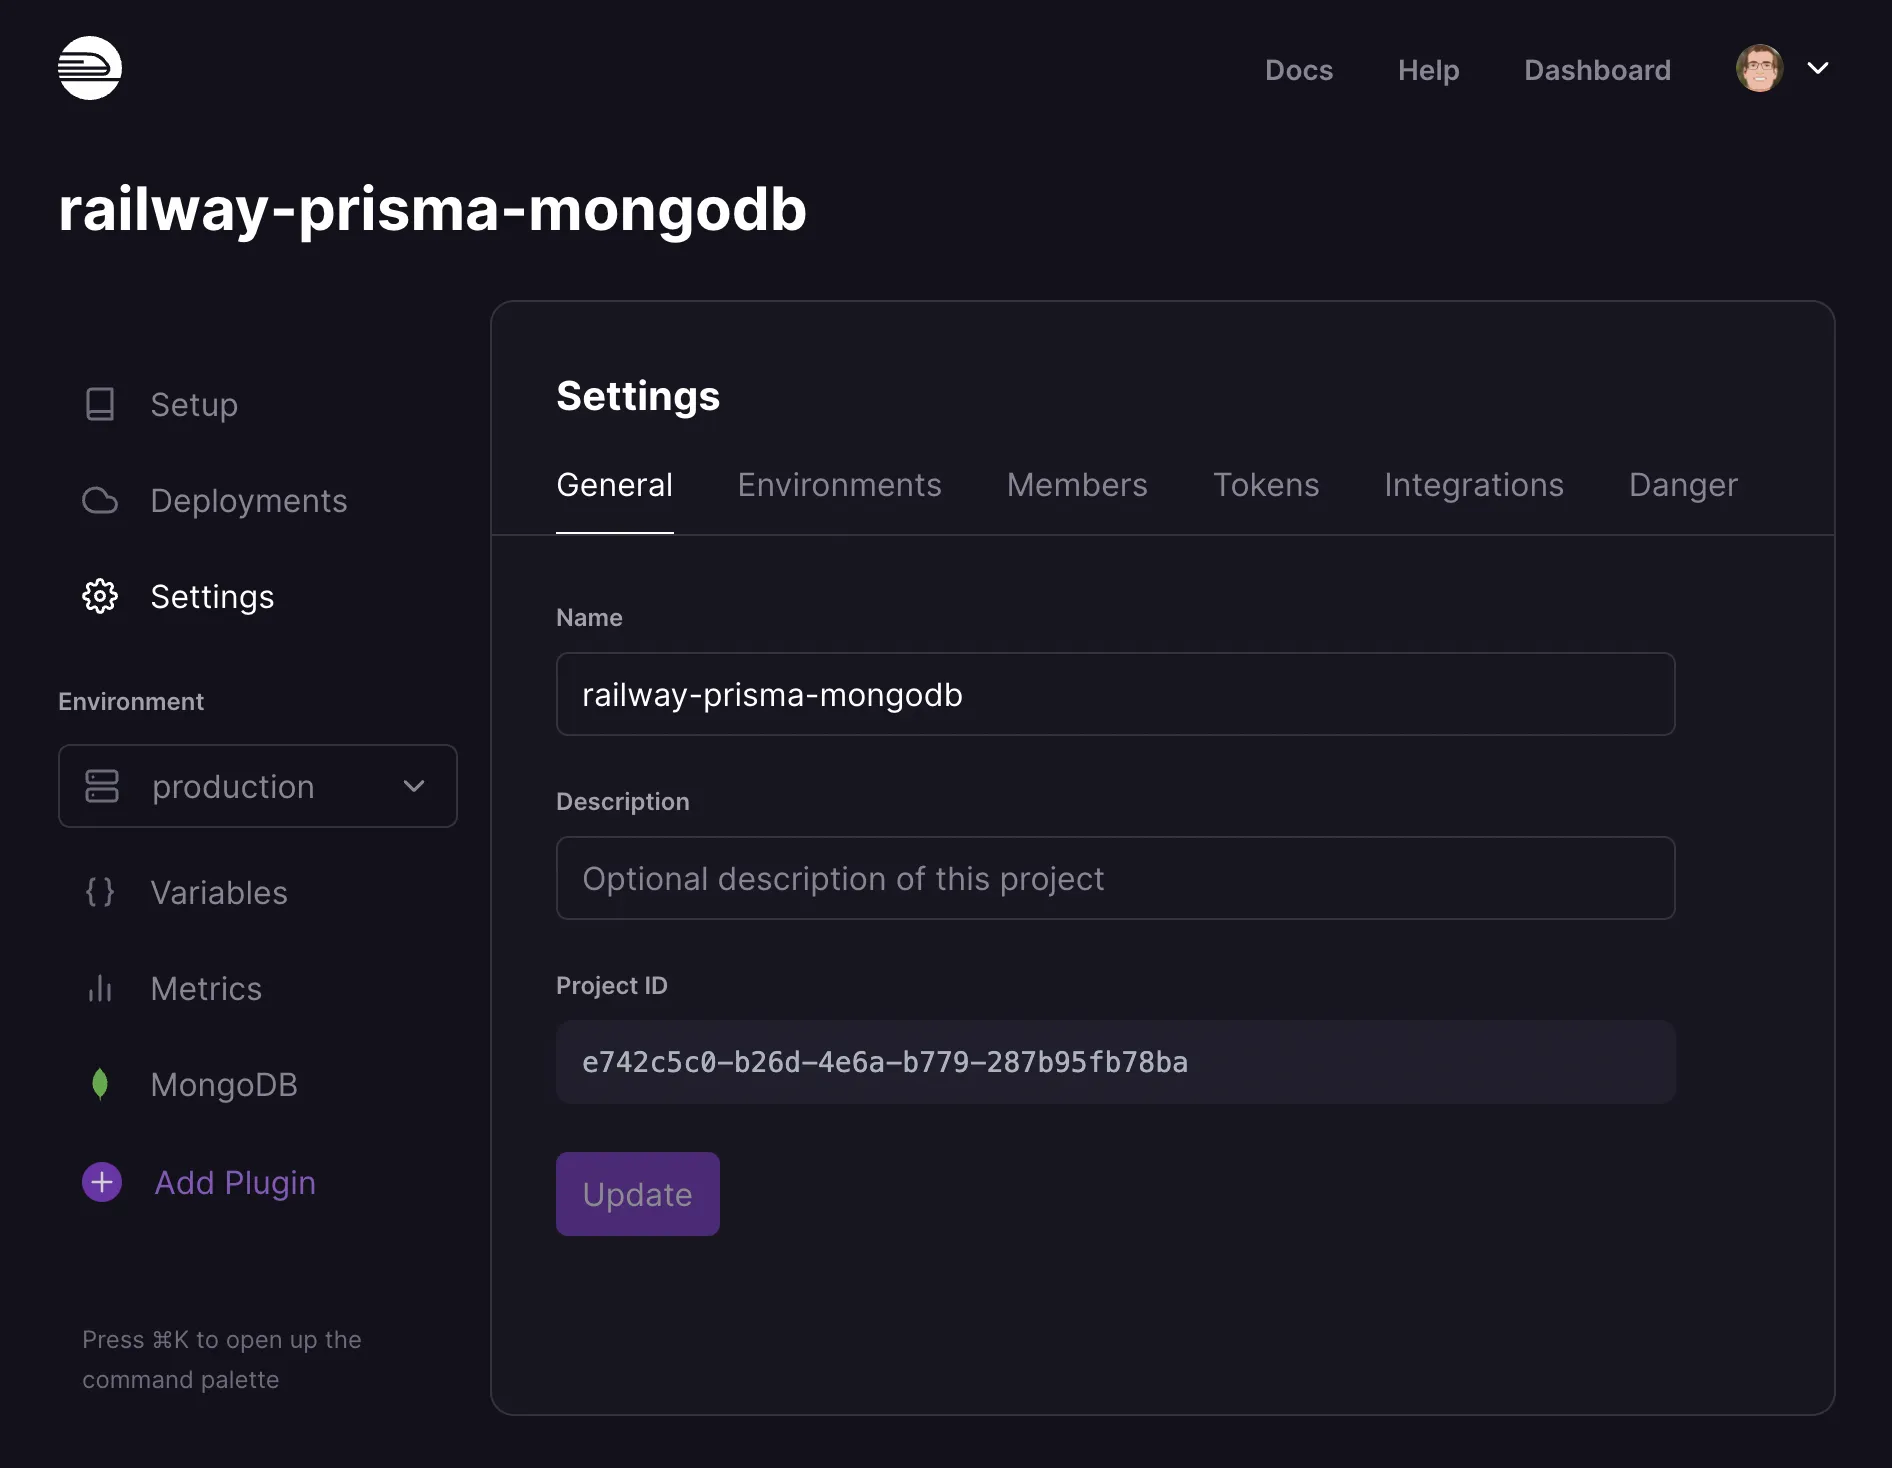
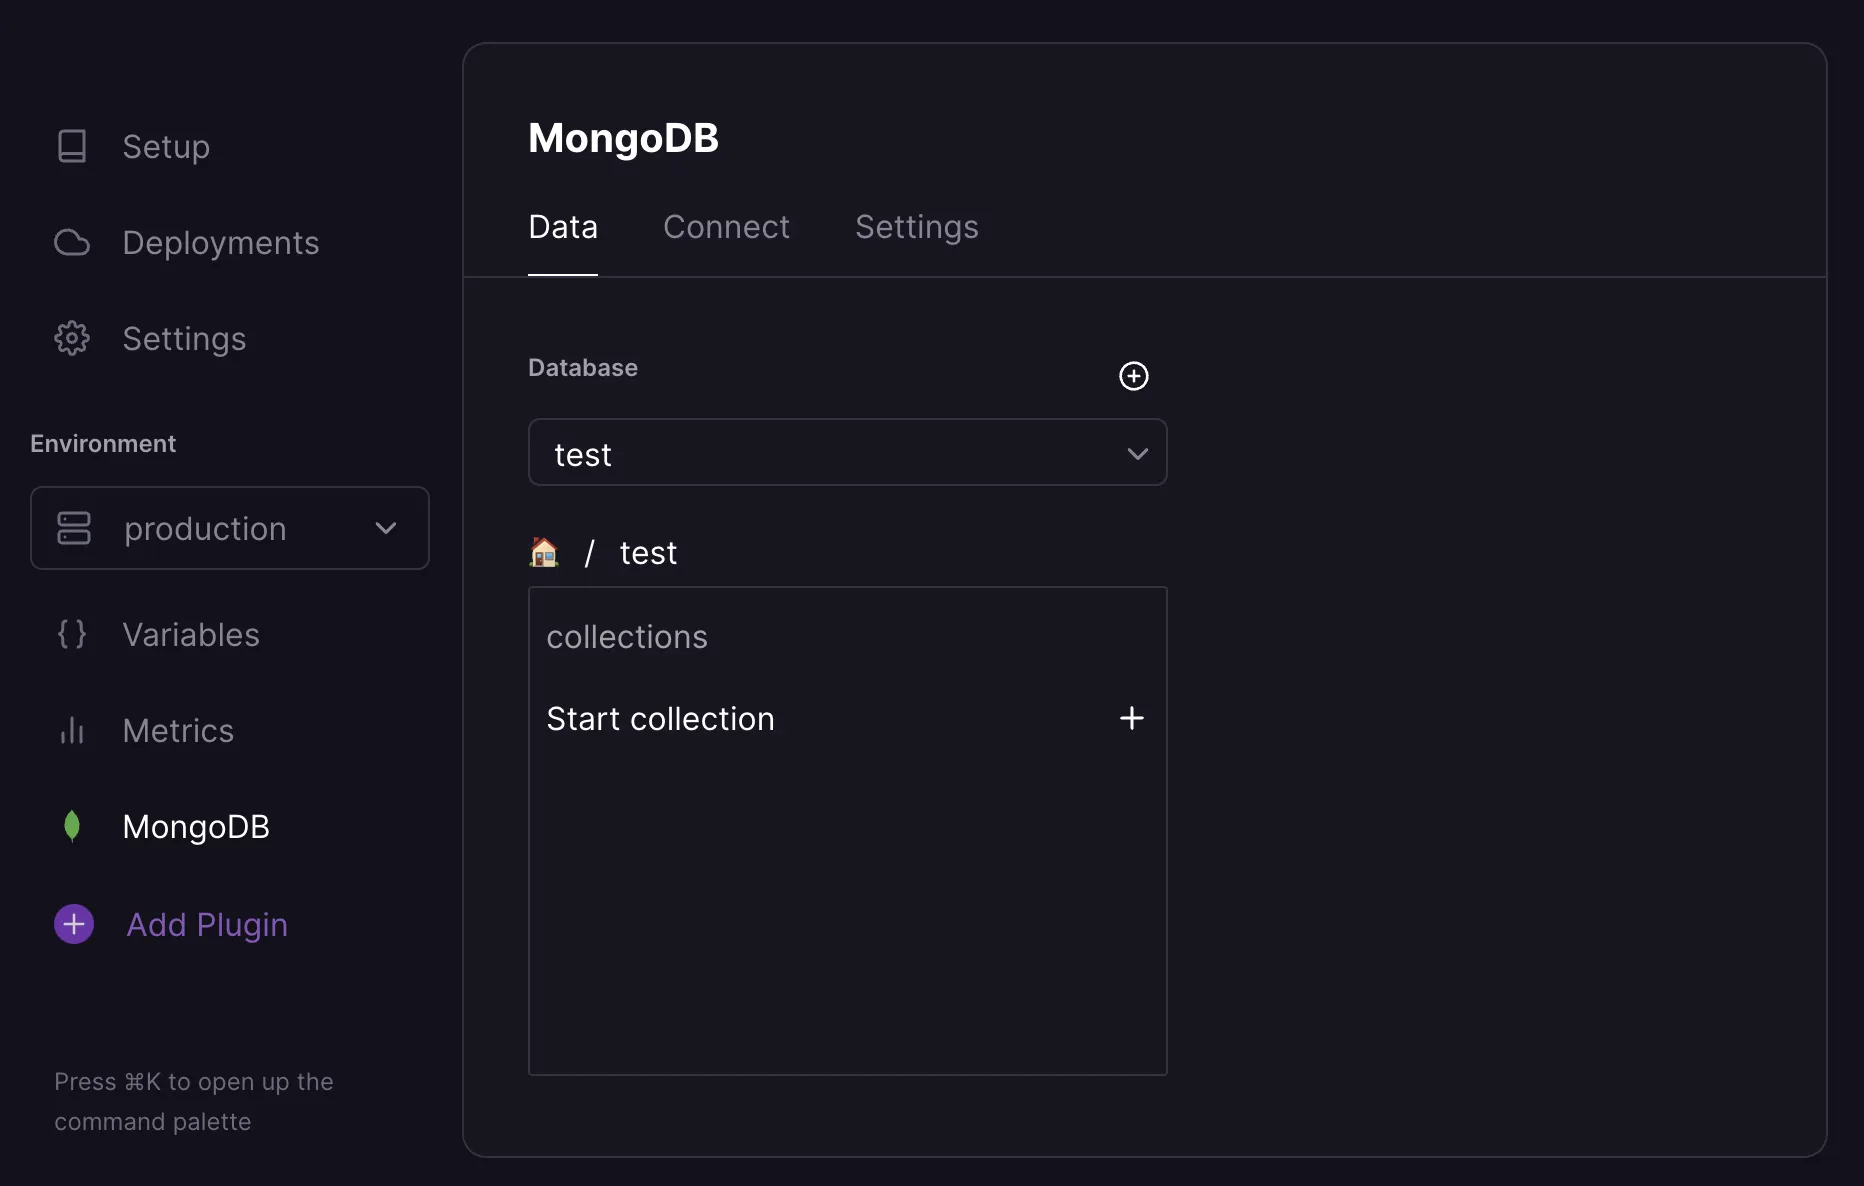
After the database is setup click "MongoDB" on the left to see the default test database that is autogenerated.
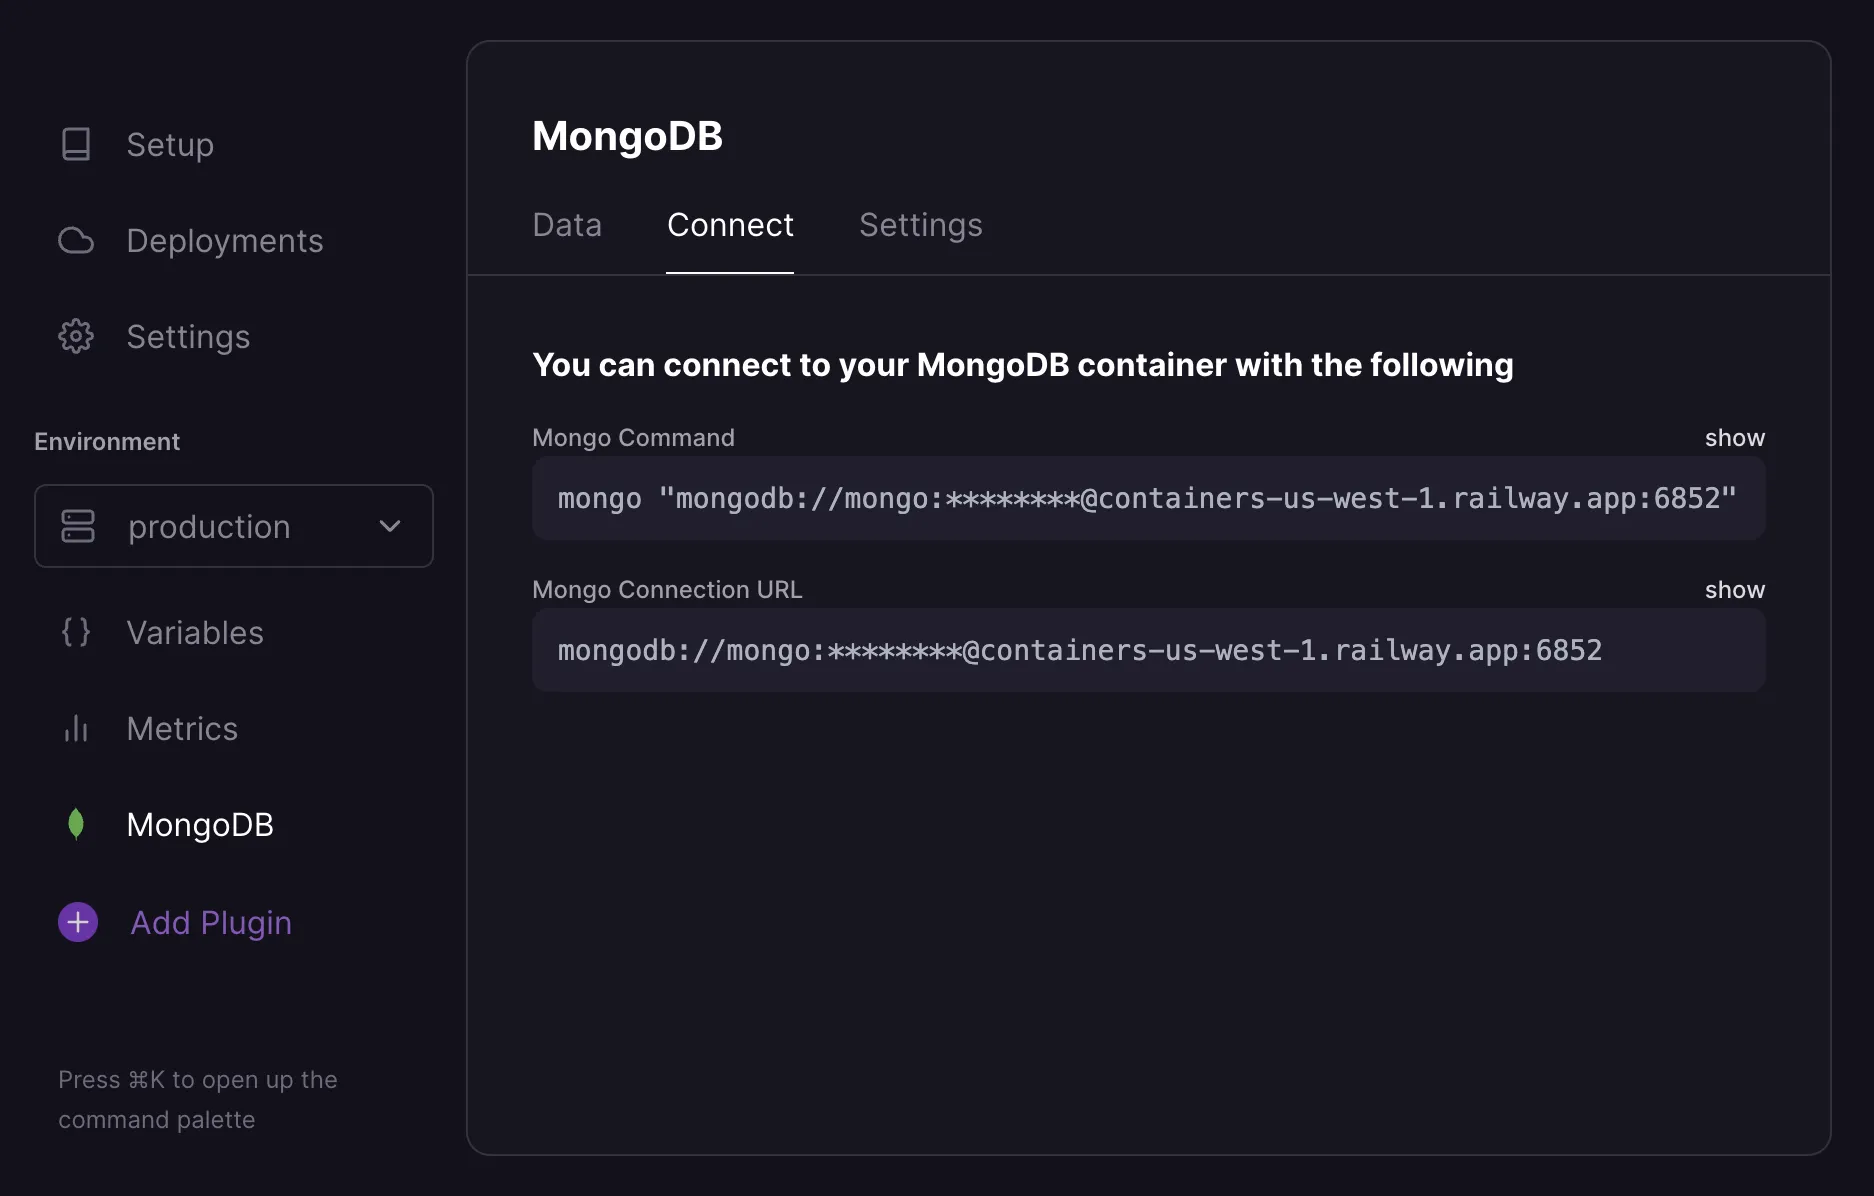
Choose "Connect" to find your connection string.
Railway CLI
If you want to use the Railway CLI instead of the dashboard, first you need to install it. To verify that you successfully installed the CLI, run the following command to check the CLI version.
railway version
Run railway login to authenticate your Railway account. If you do not have a Railway account you will be prompted to create one.
railway login
railway init initializes a project and asks if you want to start with an empty project or a starter template. Select “Empty Project” and give your project a name.
railway init
Run railway add and select MongoDB to add the MongoDB plugin to your Railway project.
railway add
Connect Railway Database to Prisma Project
Return to the Railway dashboard to find your connection string.
Set Environment Variable
Inside your .env file include DATABASE_URL and set the variable to the connection string provided by Railway. Specify the database name and authentication source at the end of the connection string by adding /test?authSource=admin after the port number.
DATABASE_URL="mongodb://mongo:<PASSWORD>@containers-us-west-1.railway.app:6852/test?authSource=admin"
Sync the schema with the database by using prisma db push.
yarn prisma db push
Seed Database
You can also connect to the database directly with the mongosh command.
mongosh "mongodb://mongo:<PASSWORD>@containers-us-west-1.railway.app:6852"
The database can be seeded from the Railway dashboard or through mongosh with the following seed command.
db.Post.insertOne(
{
slug: "first-post-slug",
title: "First Post Title",
body: "First post body."
}
)
Check the data tab in the Railway dashboard to see the data.
Generate Prisma Client
Generate the Prisma Client with the prisma generate command.
yarn prisma generate
Create a Script to Query the Database
Add the following script to index.js to test that we can read data from our database. This function runs the findMany query on our post collection and returns all posts in the collection.
// index.js
import pkg from '@prisma/client'
const { PrismaClient } = pkg
const prisma = new PrismaClient()
async function main() {
await prisma.$connect()
const posts = await prisma.post.findMany()
console.dir(posts, { depth: Infinity })
}
main()
.catch(console.error)
.finally(() => prisma.$disconnect())
Run the Script
Run node index.js to execute the main function.
node index.js
If you followed along correctly you should get the following output:
[
{
id: '61f369df79160504b0ee41d9',
slug: 'first-post-slug',
title: 'First Post Title',
body: 'First post body.'
}
]