
A First Look at Astro
Astro is a web framework that supports the Islands Architecture and includes integrations for React, Svelte, Vue, Solid, and many more
All of this project's code can be found in the First Look monorepo on my GitHub.
Introduction
Astro is an open source web framework influenced by the Islands Architecture. It was created by Fred K. Schott, Matthew Phillips, Nate Moore, and Drew Powers as an outgrowth of the work being done simultaneously on Snowpack and Skypack.
It supports a variety of UI integrations including React, Svelte, Vue, Solid, and many more. The framework deserves a fair amount of credit for bringing partial hydration and the concept of "Islands of Interactivity" to the mainstream web development conversation.
Partial Hydration
I have an entirely separate, lengthy article about this, but here's the summary. The conversation had been present but on the fringes for well over a decade. The first framework that fully supported these techniques, Marko, was created in 2014 but remained the odd duck out until around 2019.
However, in the last 2 years there has been an influx of frameworks drawing on similar motivations and prior art including Slinkity, Elder.js, îles, and Qwik. Fred K. Schott describes the architecture and goals of Astro in Introducing Astro: Ship Less JavaScript (June 8, 2021):
Astro works a lot like a static site generator. If you have ever used Eleventy, Hugo, or Jekyll (or even a server-side web framework like Rails, Laravel, or Django) then you should feel right at home with Astro.
In Astro, you compose your website using UI components from your favorite JavaScript web framework (React, Svelte, Vue, etc). Astro renders your entire site to static HTML during the build. The result is a fully static website with all JavaScript removed from the final page.
While there are plenty of frameworks based on React, Vue, and Svelte that let you render components to static HTML during build time, if you want to hydrate these projects on the client then you have to ship an entire bundle of dependencies along with the static HTML. Astro, on the other hand, includes the ability to load just a single component and its dependencies where that component is needed.
Client Directives
Astro includes five client:* directives to hydrate components on the client at runtime. A directive is a component attribute that tells Astro how your component should be rendered.
| Directive | Description |
|---|---|
<Component client:load /> |
Hydrates the component on page load. |
<Component client:idle /> |
Hydrates the component as soon as main thread is free. |
<Component client:visible /> |
Hydrates the component as soon as the element enters the viewport. |
<Component client:media={QUERY} /> |
Hydrates the component as soon as the browser matches the given media query. |
<Component client:only /> |
Hydrates the component at page load, similar to client:load. The component will be skipped at build time. |
Create Project
This tutorial will build up an Astro project from scratch instead of using any of the starter templates because I believe that is a better way to learn how a framework works, but the templates are really fantastic.
Start by creating a new directory for your project and initializing a package.json file.
mkdir ajcwebdev-astro
cd ajcwebdev-astro
npm init -y
Install Astro Dependency
Install the astro dependency and create .gitignore file.
npm i -D astro
echo 'node_modules\ndist\n.DS_Store' > .gitignore
mkdir src public
Add CLI Commands
Add the following scripts to package.json.
{
  "name": "ajcwebdev-astro",
  "version": "1.0.0",
  "main": "index.js",
  "license": "MIT",
  "devDependencies": {
    "astro": "^1.0.0-beta.28"
  },
  "scripts": {
    "dev": "astro dev",
    "start": "astro dev",
    "build": "astro build",
    "preview": "astro preview"
  }
}
All commands are run from the root of the project.
npm run devandnpm startboth start a local development server onlocalhost:4321.npm run buildbuilds a production site to./dist.npm run previewpreviews the build locally before deploying.
Create an Astro Page
Astro looks for .astro or .md files in the src/pages directory. Each page is exposed as a route based on its file name. Static assets such as images can be placed in the public directory.
mkdir src/pages
echo > src/pages/index.astro
Inside the src/pages directory we created an index.astro file.
---
// src/pages/index.astro
let title = 'ajcwebdev-astro'
---
<html lang="en">
<head>
<meta charset="UTF-8">
<meta name="viewport" content="width=device-width">
<title>{title}</title>
</head>
<body>
<main>
<header>
<div>
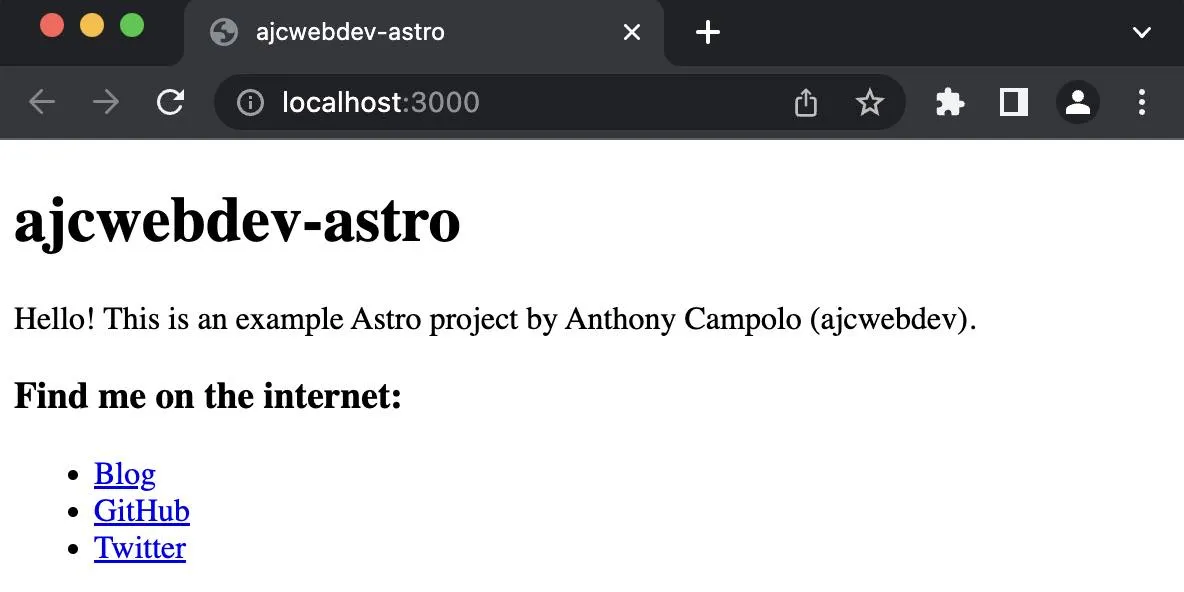
<h1>ajcwebdev-astro</h1>
</div>
<p>Hello! This is an example Astro project by Anthony Campolo (ajcwebdev).</p>
</header>
</main>
<footer>
<h3>Find me on the internet:</h3>
<ul>
<li><a href="https://ajcwebdev.com">Blog</a></li>
<li><a href="https://github.com/ajcwebdev">GitHub</a></li>
<li><a href="https://twitter.com/ajcwebdev">Twitter</a></li>
</ul>
</footer>
</body>
</html>
Start Development Server
npm run dev
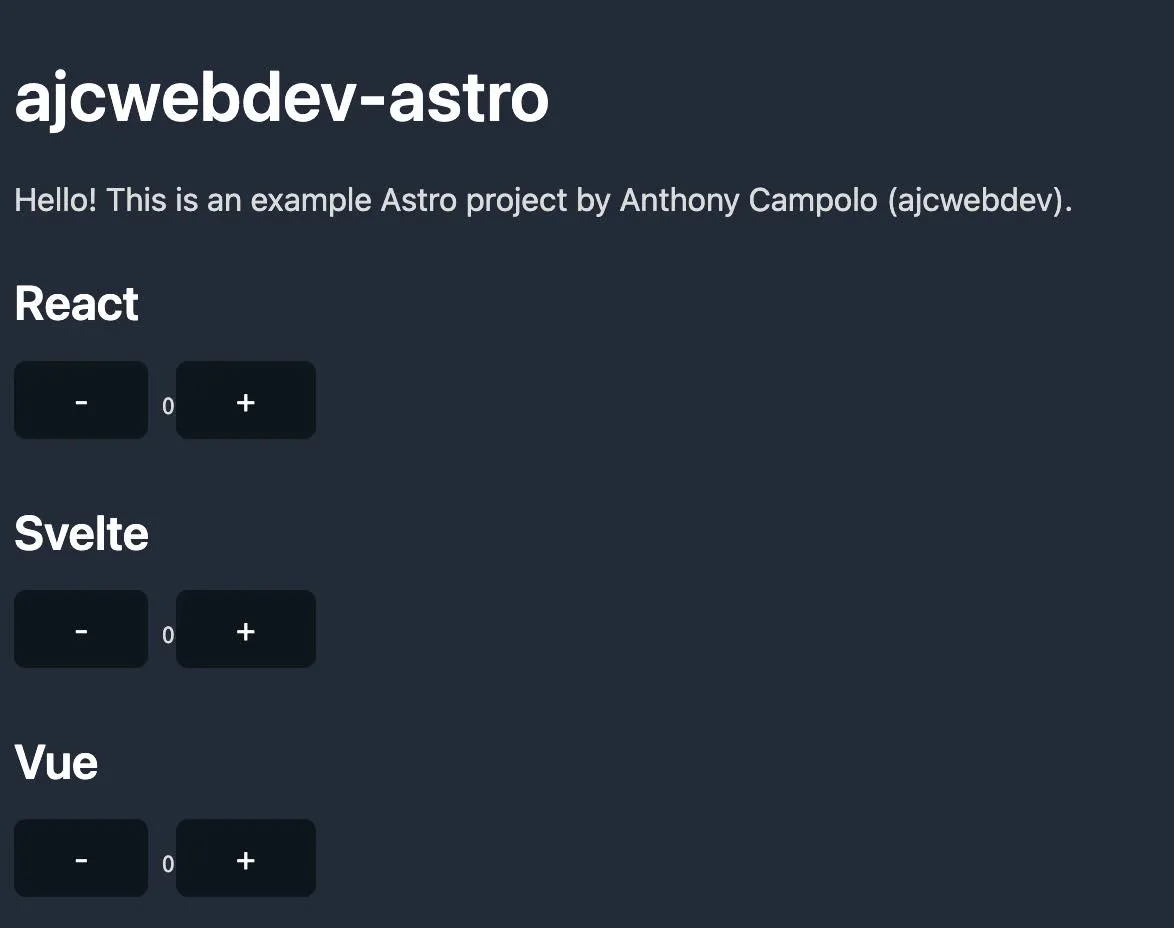
Open localhost:4321 to see the home page.
Add Styling
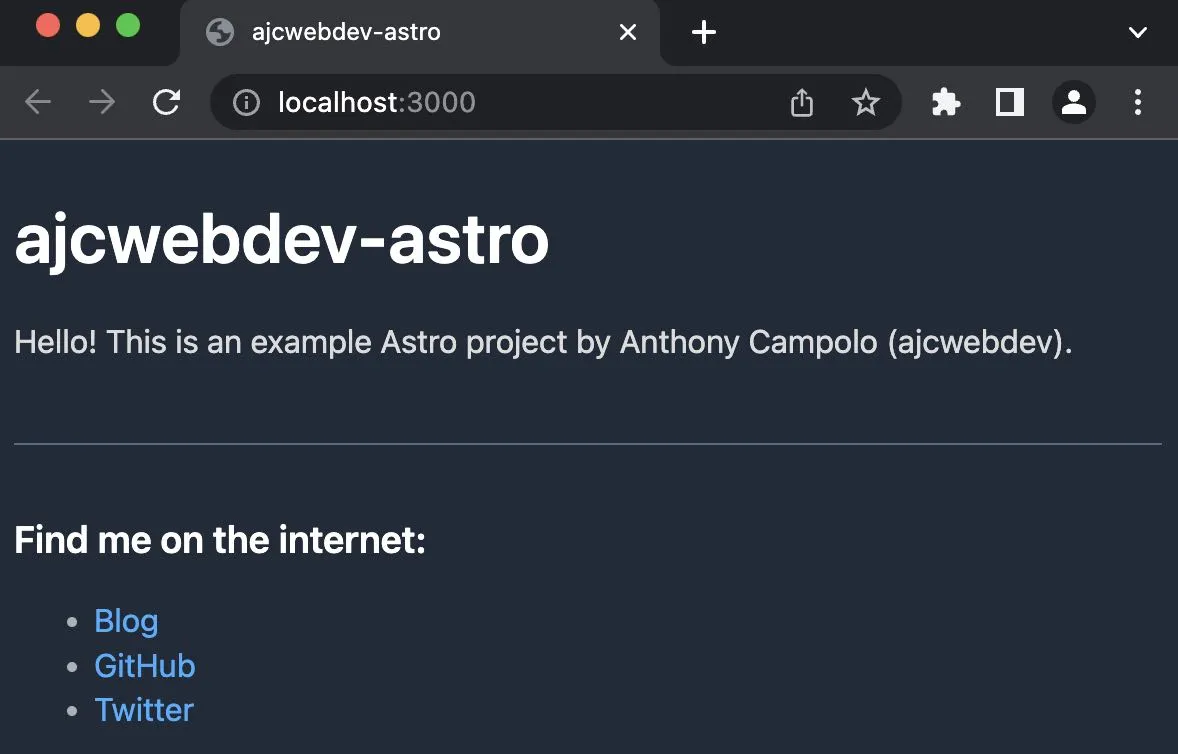
I'll include Water.css in the head of index.html for some nice looking CSS defaults.
<head>
  <meta charset="UTF-8">
  <meta name="viewport" content="width=device-width">
  <link rel="stylesheet" href="https://cdn.jsdelivr.net/npm/water.css@2/out/water.css">

  <title>{title}</title>
</head>
Create a Markdown Page
The next page example will use Markdown and render completely statically.
echo > src/pages/about.md
Write some Markdown in about.md.
<!-- src/pages/about.md -->

## About

### This is an h3 with Markdown

*Pretty* **cool**, ***right***?
Open localhost:4321/about to see the home page.
Add Components
We'll create a directory called components inside src to hold any Astro/React/Vue/Svelte/Preact components. Then we will create extra directories that will hold .astro, .jsx, and .svelte files for Markdown, React, and Svelte components respectively.
Create a React Component
To configure Astro, add an astro.config.mjs file and install the necessary React dependencies by running the following command:
npx astro add react
This installs @astrojs/react, react-dom@^18.0.0, and react@^18.0.0. It also adds the following code to astro.config.mjs to enable the React renderer and provide support for React JSX components.
// astro.config.mjs

import { defineConfig } from 'astro/config'
import react from "@astrojs/react"

export default defineConfig({
  integrations: [react()]
})
We'll create a react directory with a HelloReact.jsx component inside.
mkdir src/components/react
echo > src/components/react/HelloReact.jsx
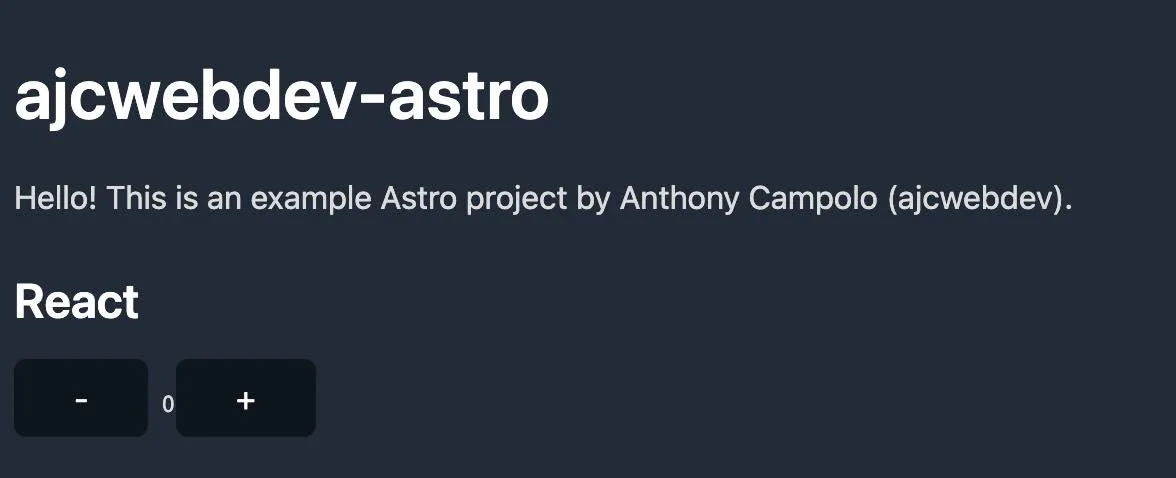
It's a React component so you're contractually obligated to make it a counter with useState that is triggered with an onClick event handler on a <button>.
// src/components/react/HelloReact.jsx

import { useState } from 'react'

export default function HelloReact({ children, count: initialCount }) {
  const [count, setCount] = useState(initialCount)

  const add = () => setCount((i) => i + 1)
  const subtract = () => setCount((i) => i - 1)

  return (
    <>
      <h2>{children}</h2>

      <div style={{display:'flex'}}>
        <button onClick={subtract}>-</button>
        <pre>{count}</pre>
        <button onClick={add}>+</button>
      </div>
    </>
  )
}
Importing the HelloReact component is much like the HelloMarkdown component. However, this time we're including someProps in the front matter to set the initial count to 0.
---
// src/pages/index.astro

import HelloMarkdown from '../components/markdown/HelloMarkdown.astro'
import HelloReact from '../components/react/HelloReact.jsx'

const someProps = {
  count: 0,
}

let title = 'ajcwebdev-astro'
---

<html lang="en">
  <head>...</head>
  <body>
    <main>
      <header>...</header>

      <HelloReact {...someProps} client:visible>
        React
      </HelloReact>
    </main>

    <section>
      <HelloMarkdown />
    </section>
    <footer>...</footer>
  </body>
</html>
We also include client:visible to hydrate the component as soon as the element enters the viewport.
Create a Svelte Component
Add svelte() to integrations in astro.config.mjs to enable the Svelte renderer and provide support for Svelte components.
npx astro add svelte
This also installs @astrojs/svelte and svelte@^3.46.4.
// astro.config.mjs

import { defineConfig } from 'astro/config'
import react from "@astrojs/react"
import svelte from "@astrojs/svelte"

export default defineConfig({
  integrations: [react(), svelte()]
})
As with React, create a svelte directory and HelloSvelte.svelte file.
mkdir src/components/svelte
echo > src/components/svelte/HelloSvelte.svelte
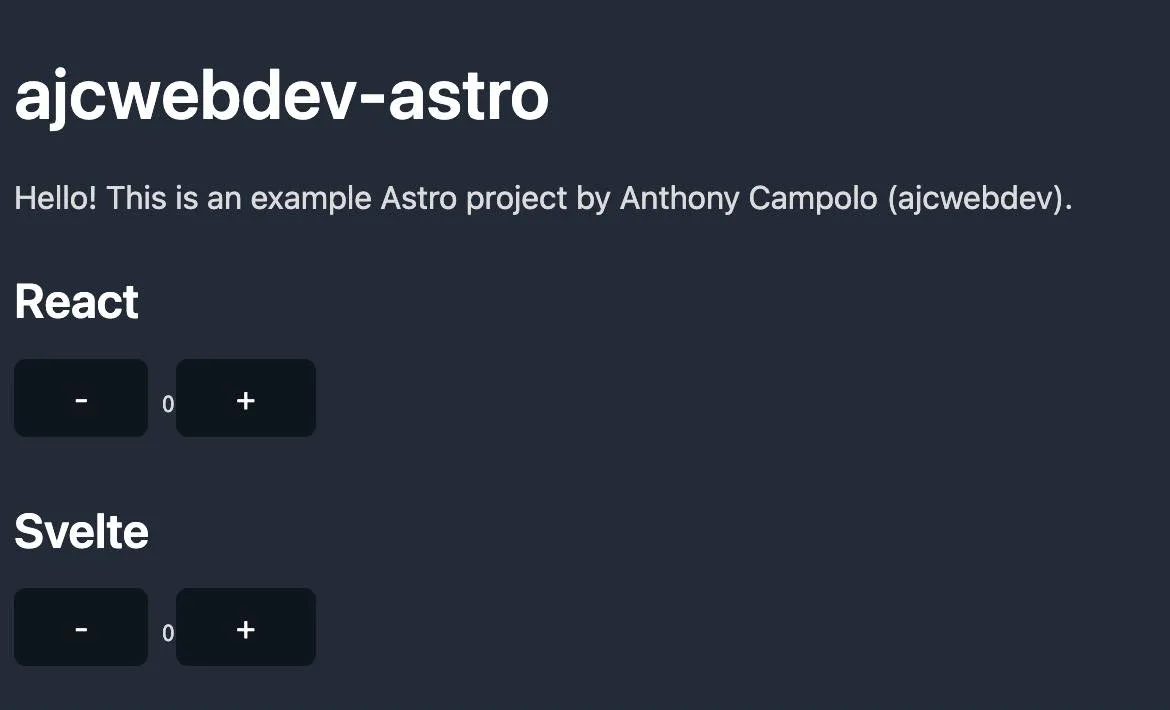
Our Svelte component will contain the same functionality as our React component.
<!-- src/components/svelte/HelloSvelte.svelte -->

<script>
  let count = 0

  function add() {
    count += 1
  }

  function subtract() {
    count -= 1
  }
</script>

<h2><slot /></h2>

<div>
  <button on:click={subtract}>-</button>
  <pre>{ count }</pre>
  <button on:click={add}>+</button>
</div>

<style>
  div {
    display: flex;
  }
</style>
Import HelloSvelte and set it to client:visible.
---
// src/pages/index.astro

import HelloMarkdown from '../components/markdown/HelloMarkdown.astro'
import HelloReact from '../components/react/HelloReact.jsx'
import HelloSvelte from '../components/svelte/HelloSvelte.svelte'

const someProps = {
  count: 0,
}

let title = 'ajcwebdev-astro'
---

<html lang="en">
  <head>...</head>
  <body>
    <main>
      <header>...</header>

      <HelloReact {...someProps} client:visible>
        React
      </HelloReact>

      <HelloSvelte client:visible>
        Svelte
      </HelloSvelte>
    </main>

    <section>
      <HelloMarkdown />
    </section>
    <footer>...</footer>
  </body>
</html>
Create a Vue Component
Add vue() to integrations in astro.config.mjs to enable the Vue renderer.
npx astro add vue
This also install @astrojs/vue and vue@^3.2.30.
// astro.config.mjs

import { defineConfig } from 'astro/config'
import react from "@astrojs/react"
import svelte from "@astrojs/svelte"
import vue from "@astrojs/vue"

export default defineConfig({
  integrations: [react(), svelte(), vue()]
})
You know the drill.
mkdir src/components/vue
echo > src/components/vue/HelloVue.vue
Our Vue component will contain the same functionality as our React and Svelte components.
<!-- src/components/vue/HelloVue.vue -->

<template>
  <h2><slot /></h2>

  <div>
    <button @click="subtract()">-</button>
    <pre>{{ count }}</pre>
    <button @click="add()">+</button>
  </div>
</template>

<script>
  import { ref } from 'vue'

  export default {
    setup() {
      const count = ref(0)
      const add = () => (count.value = count.value + 1)
      const subtract = () => (count.value = count.value - 1)

      return {
        count, add, subtract,
      }
    },
  }
</script>

<style scoped>
  div {
    display: flex;
  }
</style>
Import HelloVue and set it to client:visible.
---
// src/pages/index.astro

import HelloMarkdown from '../components/markdown/HelloMarkdown.astro'
import HelloReact from '../components/react/HelloReact.jsx'
import HelloSvelte from '../components/svelte/HelloSvelte.svelte'
import HelloVue from '../components/vue/HelloVue.vue'

const someProps = {
  count: 0,
}

let title = 'ajcwebdev-astro'
---

<html lang="en">
  <head>...</head>
  <body>
    <main>
      <header>...</header>

      <HelloReact {...someProps} client:visible>
        React
      </HelloReact>

      <HelloSvelte client:visible>
        Svelte
      </HelloSvelte>

      <HelloVue client:visible>
        Vue
      </HelloVue>
    </main>

    <section>
      <HelloMarkdown />
    </section>
    <footer>...</footer>
  </body>
</html>
Add GraphQL Data Fetching
mkdir src/components/graphql
echo > src/components/graphql/HelloGraphQL.astro
echo > src/pages/graphql.astro
---
// src/components/graphql/HelloGraphQL.astro
const res = await fetch('https://rickandmortyapi.com/graphql', {
method: 'POST',
headers: {
'Content-Type': 'application/json'
},
body: JSON.stringify({
query: `{
characters {
results {
name
}
}
}`
})
})
const { data } = await res.json()
const { characters } = data
---
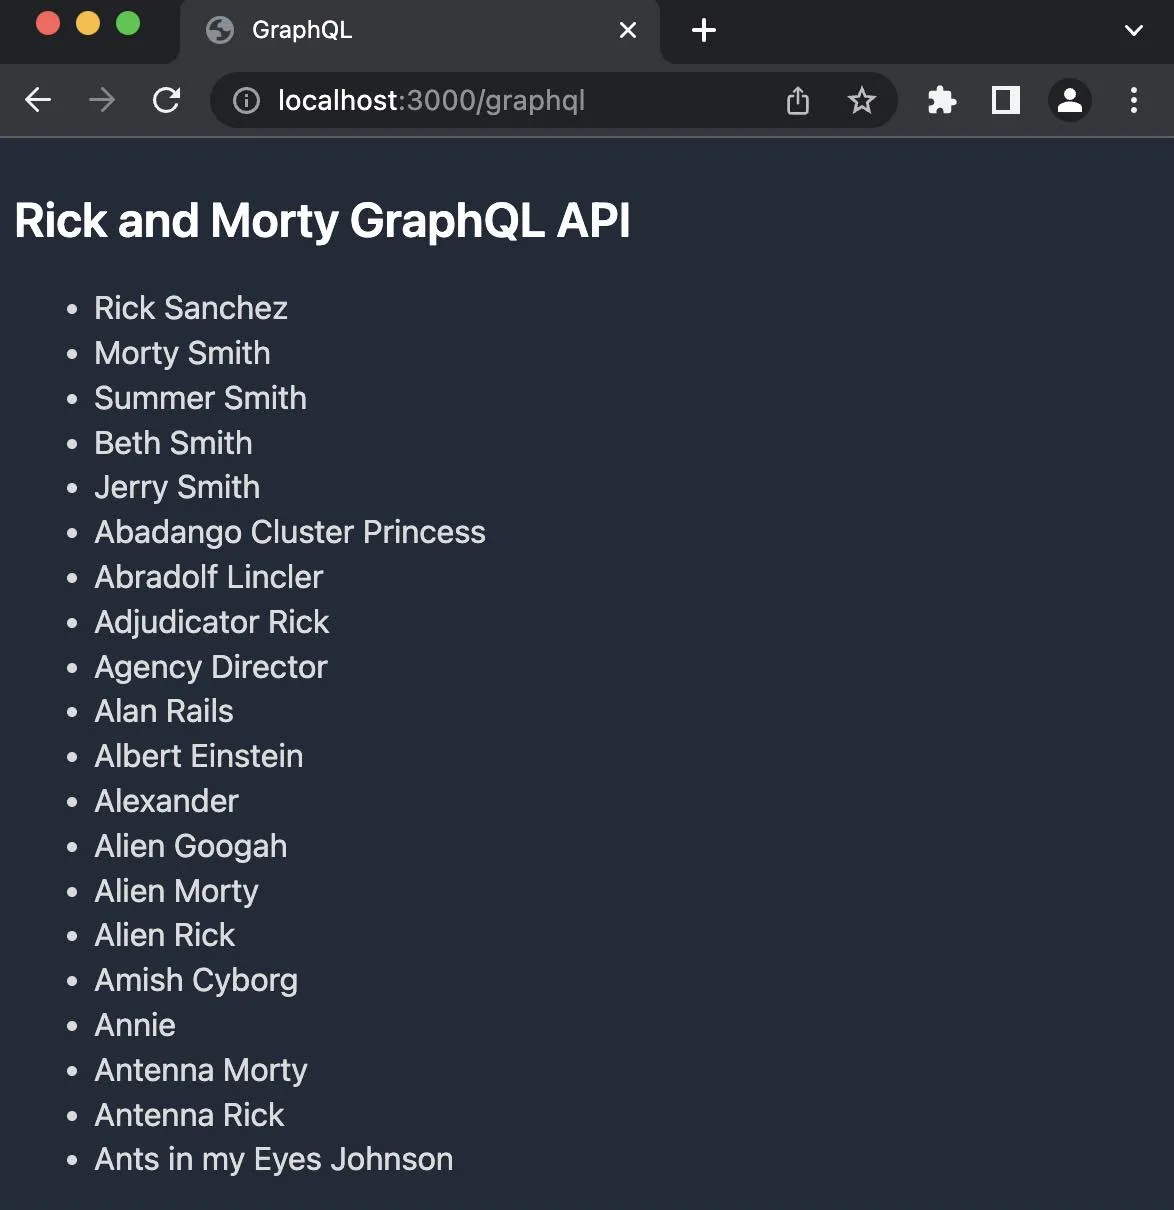
<h2>Rick and Morty GraphQL API</h2>
<ul>
{characters.results.map(({ name }) => (
<li>{name}</li>
))}
</ul>
Import HelloGraphQL.
---
// src/pages/graphql.astro

import HelloGraphQL from '../components/graphql/HelloGraphQL.astro'

let title = 'GraphQL'
---

<html lang="en">
  <head>
    <meta charset="UTF-8">
    <meta name="viewport" content="width=device-width">
    <link rel="stylesheet" href="https://cdn.jsdelivr.net/npm/water.css@2/out/water.css">

    <title>{title}</title>
  </head>

  <body>
    <main>
      <HelloGraphQL />
    </main>
  </body>
</html>
Deploy to Netlify
The Astro docs contain over a dozen different deployment options. We will deploy our project to Netlify. Create a netlify.toml file for our build configuration.
echo > netlify.toml
Add npm run build for the build command and dist for the publish directory.
[build]
  command = "npm run build"
  publish = "dist"
Here is our final project structure.
/
├── public
├── src
│   ├── components
│   │   ├── graphql
│   │   │   └── HelloGraphQL.astro
│   │   ├── markdown
│   │   │   └── HelloMarkdown.astro
│   │   ├── react
│   │   │   └── HelloReact.jsx
│   │   ├── svelte
│   │   │   └── HelloSvelte.svelte
│   │   └── vue
│   │       └── HelloVue.vue
│   └── pages
│       ├── graphql.astro
│       └── index.astro
├── .gitignore
├── astro.config.mjs
├── netlify.toml
└── package.json
Create a GitHub Repository
Initialize a git repo and push to a GitHub repository.
git init
git add .
git commit -m "svuereactroQL"
gh repo create ajcwebdev-astro --public --push \
  --source=. \
  --description="Example Astro project with Markdown, React, Svelte, and Vue" \
  --remote=upstream
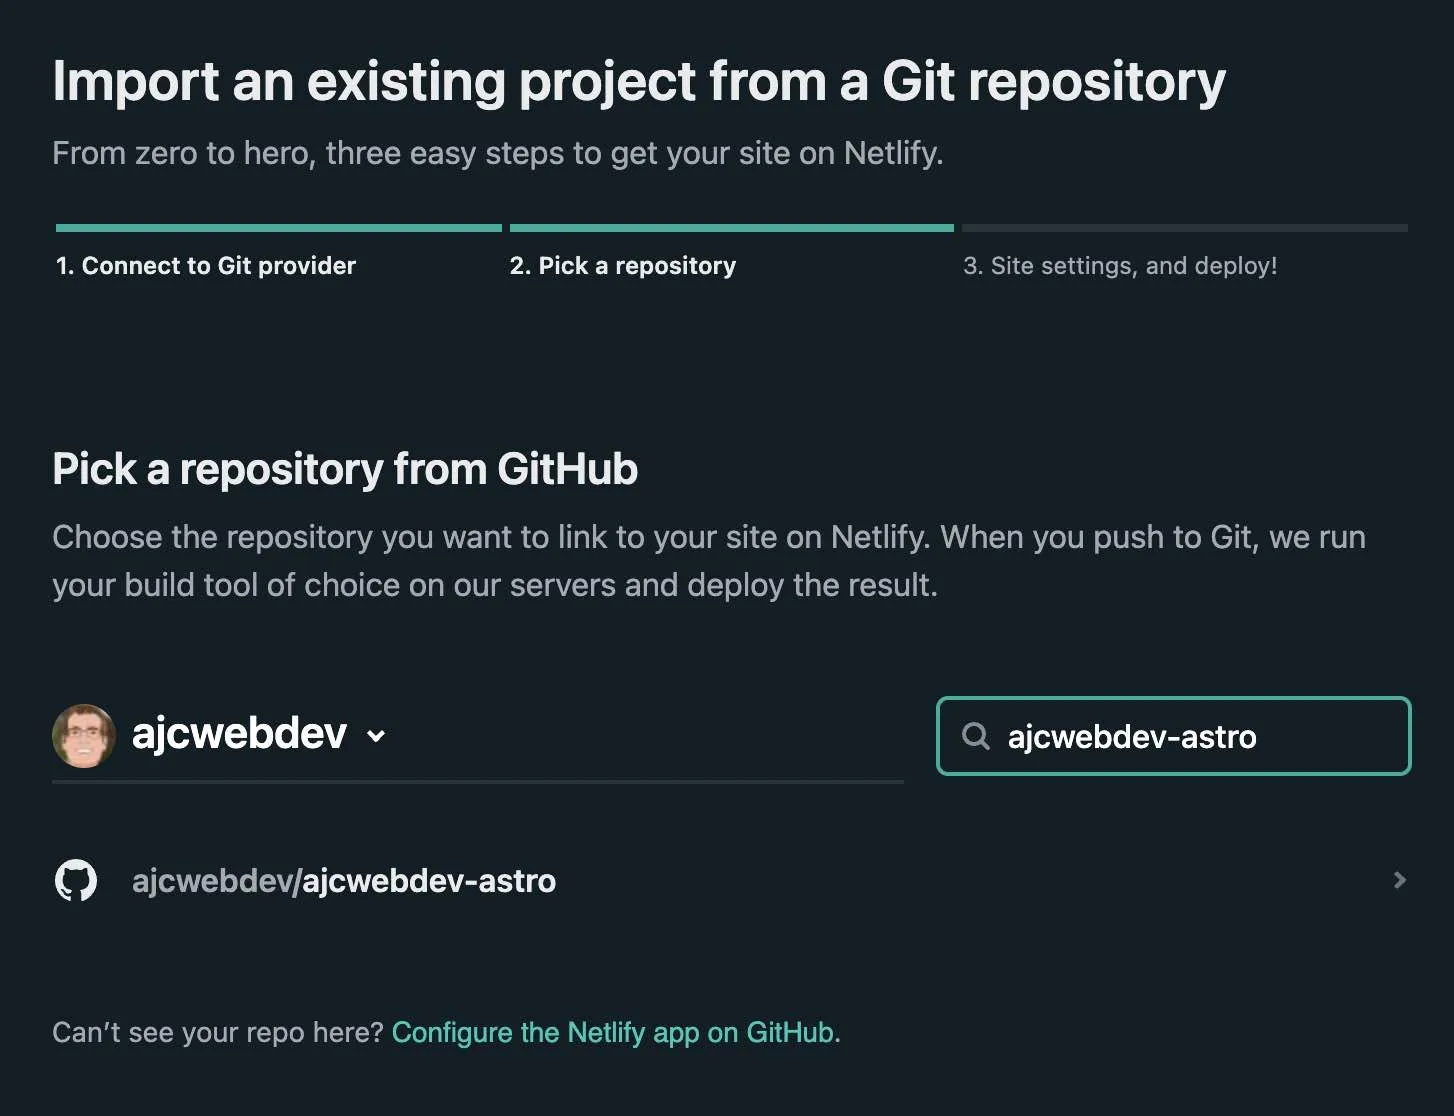
Connect GitHub Repository to Netlify
Connect your GitHub repository to Netlify.
Go to "Site settings," to give yourself a custom domain name.
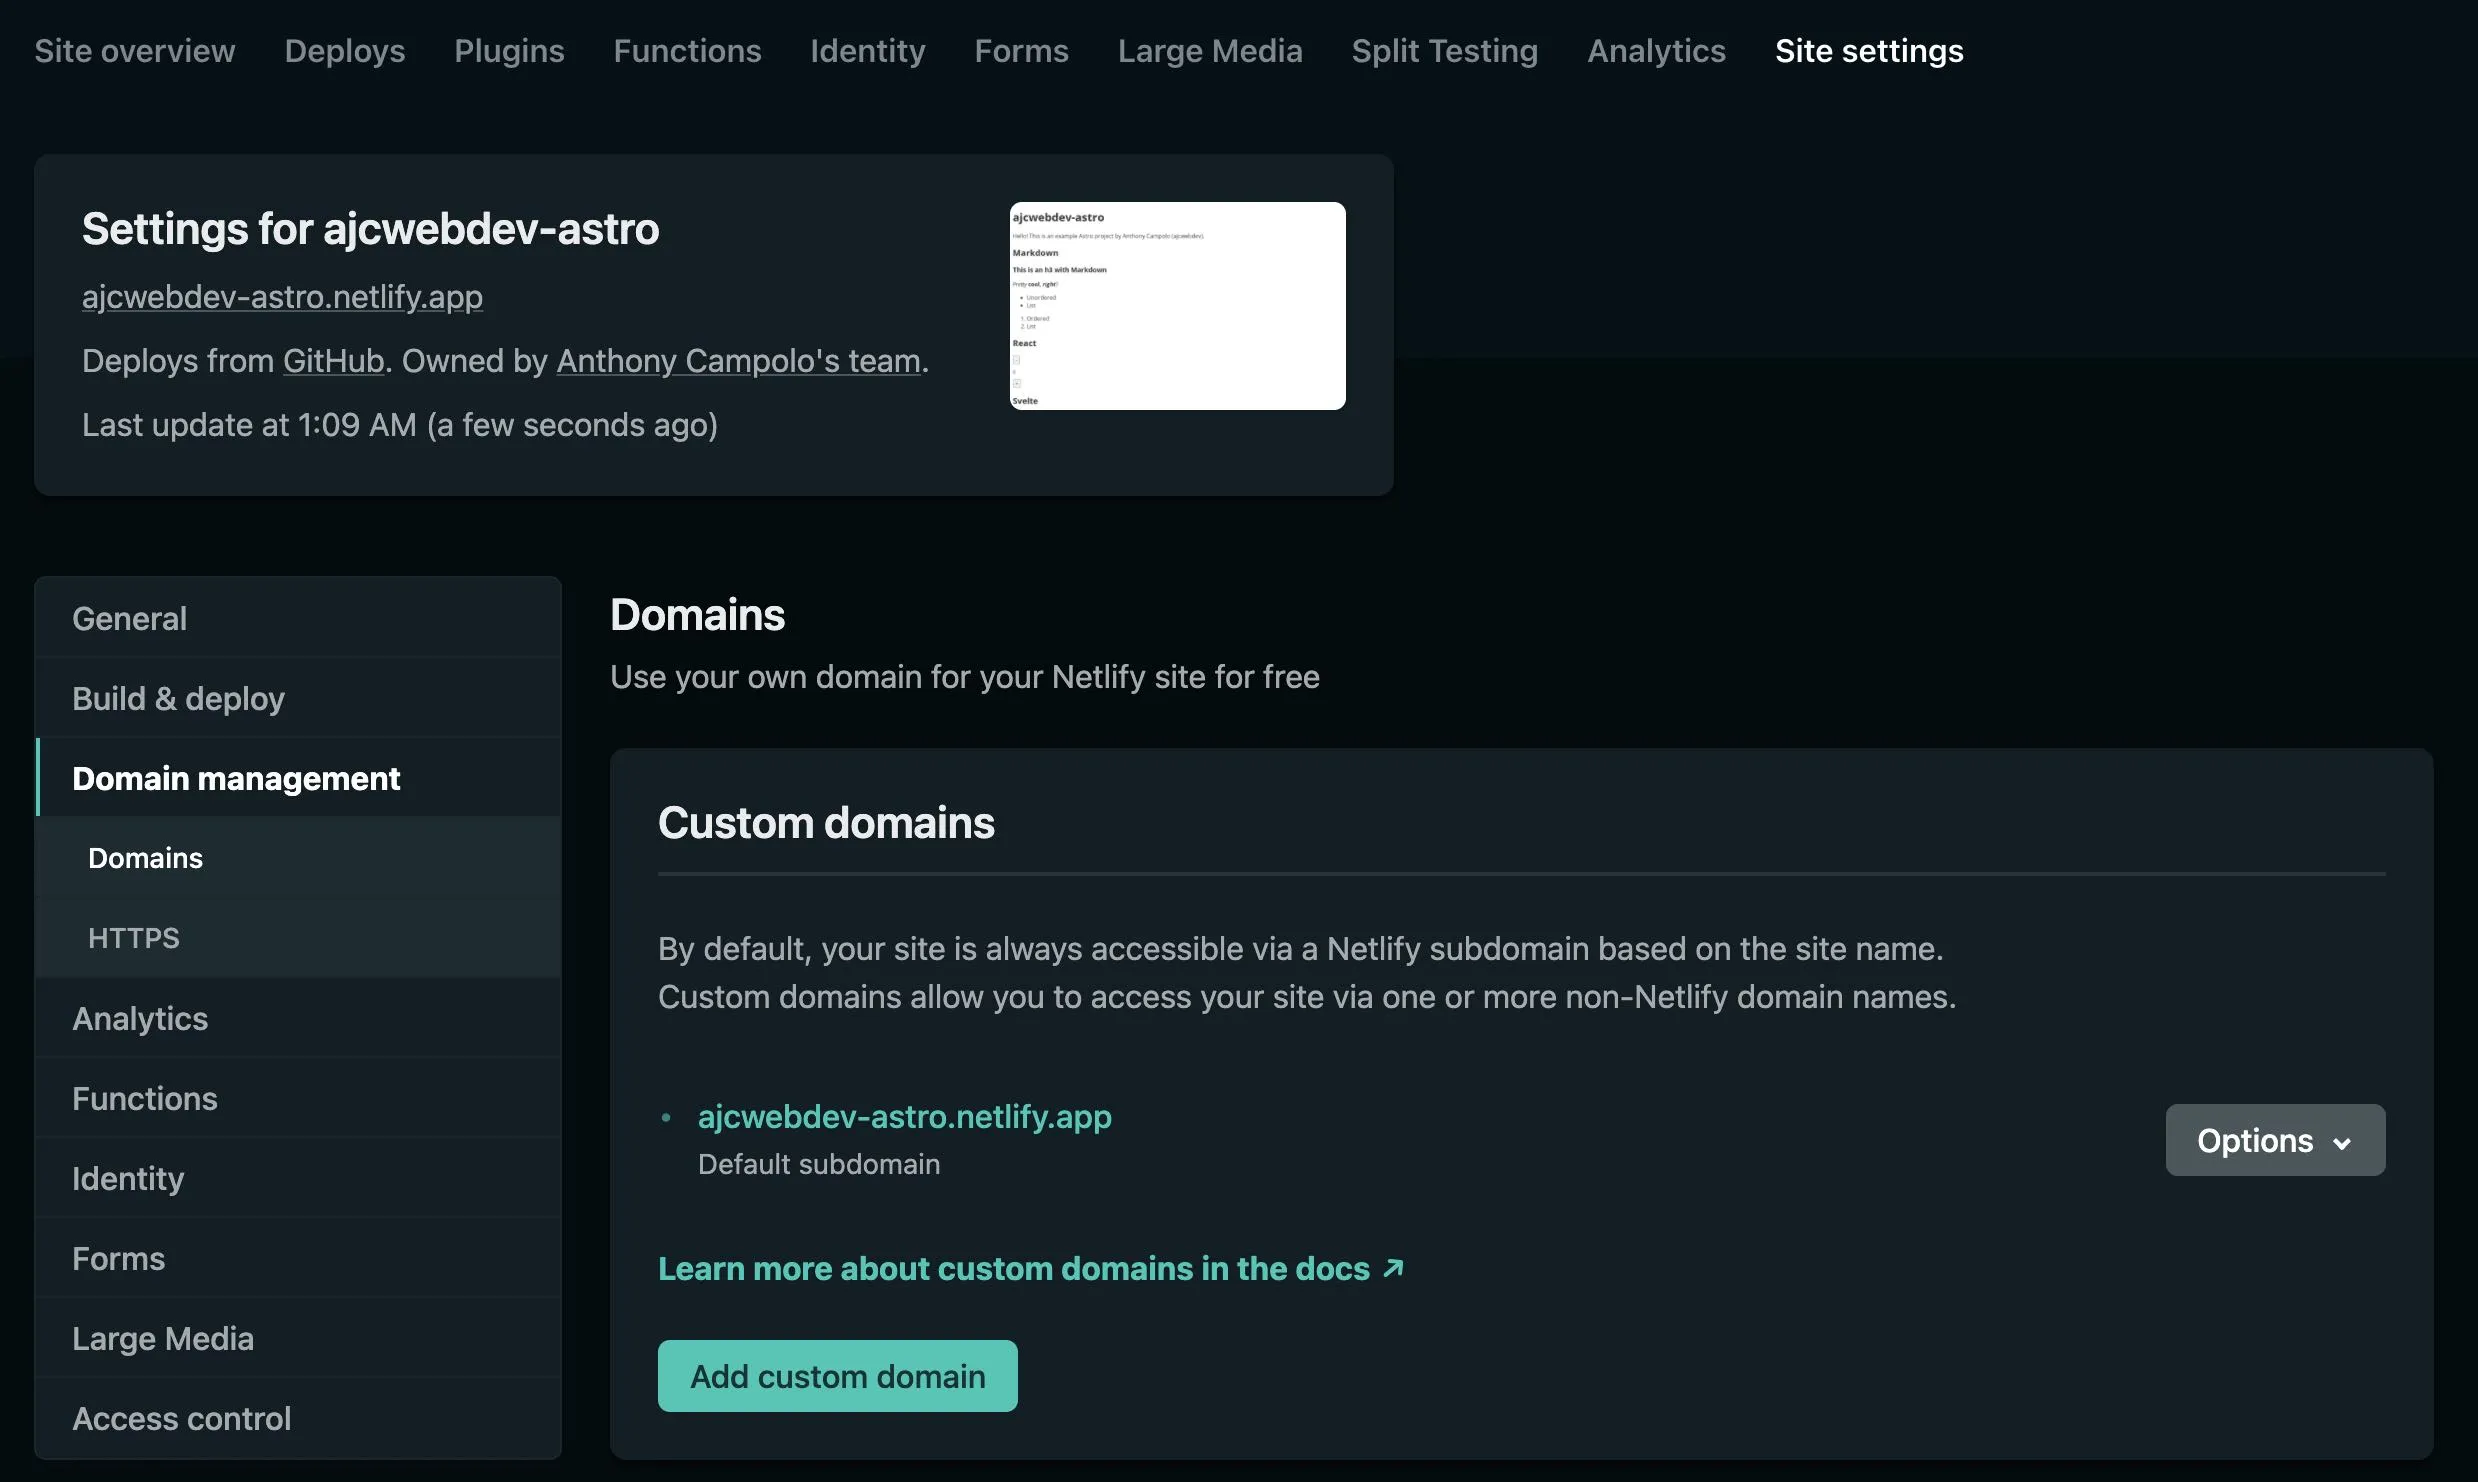
Open ajcwebdev-astro.netlify.app to see the deployed site.