Storing NFT Information with Fauna
Learn how to create and deploy a Solidity smart contract to an Ethereum testnet, mint an NFT, and store NFT information in a Fauna database
This is a sponsored Fauna article demonstrating the use case of their database as an off-chain store for Web3 applications. If you are interested in producing similar content, apply to Write with Fauna.
Introduction
NFTs are all the rage nowadays. But what are they? According to Wikipedia:
A non-fungible token (NFT) is a non-interchangeable unit of data stored on a blockchain, a form of digital ledger.
Types of NFT data units may be associated with digital files such as photos, videos, and audio. Because each token is uniquely identifiable, NFTs differ from blockchain cryptocurrencies, such as Bitcoin.
Fauna and NFTs
What does this have to do with Fauna? In the article, Bridging on-chain and off-chain data in NFTs with Fauna, Shashank Golla & Wyatt Wenzel explain that apps built on blockchain technology must navigate what they call the "blockchain trilemma." A compromise must be made between scalability, security, and decentralization.
In other words, off-chain solutions will be necessary to strike a balance between the three. They go on to explore the potential use case with an NFT marketplace where metadata containing information about the user and their image is saved in an off-chain database.
In this article, we'll save our metadata in Fauna, while the contract resides on the Ethereum blockchain and the image sits on IPFS. We'll learn how to create and deploy a smart contract, mint an NFT, and store NFT information in a Fauna database.
Technology in this Project
Building a project with the blockchain requires both blockchain-specific libraries and common JavaScript libraries. Here are a few of the tools we'll work with:
- ethers.js, a library that aims to be a complete and compact tool for interacting with the Ethereum Blockchain and its ecosystem.
- Hardhat, an Ethereum development environment for compiling smart contracts and running them on a development network.
- Solidity, an object-oriented, high-level language for implementing smart contracts.
- Ropsten, a testnet that allows blockchain developments to test their work in a live setting without needing real ETH
- Alchemy, a blockchain API that manages your applications connection to the Ethereum network
Connect to Alchemy Node
We can get access to Ropsten and other test networks by using a service like Infura, Alchemy, or QuickNode. Let's use Alchemy Supernode, a blockchain API that can connect to various tools in the blockchain ecosystem such as Ethereum, Polygon, Arbitrum, Optimism, and Flow. It provides common node functionality including JSON-RPC support with built in reliability, data correctness and scalability.
Create an Alchemy Account
First, sign up for an Alchemy account. After creating an account, you will see your dashboard.
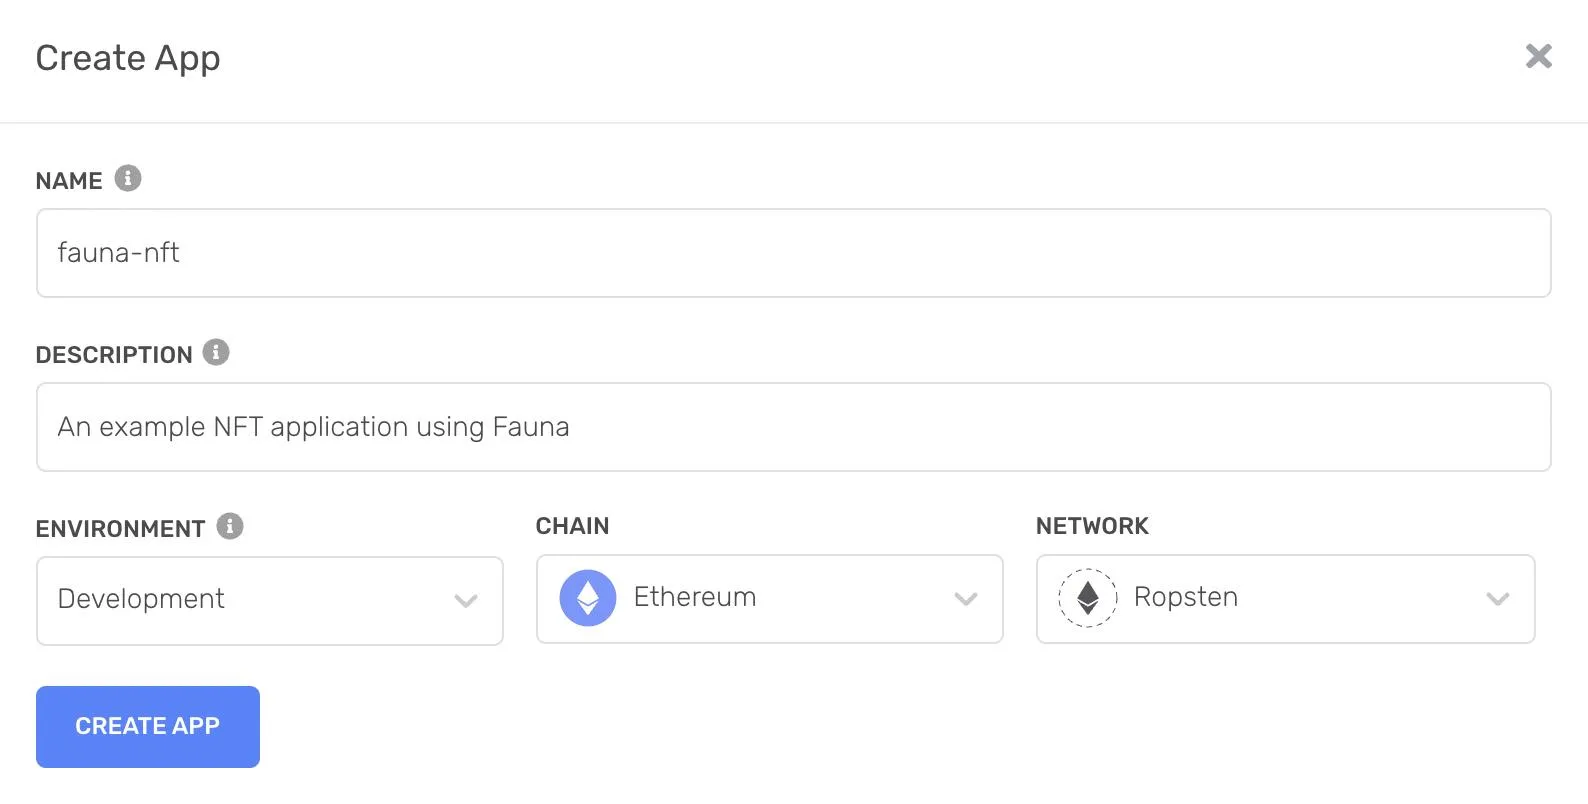
Create an Alchemy Application
Click Create App and give your app a name and description. Select development for the environment, Ethereum for the chain, and Ropsten for the network.
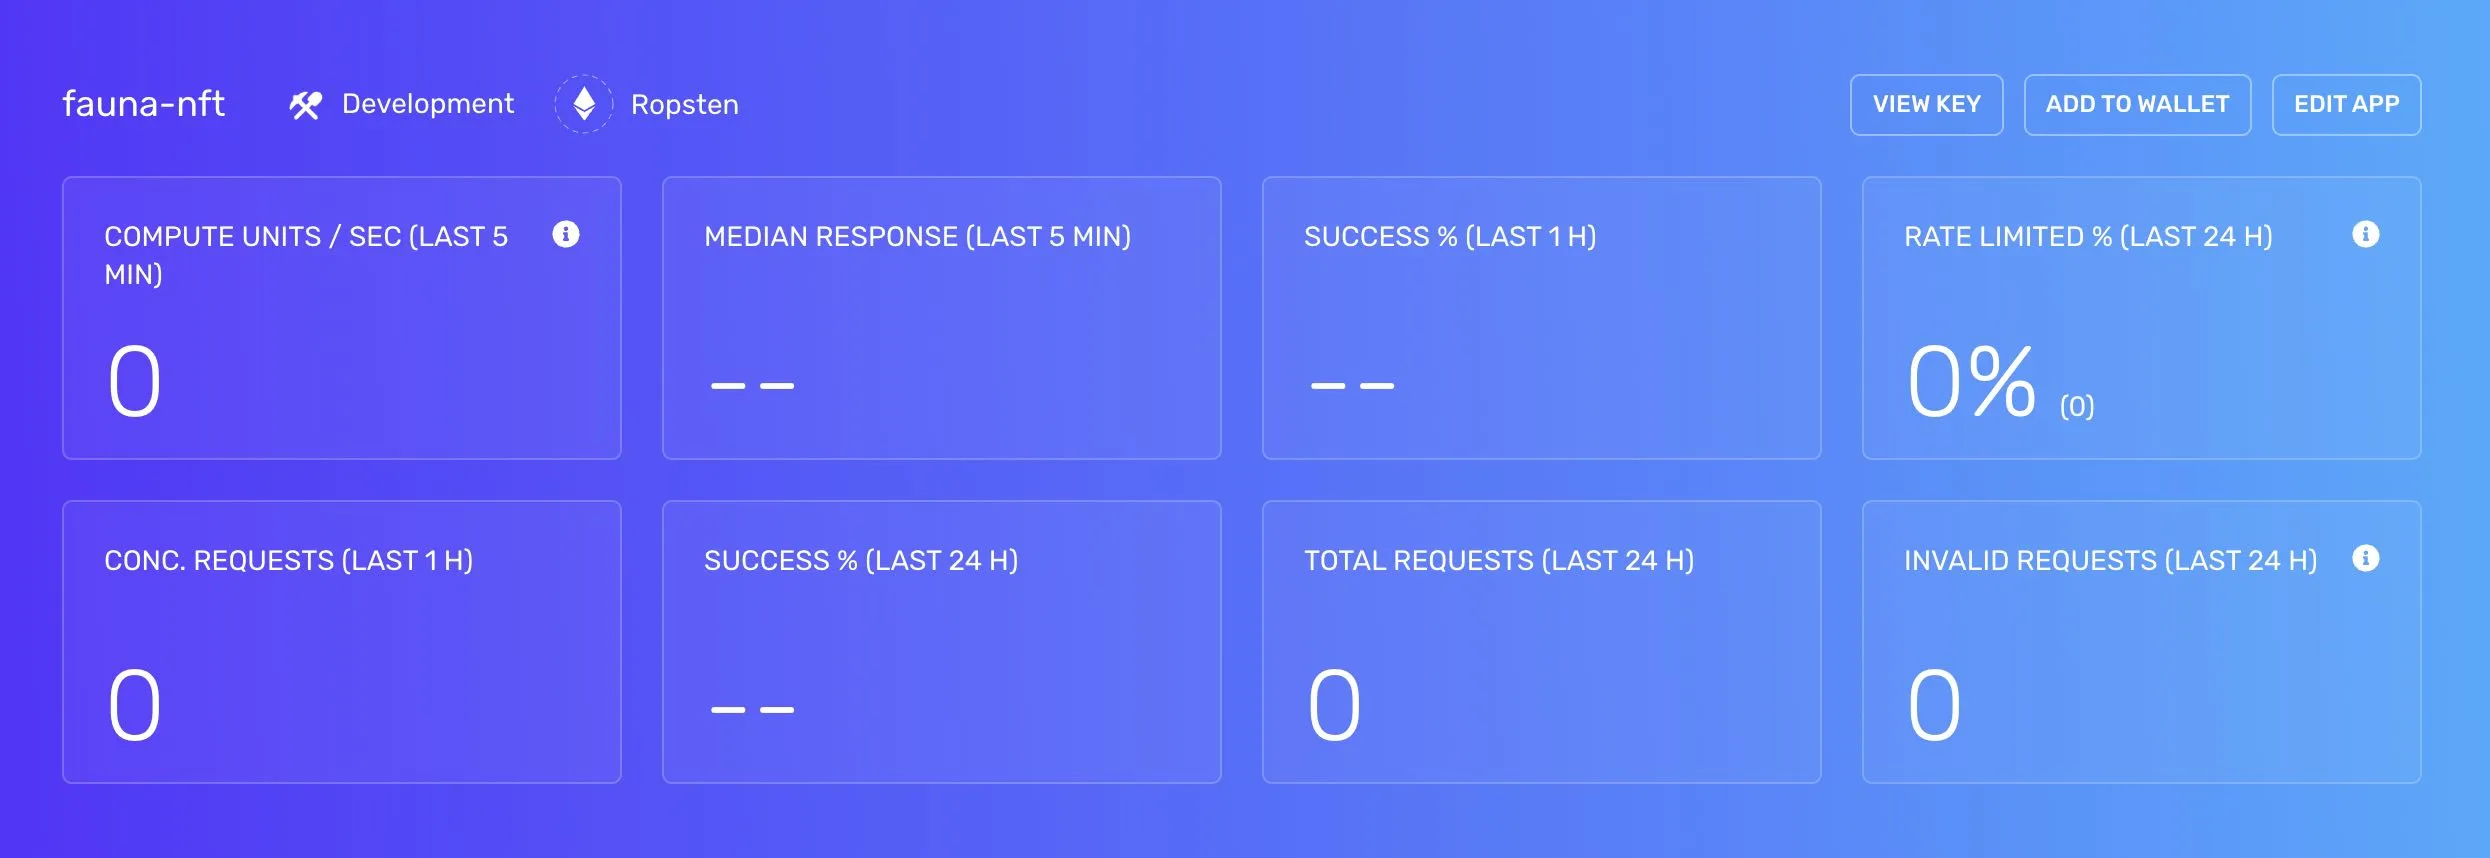
After creating the app, you will see it appear in your dashboard.

Click the name of the app to see more details.
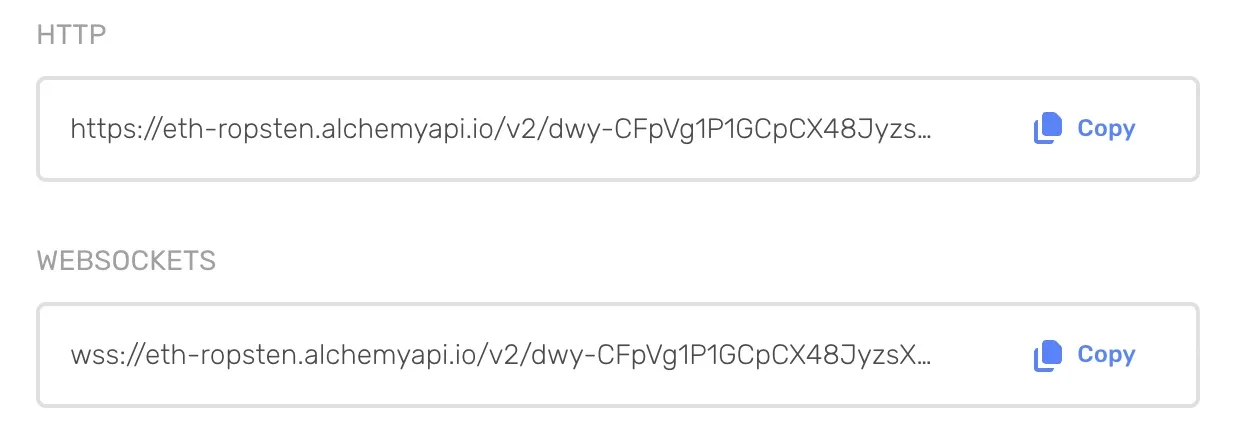
Click View Key to see your endpoints.
Create Hardhat Project
Start with a blank new directory and initialize a package.json.
mkdir fauna-nft
cd fauna-nft
yarn init -y
Install the following dependencies into your project.
yarn add ethers hardhat @nomiclabs/hardhat-ethers chai \
  @openzeppelin/contracts dotenv node-fetch@2 @alch/alchemy-web3
Create a .env file to store environment variables.
touch .env
Connect MetaMask to Ropsten
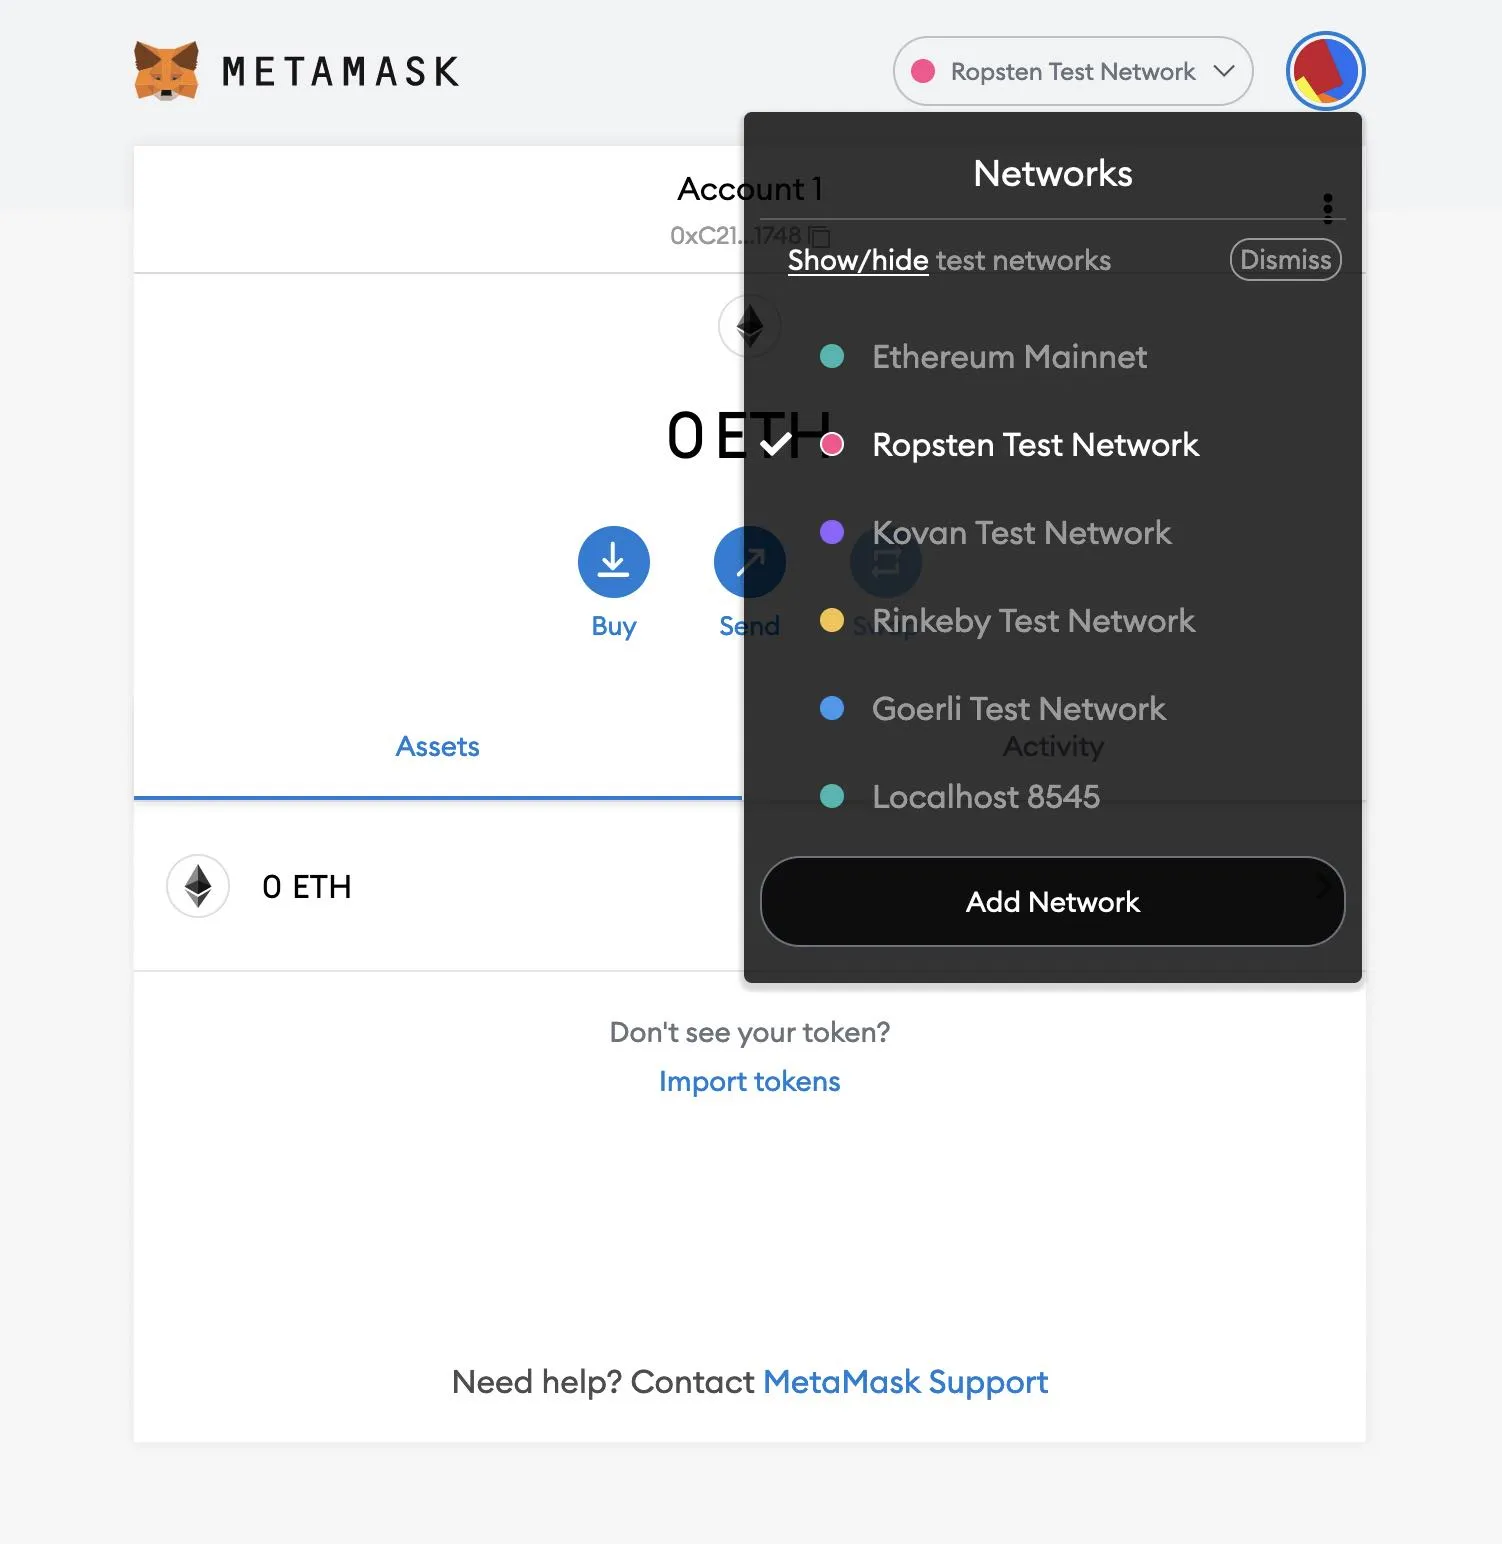
Download the MetaMask extension for your browser of choice. MetaMask is a software cryptocurrency wallet that allows you to interact with the Ethereum blockchain. Ethereum provides test networks like Ropsten, Rinkeby, or Kovan that we can use to deploy a publicly accessible version of our contract without having to deploy it to the mainnet.
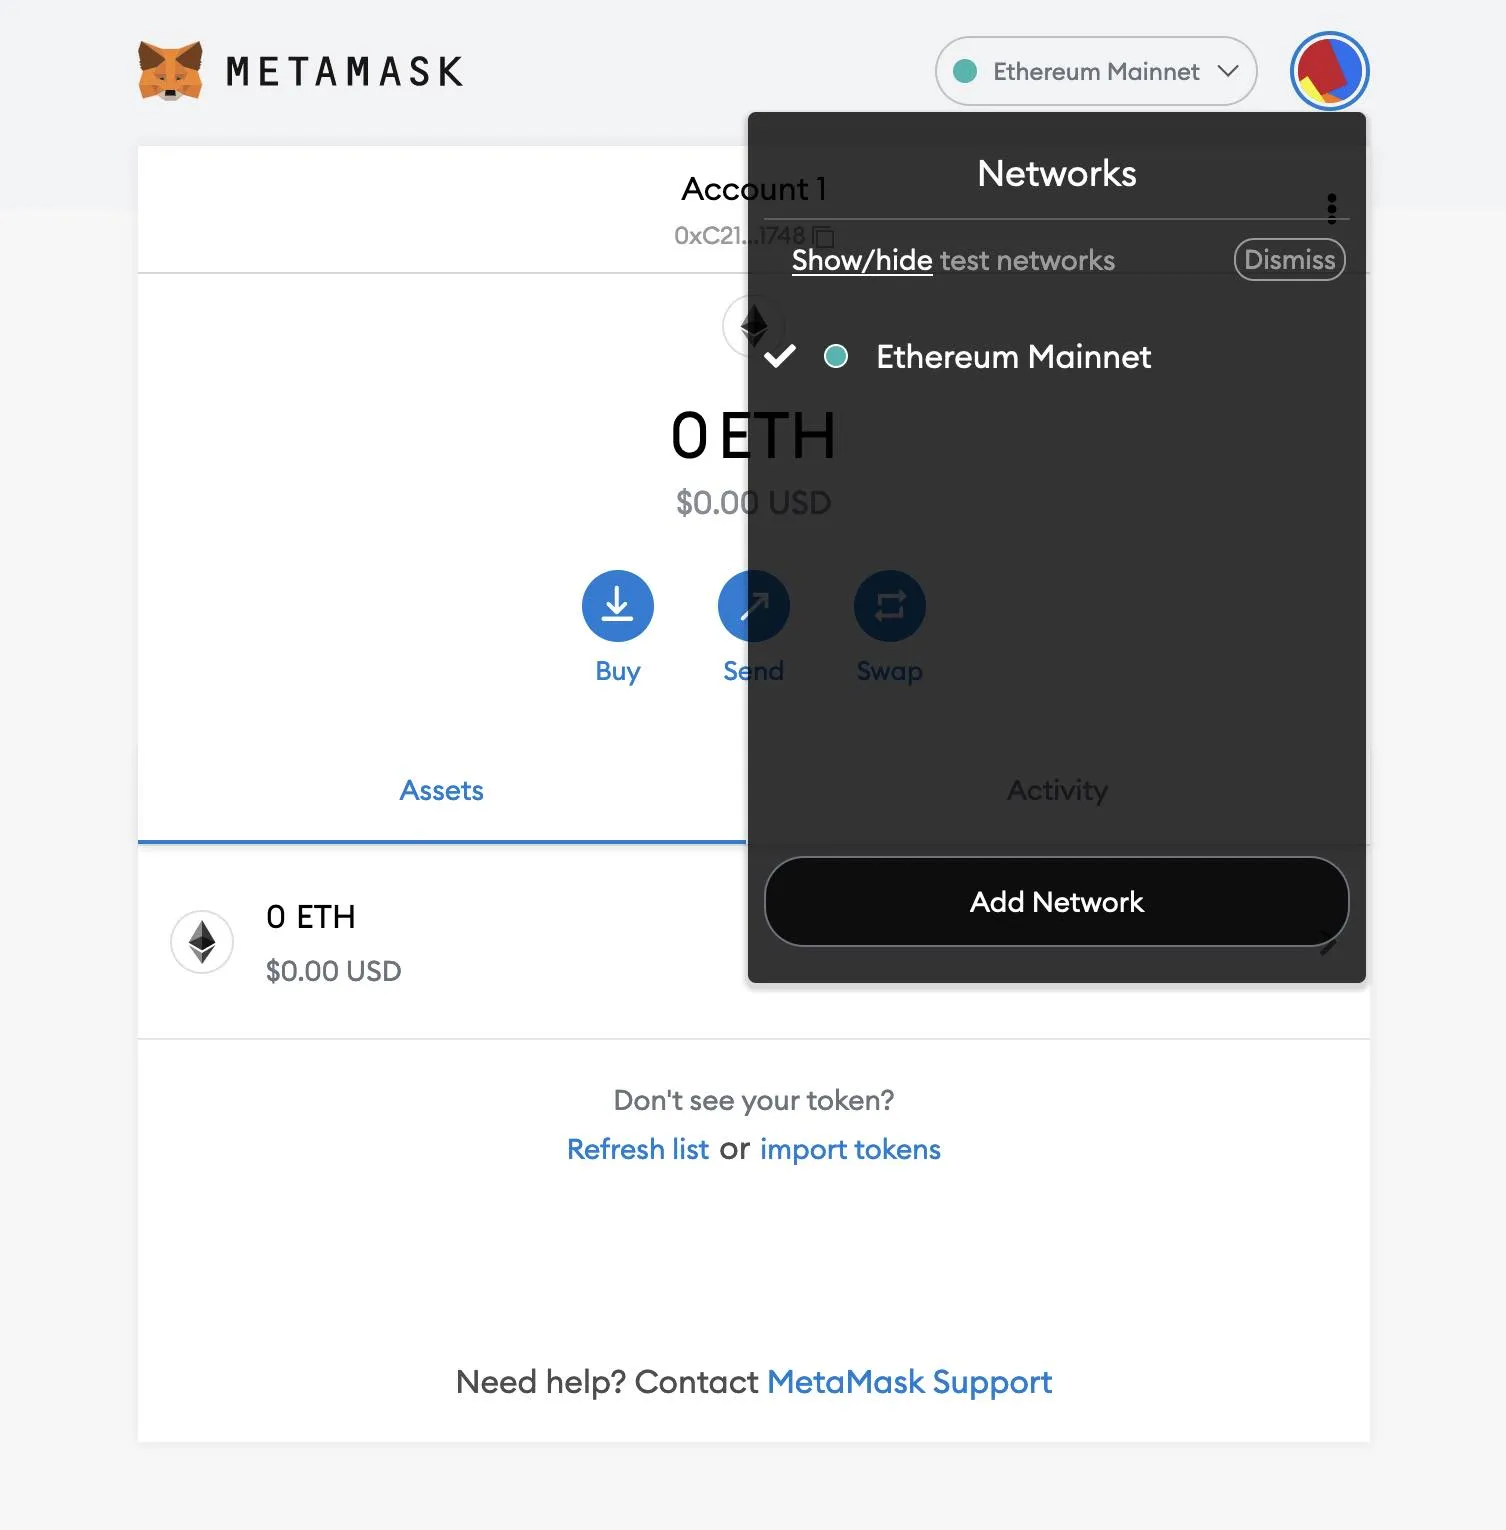
If you only see the Ethereum Mainnet, go to Settings > Advanced and make sure "Show test networks" is set to ON. Once you can see the test networks, select the Ropsten Test Network.
Add Ether from a Faucet
View your account details to find your wallet's public address.
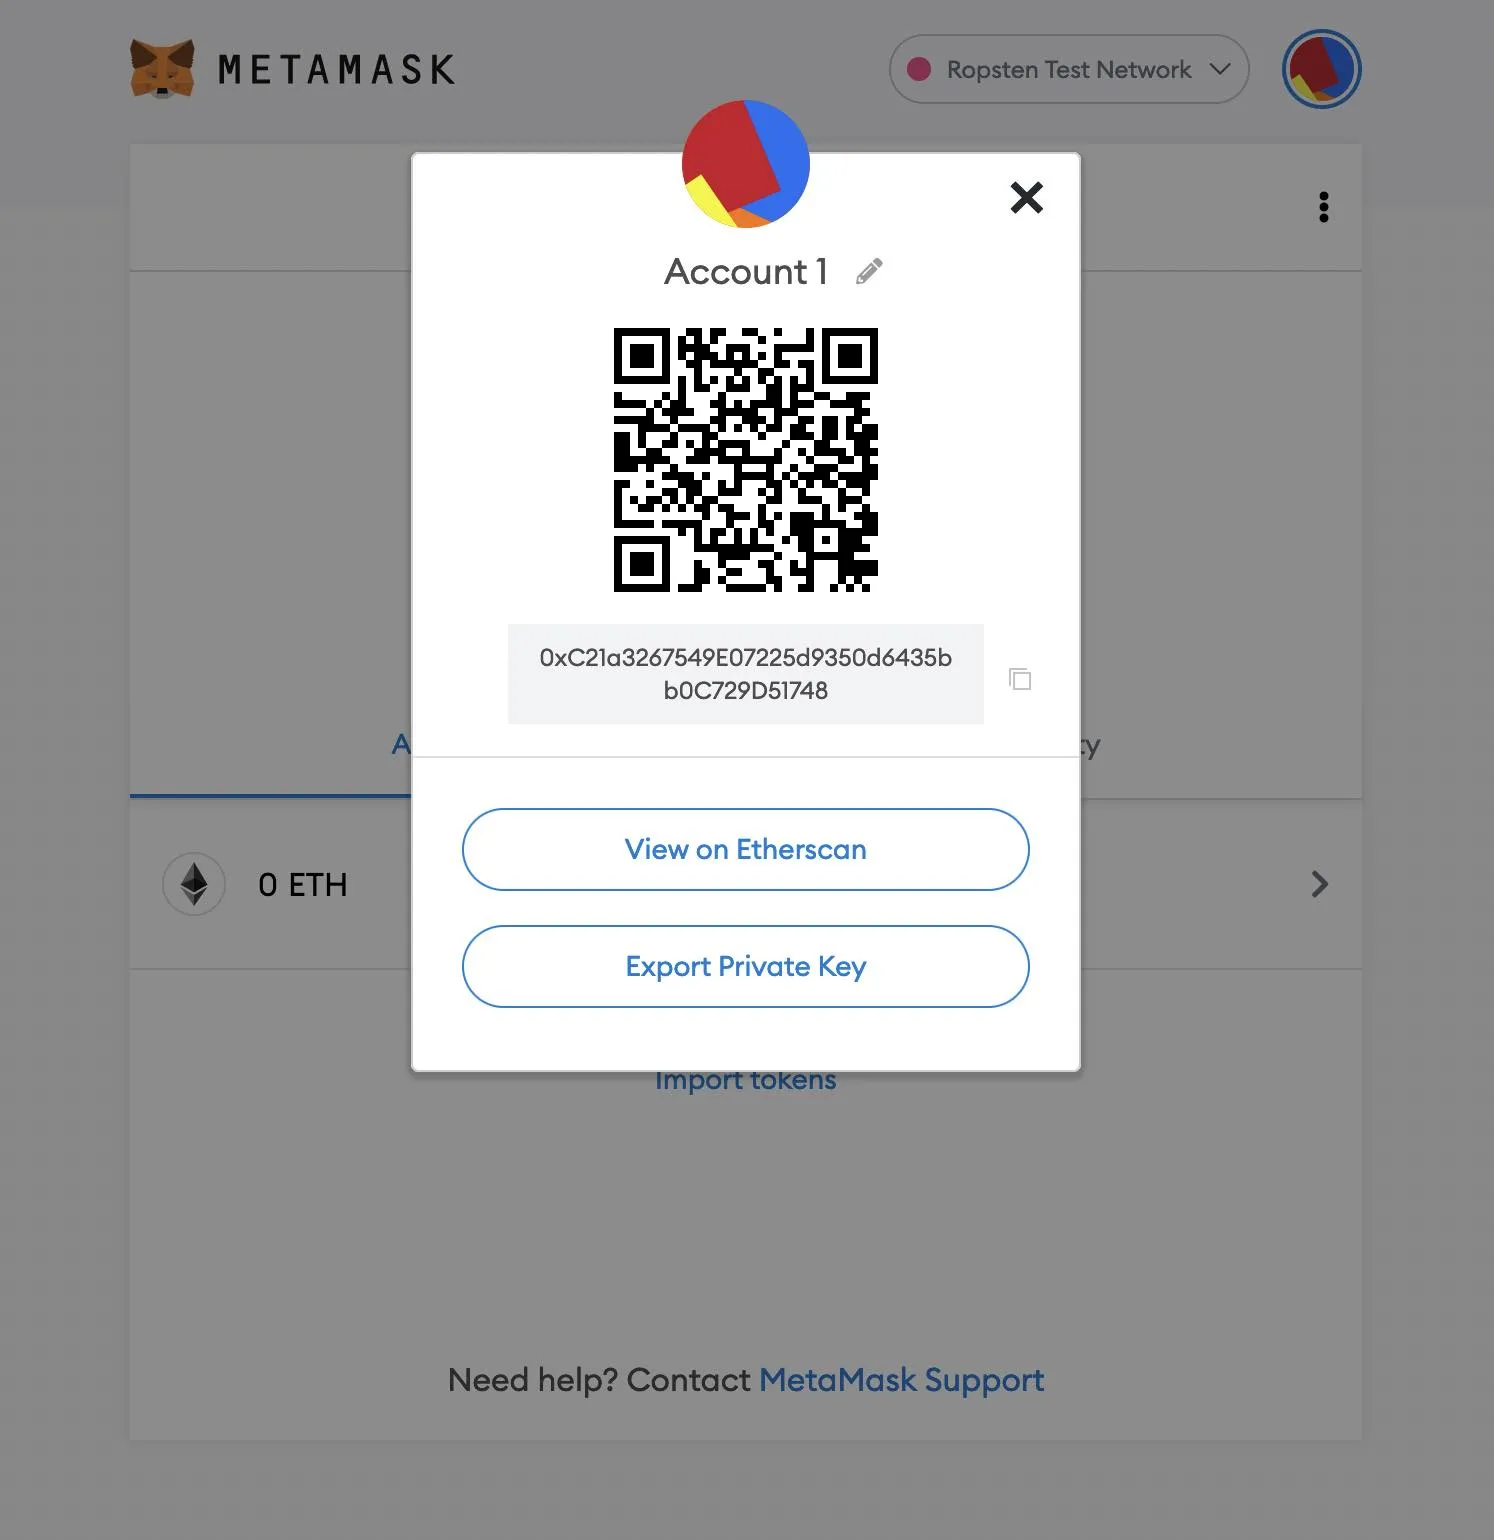
Send yourself test Ether by entering your account address into a test faucet such as faucet.ropsten.be. Once your wallet has received funds, export your private key from MetaMask and save it in the .env file along with your public key and Alchemy URL like this:
ALCHEMY_URL=
PRIVATE_KEY=
PUBLIC_KEY=
FAUNA_KEY=
CONTRACT_ADDRESS=
NFT_URL=
Later, we will include an API key for our Fauna database, the contract address for our NFT, and a URL with the contents of our NFT.
Initialize the Hardhat Environment
Developing smart contracts requires the ability to deploy your contracts, run tests, and debug Solidity code. We will also need a way to compile Solidity into client-side code. Hardhat is the answer here, since it compiles your contracts and runs them on a development network. This lets you develop without having to deal with live environments.
yarn hardhat
Choose Create a basic sample project, select the current directory as the project root, and add a .gitignore file.
👷 Welcome to Hardhat v2.8.0 👷
✔ What do you want to do? · Create a basic sample project
✔ Hardhat project root: · /Users/ajcwebdev/fauna-nft
✔ Do you want to add a .gitignore? (Y/n) · y

✨ Project created ✨

See the README.txt file for some example tasks you can run.
This creates the following files/directories:
hardhat.config.js- Entire Hardhat setup including config, plugins, and custom tasks.scripts- Contains a script namedsample-script.jsthat deploys your smart contract when executedtest- Contains an example testing scriptcontracts- Contains an example Solidity smart contract
Write the Contract
Rename the Greeter.sol contract to MyNFT.sol.
mv contracts/Greeter.sol contracts/MyNFT.sol
Add the following NFT smart contract code to MyNFT.sol. This contract is based on the OpenZeppelin library's ERC-721 implementation.
// SPDX-License-Identifier: MIT
pragma solidity ^0.8.0;

import "@openzeppelin/contracts/token/ERC721/ERC721.sol";
import "@openzeppelin/contracts/utils/Counters.sol";
import "@openzeppelin/contracts/access/Ownable.sol";
import "@openzeppelin/contracts/token/ERC721/extensions/ERC721URIStorage.sol";

contract MyNFT is ERC721URIStorage, Ownable {
    using Counters for Counters.Counter;
    Counters.Counter private _tokenIds;

    constructor() ERC721("MyNFT", "NFT") {}

    function mintNFT(address recipient, string memory tokenURI)
        public onlyOwner
        returns (uint256)
    {
        _tokenIds.increment();

        uint256 newItemId = _tokenIds.current();
        _mint(recipient, newItemId);
        _setTokenURI(newItemId, tokenURI);
        return newItemId;
    }
}
Let's break down those imports:
@openzeppelin/contracts/token/ERC721/ERC721.solcontains the implementation of the ERC-721 standard, which our NFT smart contract will inherit.@openzeppelin/contracts/utils/Counters.solprovides counters that can only be incremented or decremented by one. Our smart contract uses a counter to keep track of the total number of NFTs minted and set the unique ID on our new NFT.@openzeppelin/contracts/access/Ownable.solsets up access control on our smart contract, so only the owner of the smart contract (you) can mint NFTs.
In our ERC-721 constructor we pass 2 strings, MyNFT and NFT. The first variable is the smart contract's name, and the second is its symbol. mintNFT(address recipient, string memory uri) allows us to mint an NFT and takes in two variables:
address recipientspecifies the address that will receive your freshly minted NFT.string memory tokenURIis a string that should resolve to a JSON document that describes the NFT's metadata.
mintNFT calls some methods from the inherited ERC-721 library, and ultimately returns a number that represents the ID of the freshly minted NFT.
Hardhat Configuration File
Every transaction sent from your virtual wallet requires a signature using your unique private key. To provide our program with this permission, we can safely store our private key (and Alchemy API key) in an environment file. To actually connect these to our code, we'll reference these variables in hardhat.config.js.
// hardhat.config.js

require('dotenv').config()
require("@nomiclabs/hardhat-ethers")

const { ALCHEMY_URL, PRIVATE_KEY } = process.env

module.exports = {
  solidity: "0.8.0",
  defaultNetwork: "ropsten",
  networks: {
    hardhat: {},
    ropsten: {
      url: ALCHEMY_URL,
      accounts: [`0x${PRIVATE_KEY}`]
    }
  },
}
Compile the Contract
Your ABI — Application Binary Interface — is the interface between your client-side application and the Ethereum blockchain where the smart contract you are going to be interacting with is deployed.
yarn hardhat compile
ABIs are typically compiled from Solidity smart contracts by a development framework like Hardhat. You can also often find the ABIs for a smart contract on Etherscan. Change the name of sample-script.js to deploy.js since we will be using it to deploy our smart contract.
mv scripts/sample-script.js scripts/deploy.js
Add the following code to the new deploy.js.
// scripts/deploy.js

const hre = require("hardhat")

async function main() {
  const MyNFT = await hre.ethers.getContractFactory("MyNFT")
  const myNFT = await MyNFT.deploy()
  await myNFT.deployed()

  console.log("Contract deployed to: " + myNFT.address + " address")
  console.log("Contract deployed by: " + JSON.stringify(myNFT.signer) + " signer")
  console.log("Deploy transaction hash: " + myNFT.deployTransaction.hash)
}

main()
  .then(() => process.exit(0))
  .catch((error) => {
    console.error(error)
    process.exit(1)
  })
Run the deploy script and give a flag to the CLI to let it know that we would like to deploy to the ropsten test network:
yarn hardhat run scripts/deploy.js \
  --network ropsten
This address is what we will use in our client application to talk to the smart contract.
Contract deployed to: 0xA9E1D6A20e775401798E0BD28a10cec5A5B9116E address
Contract deployed by: "<SignerWithAddress 0xC21a3267549E07225d9350d6435bb0C729D51748>" signer
Deploy transaction hash: 0xd984562fb8877795599d2d0702bb9ef5ba762d836e032a9a71f2bcc233b1ad07
Once your contract is deployed, you can view the live contract on the Etherscan Ropsten Testnet Explorer. If we go to ropsten.etherscan.io and search for your contract address, you should be able to see that it has been deployed successfully. The transaction will look something like this:
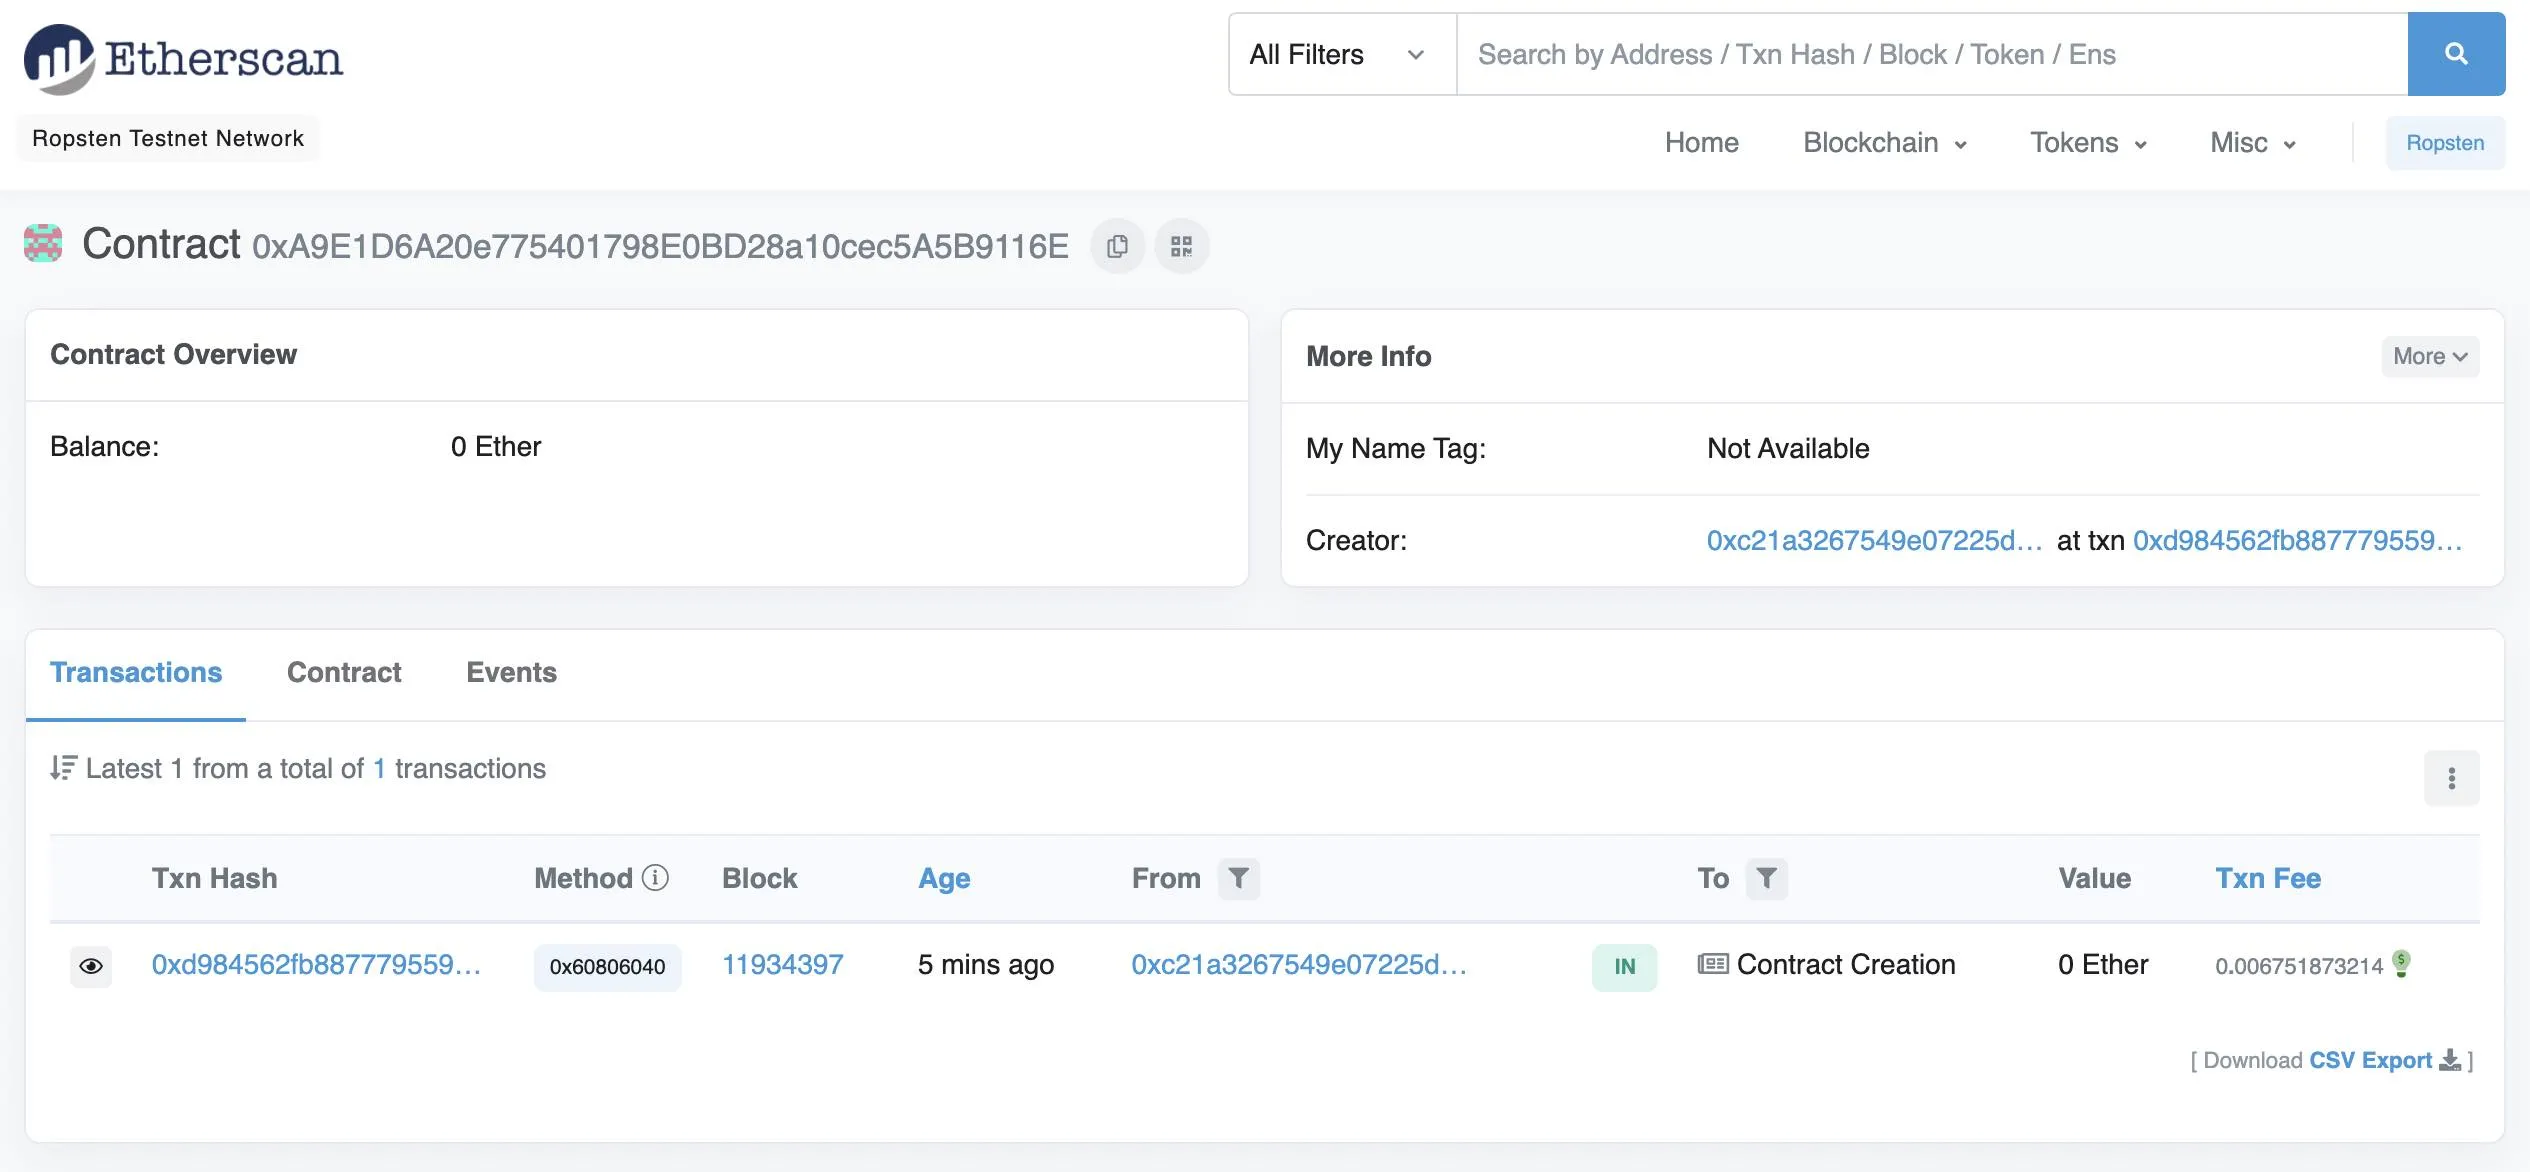
The From address should match your MetaMask account address and the To address will say Contract Creation. If we click into the transaction, we'll see our contract address in the To field. Copy the contract address and add it to your .env file.
Mint an NFT
Now that our contract is deployed, we need to actually mint our NFT. We'll also create a Fauna database that will be used to store information about our NFT.
Create Fauna Database
Go to the Fauna Dashboard and click Create Database. Once you have created a database you will be redirected to a console for the new database.
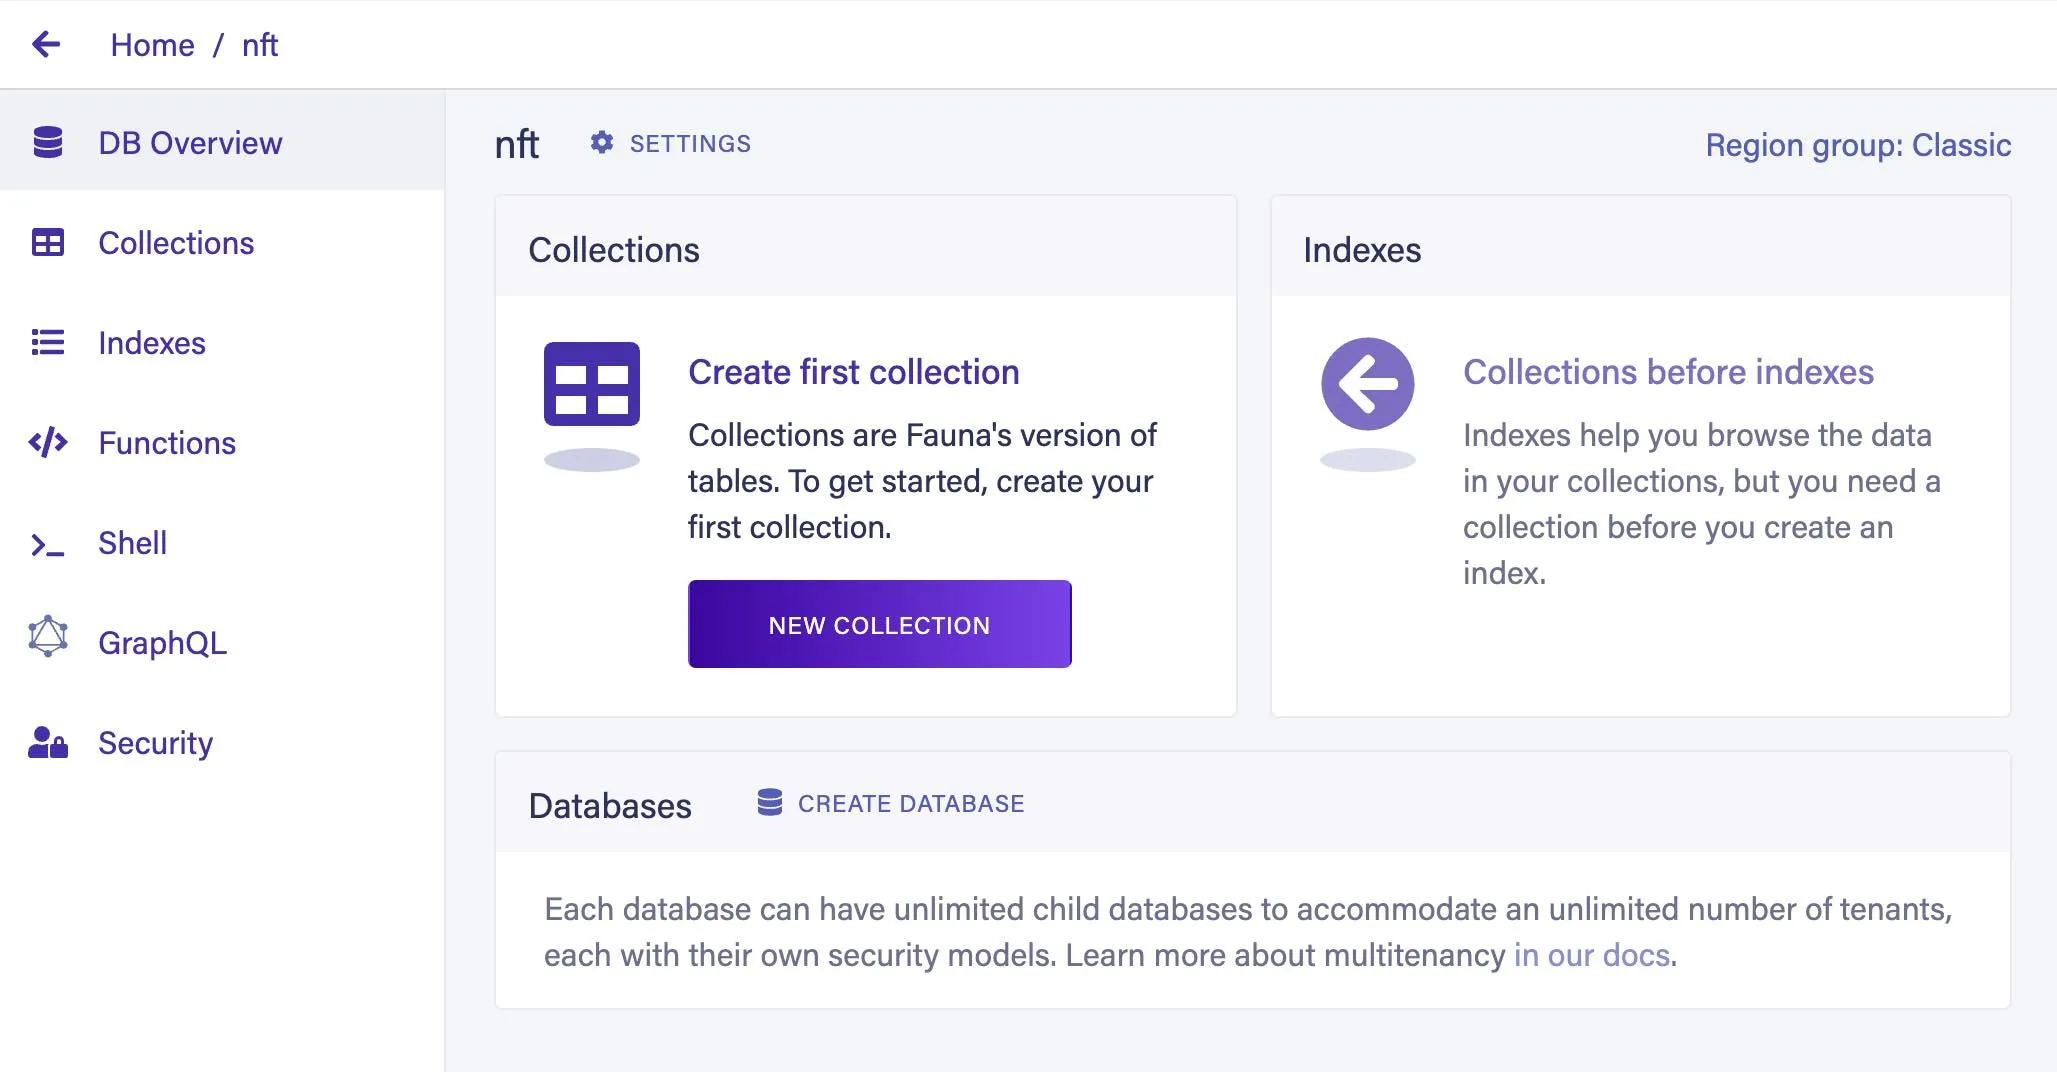
Open the Security tab and create an API key by clicking the New Key button. Copy the key that is displayed and place it in your .env file for the FAUNA_KEY variable.
Upload GraphQL Schema
Create a file called schema.graphql.
touch schema.graphql
Include the following GraphQL schema in your schema.graphql file.
type NFT {
  alchemyURL: String
  privateKey: String
  publicKey: String
  contractAddress: String
  nftURL: String
}
Back in your database dashboard, select the GraphQL tab and import the schema.graphql file. This will automatically generate queries and mutations for the NFT type.
input NFTInput {
  alchemyURL: String
  privateKey: String
  publicKey: String
  contractAddress: String
  nftURL: String
}

type Mutation {
  createNFT(data: NFTInput!): NFT!
  updateNFT(id: ID! data: NFTInput!): NFT
  deleteNFT(id: ID!): NFT
}

type Query {
  findNFTByID(id: ID!): NFT
}
Create Mint Script
You can create and upload images for your own NFTs on IPFS, or with a pinning service such as Pinata. We will use an example from the official Ethereum tutorial. Include the following URL in your .env file as the value for NFT_URL:
https://gateway.pinata.cloud/ipfs/QmYueiuRNmL4MiA2GwtVMm6ZagknXnSpQnB3z2gWbz36hP
To mint our NFT, we will need a script and a JSON file for the NFT's metadata.
touch scripts/mint-nft.js nft-metadata.json
Add the following code to mint-nft.js:
// scripts/mint-nft.js

require("dotenv").config()

const {
  ALCHEMY_URL, PUBLIC_KEY, PRIVATE_KEY, CONTRACT_ADDRESS, NFT_URL
} = process.env

const { createAlchemyWeb3 } = require("@alch/alchemy-web3")
const web3 = createAlchemyWeb3(ALCHEMY_URL)
const contract = require("../artifacts/contracts/MyNFT.sol/MyNFT.json")
const nftContract = new web3.eth.Contract(contract.abi, CONTRACT_ADDRESS)

async function mintNFT(tokenURI) {
  const nonce = await web3.eth.getTransactionCount(PUBLIC_KEY, 'latest')

  const tx = {
    'from': PUBLIC_KEY,
    'to': CONTRACT_ADDRESS,
    'nonce': nonce,
    'gas': 500000,
    'data': nftContract.methods.mintNFT(PUBLIC_KEY, tokenURI).encodeABI()
  }

  const signPromise = web3.eth.accounts.signTransaction(tx, PRIVATE_KEY)

  signPromise.then((signedTx) => {
    web3.eth.sendSignedTransaction(
      signedTx.rawTransaction, function (err, hash) {
        if (!err) {
          console.log(
            "The hash of your transaction is: " + hash,
            "\nCheck Alchemy's Mempool to view the status of your transaction!"
          )
        } else {
          console.log("Error: ", err)
        }
      }
    )
  })
  .catch((err) => {
    console.log("Promise failed: ", err)
  })
}

mintNFT(NFT_URL)
This code combines your Alchemy URL, your public and private keys, your NFT contract address, and a URL for your NFT image with the Alchemy Web3 library to perform the necessary logic to sign the transaction and mint the NFT.
Here's a breakdown of the different essential elements happening in the transaction (tx):
from- The origin of our transaction is set toPUBLIC_KEY, our public address.to- The contract we wish to interact and send transactions is set toCONTRACT_ADDRESS, our contract address.nonce- The account nonce is a value incremented by one, and is set to the number of transactions sent from our address,nonce.gas- The estimated gas needed to complete the transaction is set to500000.data- The computation we wish to perform in this transaction that mints the NFT,nftContract.methods.mintNFT(PUBLIC_KEY, tokenURI).encodeABI().
Add the following code to nft-metadata.json.
{
  "attributes": [
    {
      "trait_type": "Breed",
      "value": "Maltipoo"
    },
    {
      "trait_type": "Eye color",
      "value": "Mocha"
    }
  ],
  "description": "The world's most adorable and sensitive pup.",
  "image": "https://gateway.pinata.cloud/ipfs/QmWmvTJmJU3pozR9ZHFmQC2DNDwi2XJtf3QGyYiiagFSWb",
  "name": "Ramses"
}
This includes the specific image hosted on IPFS and information about the image.
Now let's run the NFT-minting script.
node scripts/mint-nft.js
If everything was set up correctly you will see the following response in your terminal output:
The hash of your transaction is: 0x1045c9e487b8928f5fac35dca695060a8b60b3f750aa82e178a436424c197d7e
Check Alchemy's Mempool to view the status of your transaction!
Now let's try and view the NFT we just minted. There's one little roadblock here: the MetaMask browser extension does not currently include the ability to view an NFT. To do so, you must download the MetaMask Mobile app. You will need to use the same account you were using in your browser.
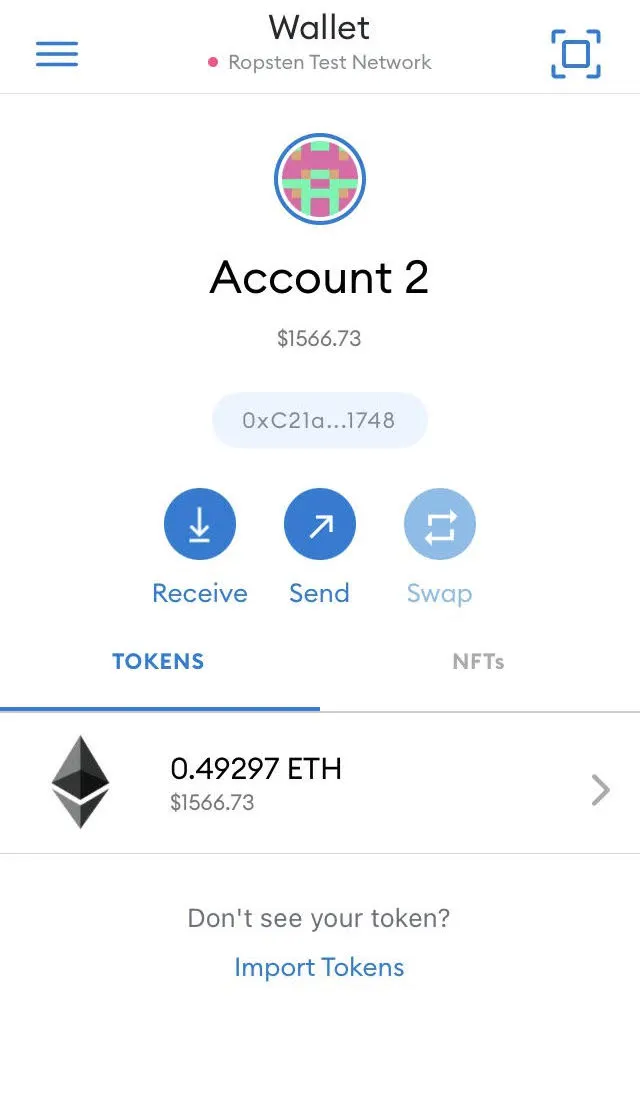
After importing your account, you will be able to import and view your NFT.
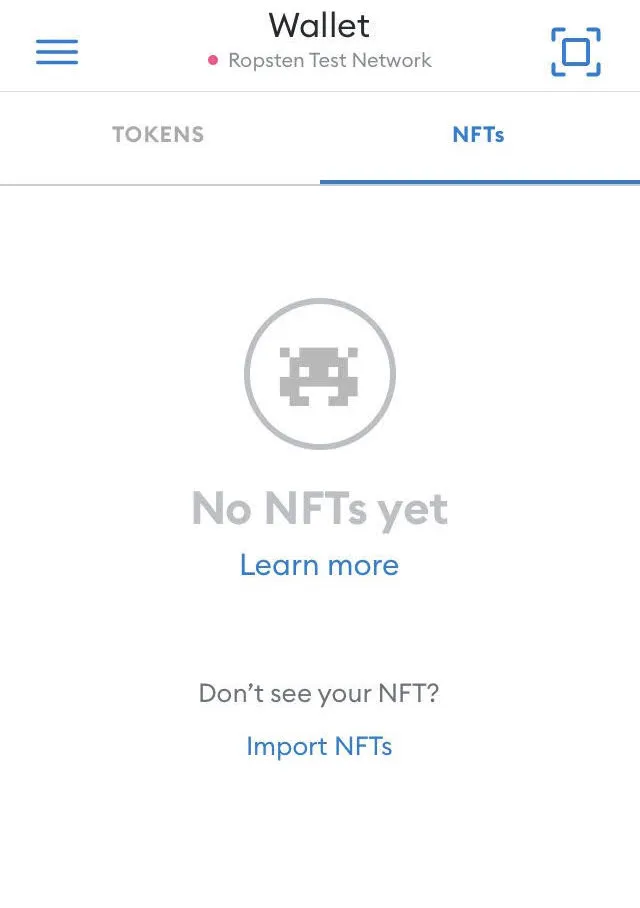
Include the contract address and the ID number, 1.
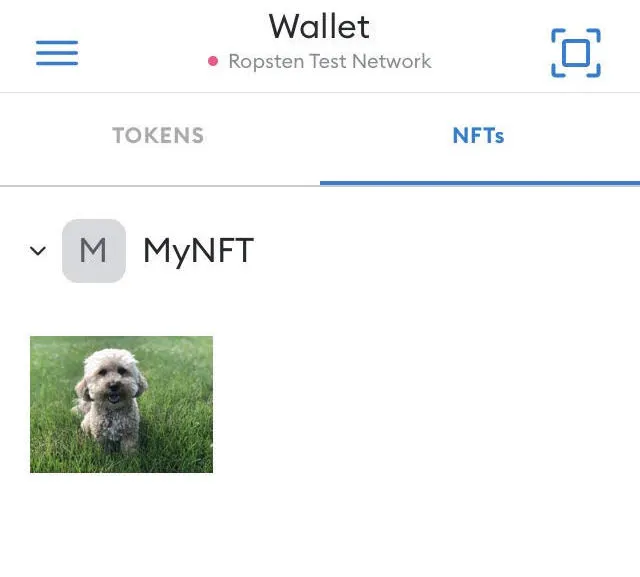
Your NFT will now be accessible from your mobile wallet.
Save Information in Fauna Database
Create a Node script to save the metadata about your NFT in your Fauna database.
touch save-to-fauna.js
In this file, we will use node-fetch to perform a GraphQL query. You can authenticate against Fauna's GraphQL endpoint by including your API key in the Authorization header.
// save-to-fauna.js

require("dotenv").config()

const {
  ALCHEMY_URL, PUBLIC_KEY, PRIVATE_KEY, CONTRACT_ADDRESS, NFT_URL, FAUNA_KEY
} = process.env

const fetch = require('node-fetch')

async function faunaQuery() {
  try {
    fetch('https://graphql.fauna.com/graphql', {
      method: 'POST',
      headers: {
        "Content-Type": "application/json",
        Authorization: `Bearer ${FAUNA_KEY}`
      },
      body: JSON.stringify({
        query: `
          mutation CREATE_NFT {
            createNFT(
              data: {
                alchemyURL: "${ALCHEMY_URL}",
                privateKey: "${PRIVATE_KEY}",
                publicKey: "${PUBLIC_KEY}",
                contractAddress: "${CONTRACT_ADDRESS}",
                nftURL: "${NFT_URL}"
              }
            ) {
              _id
            }
          }
        `
      })
    })
    .then(res => res.json())
    .then(data => console.log(data.data.createNFT))
  } catch (err) {
    console.log("Error: ", err)
  }
}
faunaQuery()
Run the Node script with the following command:
node save-to-fauna.js
Open the Collections tab to see the information saved in your Fauna database.
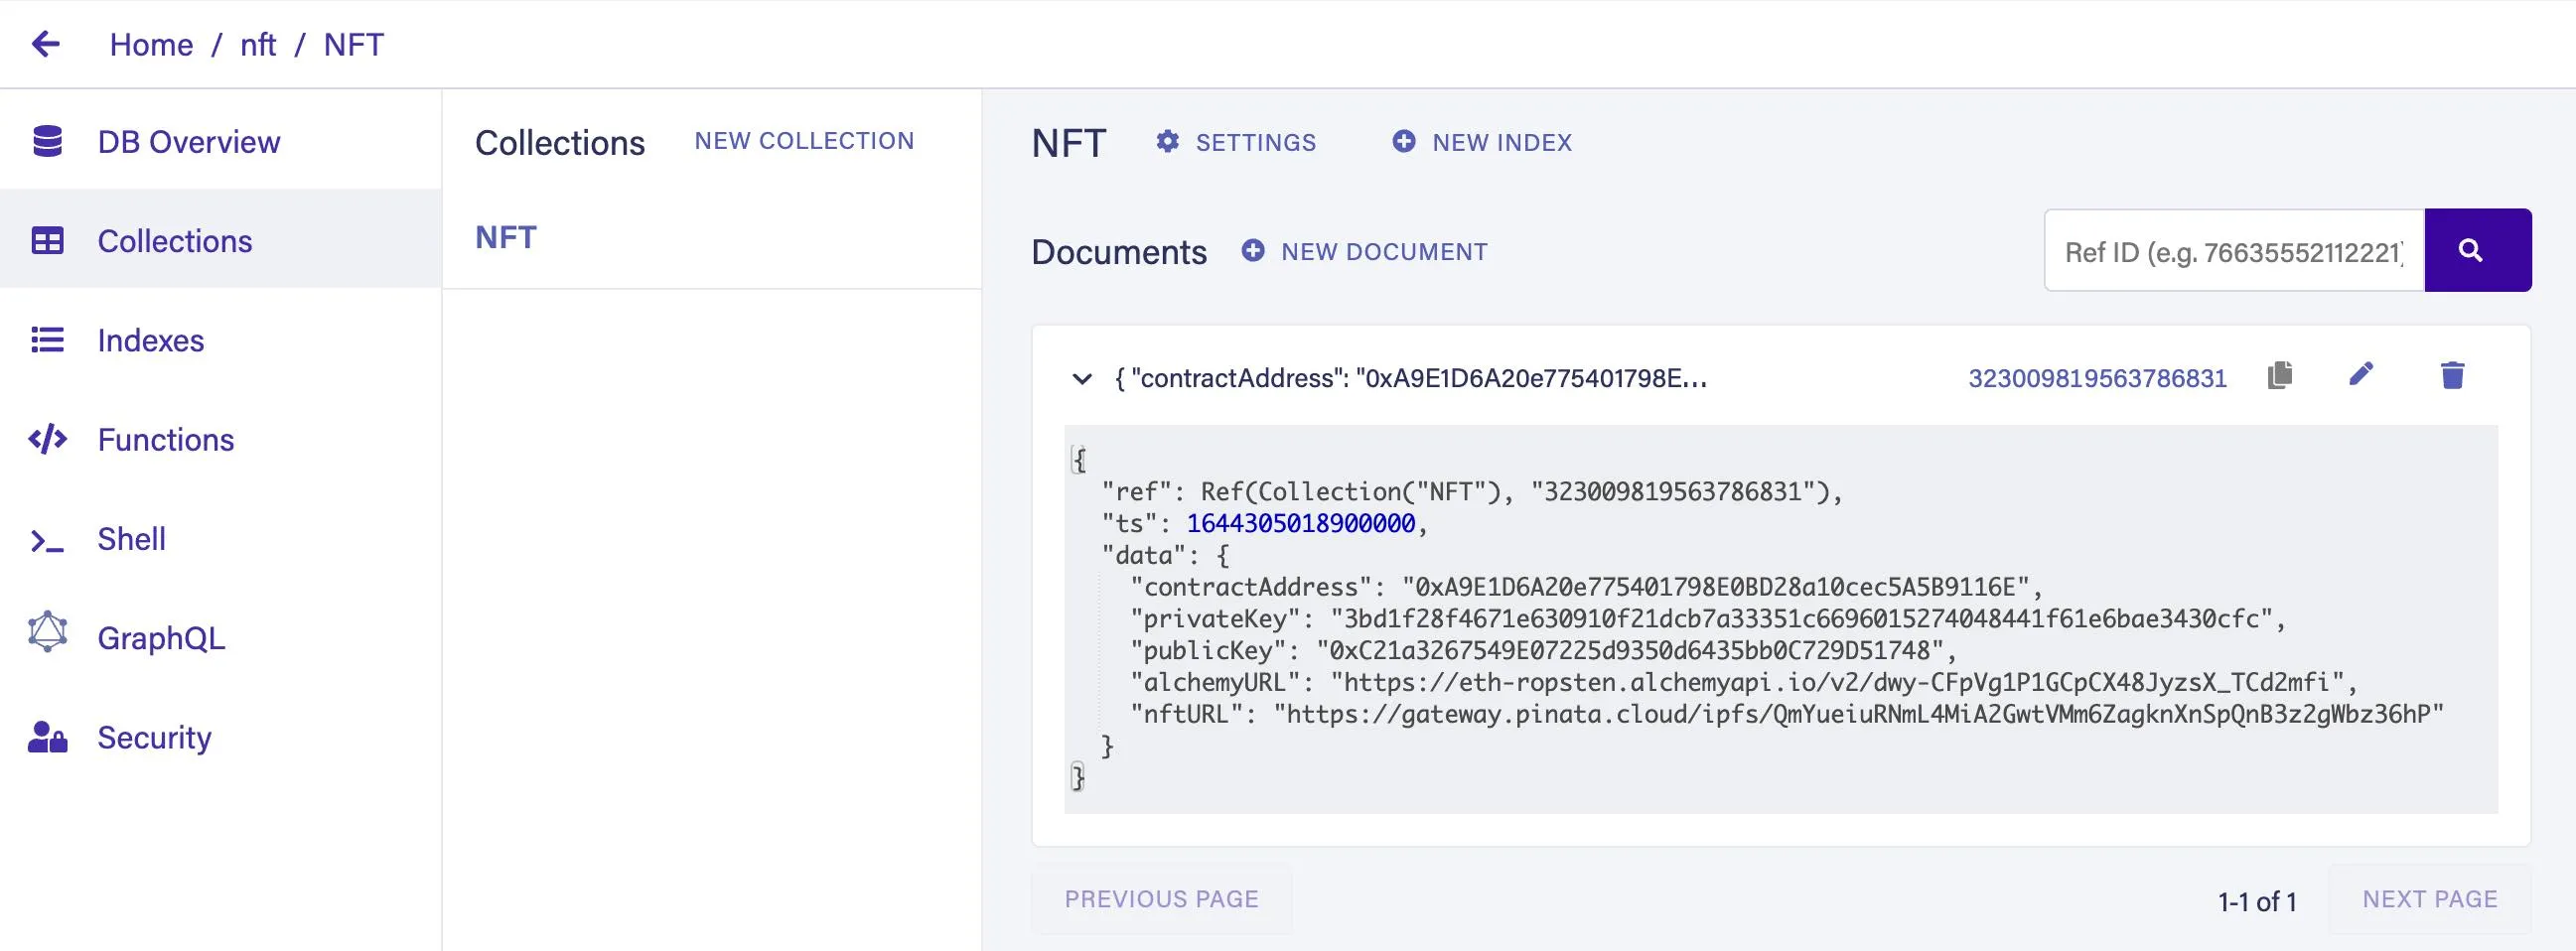
You can also query for your NFT in the Fauna GraphQL explorer by including its id in the following query:
query GET_NFT {
  findNFTByID(id: "323009819563786831") {
    _id
    alchemyURL
    contractAddress
    privateKey
    publicKey
    nftURL
  }
}
This will output your NFT's information:
{
  "data": {
    "findNFTByID": {
      "_id": "323009819563786831",
      "alchemyURL": "https://eth-ropsten.alchemyapi.io/v2/dwy-CFpVg1P1GCpCX48JyzsX_TCd2mfi",
      "contractAddress": "0xA9E1D6A20e775401798E0BD28a10cec5A5B9116E",
      "privateKey": "3bd1f28f4671e630910f21dcb7a33351c6696015274048441f61e6bae3430cfc",
      "publicKey": "0xC21a3267549E07225d9350d6435bb0C729D51748",
      "nftURL": "https://gateway.pinata.cloud/ipfs/QmYueiuRNmL4MiA2GwtVMm6ZagknXnSpQnB3z2gWbz36hP"
    }
  }
}
Summary
In this tutorial you've learned how to create a Hardhat development environment that connects to the Ropsten test network through an Alchemy node. We wrote, compiled, and deployed a smart contract to Ropsten and interacted with that smart contract with test ether sent to a MetaMask wallet.
After deploying the contract to the test network, we minted an NFT and imported it into our MetaMask Mobile wallet where it could be viewed. Finally, we stored the private information about our NFT in a Fauna database for off-chain access.
If you've got more questions about how to work with Fauna, check out the docs and join the Discord community!