A First Look at Nuxt 3
Published:
Nuxt is a Vue metaframework for building performant web applications while maintaining an intuitive developer experience.
Outline
All of this project’s code can be found in the First Look monorepo on my GitHub.
Introduction
Nuxt is a Vue metaframework that aims to make web development intuitive and performant while keeping great developer experience in mind. The original version, created by Sébastien Chopin in October 2016, was built to emulate the features of Next.js (such as file-system based routing, server-side rendering, and API routes) but with Vue instead of React. Version 3 has been over a year in the making.
We are excited to open source Nuxt 3 after more than a year of intense development. On top of supporting Vue 3 and Vite, Nuxt 3 contains a new server engine, unlocking new fullstack capabilities to Nuxt server and beyond.
Nuxt 3 is composed of the following core packages:
| Package | Purpose |
|---|---|
| nuxt3 | Core Engine |
| nuxi | Command line interface |
| vite-builder | Bundler Option |
| webpack-builder | Bundler Option |
| nitro | Server engine |
| kit | Development kit |
| bridge | Nuxt 2 Bridge |
Together these packages provide a selection of libraries for managing many common concerns for developers building on the web today such as:
| Library | Common Concern |
|---|---|
| Vue.js | JavaScript framework for reactivity and components |
| Vite or Webpack 5 | Bundler for hot module replacement in dev and bundling for production |
| esbuild | Transpiler for supporting legacy browsers while still using current JavaScript syntax |
| h3 | Server that can serve your application in development and support SSR or API routes |
| vue-router | Routing library to handle client-side navigation |
In addition to curating and integrating these tools, Nuxt also provides directory structure conventions for managing pages and components.
Migrating from Nuxt 2 to Nuxt 3
Note: If you don’t have a Nuxt 2 project, skip ahead to the section, “Create Nuxt 3 Project from Scratch.”
The team has created two migration guides and tooling in the form of Nuxt Bridge to make migrating as smooth as possible . If you have an existing Nuxt 2 project, the team strongly recommends you begin by using Nuxt Bridge to experiment with new features while avoiding breaking changes. Bridge is a forward-compatibility layer that allows you to experience new Nuxt 3 features by installing and enabling a Nuxt module.
All Nuxt 2 modules should be forward compatible with Nuxt 3 as long as they migrate to bridge or if they are already following guidelines. All (upcoming) modules made with @nuxt/kit should be backward compatible with Nuxt 2 projects (even without bridge) as long as they are not depending on a Nuxt 3 / Bridge-only feature. Since Nuxt 3 natively supports TypeScript and ECMAScript Modules, it is useful to avoid CommonJS syntax such as __dirname, __filename, require(), and module.exports as much as possible.
Create Nuxt 3 Project from Scratch
Create a blank new directory and initialize a package.json file for defining our scripts and dependencies.
mkdir ajcwebdev-nuxt3cd ajcwebdev-nuxt3yarn init -yyarn add -D nuxt@3.0.0-rc.3 vercelVersion is current as of June 10, 2022, check the release schedule on GitHub for most recent version.
The project will start with only two additional files:
app.vueto display our Vue application.gitignoreto avoid accidentally committing stuff that shouldn’t be committed
echo > app.vueecho 'node_modules\n.DS_Store\n*.log\n.nuxt\nnuxt.d.ts\n.output' > .gitignoreWe will create a directory for pages and an api later on.
App Component
app.vue is the main component in your Nuxt 3 applications. This means that anything you add to this file (such as JavaScript or CSS) will be global and included in every page.
<template> <div> <h2>ajcwebdev-nuxt3</h2> </div></template>With Nuxt 3, the pages directory is optional. If a pages directory is not present, Nuxt won’t include the vue-router dependency. This is useful when working on single landing pages or other applications that don’t not need routing.
Project Scripts
In your package.json, add the following scripts (build, dev, generate, and preview).
{ "name": "ajcwebdev-nuxt3", "license": "MIT", "scripts": { "build": "nuxt build", "dev": "nuxt dev", "generate": "nuxt generate", "preview": "nuxt preview" }, "devDependencies": { "nuxt": "3.0.0-rc.3", "vercel": "^25.1.0" }}Nuxi is the new CLI for Nuxt 3 and has four main commands:
dev- Start development serverbuild- Make production assetsgenerate- Generate static sitepreview- Preview production build
Start Development Server
The yarn dev command starts your Nuxt app in development mode and includes hot module replacement. Include the --open flag to automatically open the browser after starting up.
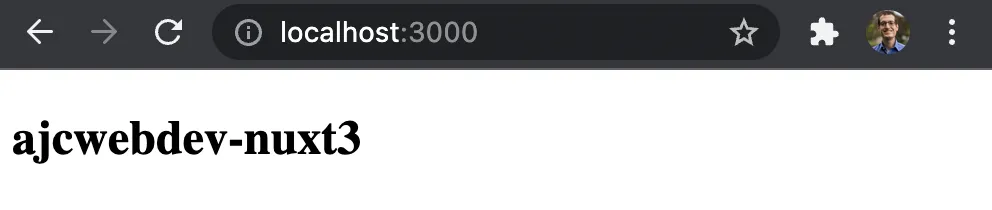
yarn devThe CLI will display links to the running application and performance metrics.
Nuxt CLI v3.0.0-rc.3
  > Local:    http://localhost:3000/  > Network:  http://192.168.1.78:3000/
ℹ Vite client warmed up in 288msℹ Vite server warmed up in 50ms✔ Vite server built in 269ms✔ Nitro built in 171 ms
Open localhost:3000 to see your application.
Build for Production
The yarn build command builds your Nuxt application for production. It creates a .output directory with your application, server, and dependencies ready to be deployed.
yarn buildNitro produces a standalone server dist that is independent of node_modules. The output is combined with both runtime code to run your Nuxt server in any environment and serve you static files.
Pages Directory
The pages directory is optional, meaning that if you only use app.vue, vue-router won’t be included, reducing your application bundle size. However, if you do include it, Nuxt will automatically integrate Vue Router and map the files in the pages directory into the routes of your application. Delete app.vue and create two files in a new pages directory.
rm -rf app.vuemkdir pagesecho > pages/about.vueecho > pages/index.vueInclude the previous home page’s content in pages/index.vue.
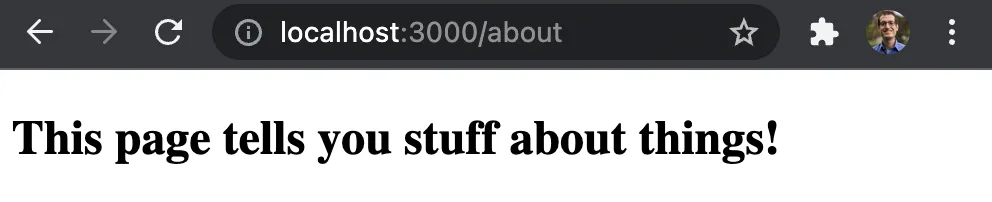
<template> <div> <h2>ajcwebdev-nuxt3</h2> </div></template>We also created pages/about.vue for an about page. Include the following code to make sure that people know stuff about your things.
<template> <div> <h2>This page tells you stuff about things!</h2> </div></template>Open localhost:3000/about to see the about page.
Server Engine
Nuxt 3 is powered by a new server engine called Nitro. Nitro is used in development and production. It includes cross-platform support for Node.js, browser engines, service workers and serverless. It enables API routes, code-splitting, async-loaded chunks, and hybrid static/serverless modes. The Server API endpoints and middleware internally use h3.
- Handlers can directly return objects/arrays for JSON response
- Handlers can return promises that are awaited (
res.end()andnext()are also supported) - Helper functions include body parsing, cookie handling, redirects, and headers
Nitro allows ‘direct’ calling of routes via the globally-available $fetch helper. If run on the browser it will make an API call to the server. But it will call the relevant function if run on the server and save an additional API call. The $fetch API uses ohmyfetch to:
- Automatically parse JSON responses (with access to raw responses if needed)
- Automatically handle request body and params with correct
Content-Typeheaders added
Server Directory for API Routes
The server directory contains API endpoints and server middleware for your project. It is used to create any backend logic for your Nuxt application. Nuxt will automatically read in any files in the ~/server/api directory to create API endpoints. Each file should export a default function that handles API requests.
mkdir -p server/apiecho > server/api/index.jsAdd the following code to index.js.
export default (req, res) => (` <h2>Hello from Nuxt 3</h2>`)Open localhost:3000/api and make sure not to include a trailing slash or it will error out.

We could also flesh out this route into a full HTML document.
export default (req, res) => (`  <html lang="en">    <head>      <meta charset="UTF-8">      <meta name="viewport" content="width=device-width, initial-scale=1.0">      <meta name="description" content="A minimal HTML website served on a Nuxt API route.">      <title>Nuxt 3 API Route</title>    </head>
    <body>      <header>        <h2>Hello from Nuxt 3</h2>      </header>      <footer>ajcwebdev '22</footer>    </body>  </html>`)
Deployment
What’s the point of a framework if you can’t deploy it on multiple Jamstack platforms?
Deploy to Vercel
yarn vercel? Set up and deploy “~/ajcwebdev-nuxt3”? [Y/n] y? Which scope do you want to deploy to? Anthony Campolo? Link to existing project? [y/N] n? What's your project's name? ajcwebdev-nuxt3? In which directory is your code located? ./
Auto-detected Project Settings (Nuxt.js):- Build Command: nuxt generate- Output Directory: dist- Development Command: nuxt? Want to override the settings? [y/N] n
🔗 Linked to ajcwebdev/ajcwebdev-nuxt3 (created .vercel and added it to .gitignore)🔍 Inspect: https://vercel.com/ajcwebdev/ajcwebdev-nuxt3/2hzPze5Wmzv9hDxNXGovirFLgw4X [5s]✅ Production: https://ajcwebdev-nuxt3.vercel.app [copied to clipboard]📝 Deployed to production. Run `vercel --prod` to overwrite later (https://vercel.link/2F).💡 To change the domain or build command, go to https://vercel.com/ajcwebdev/ajcwebdev-nuxt3/settingsOpen ajcwebdev-nuxt3.vercel.app.
Deploy to Netlify
echo > netlify.toml[build] command = "yarn build" publish = "dist" functions = ".output/server"
[[redirects]] from = "/*" to = "/.netlify/functions/index" status = 200Create a GitHub repository with the GitHub CLI by running the following series of commands or visit repo.new and follow the instructions provided there.
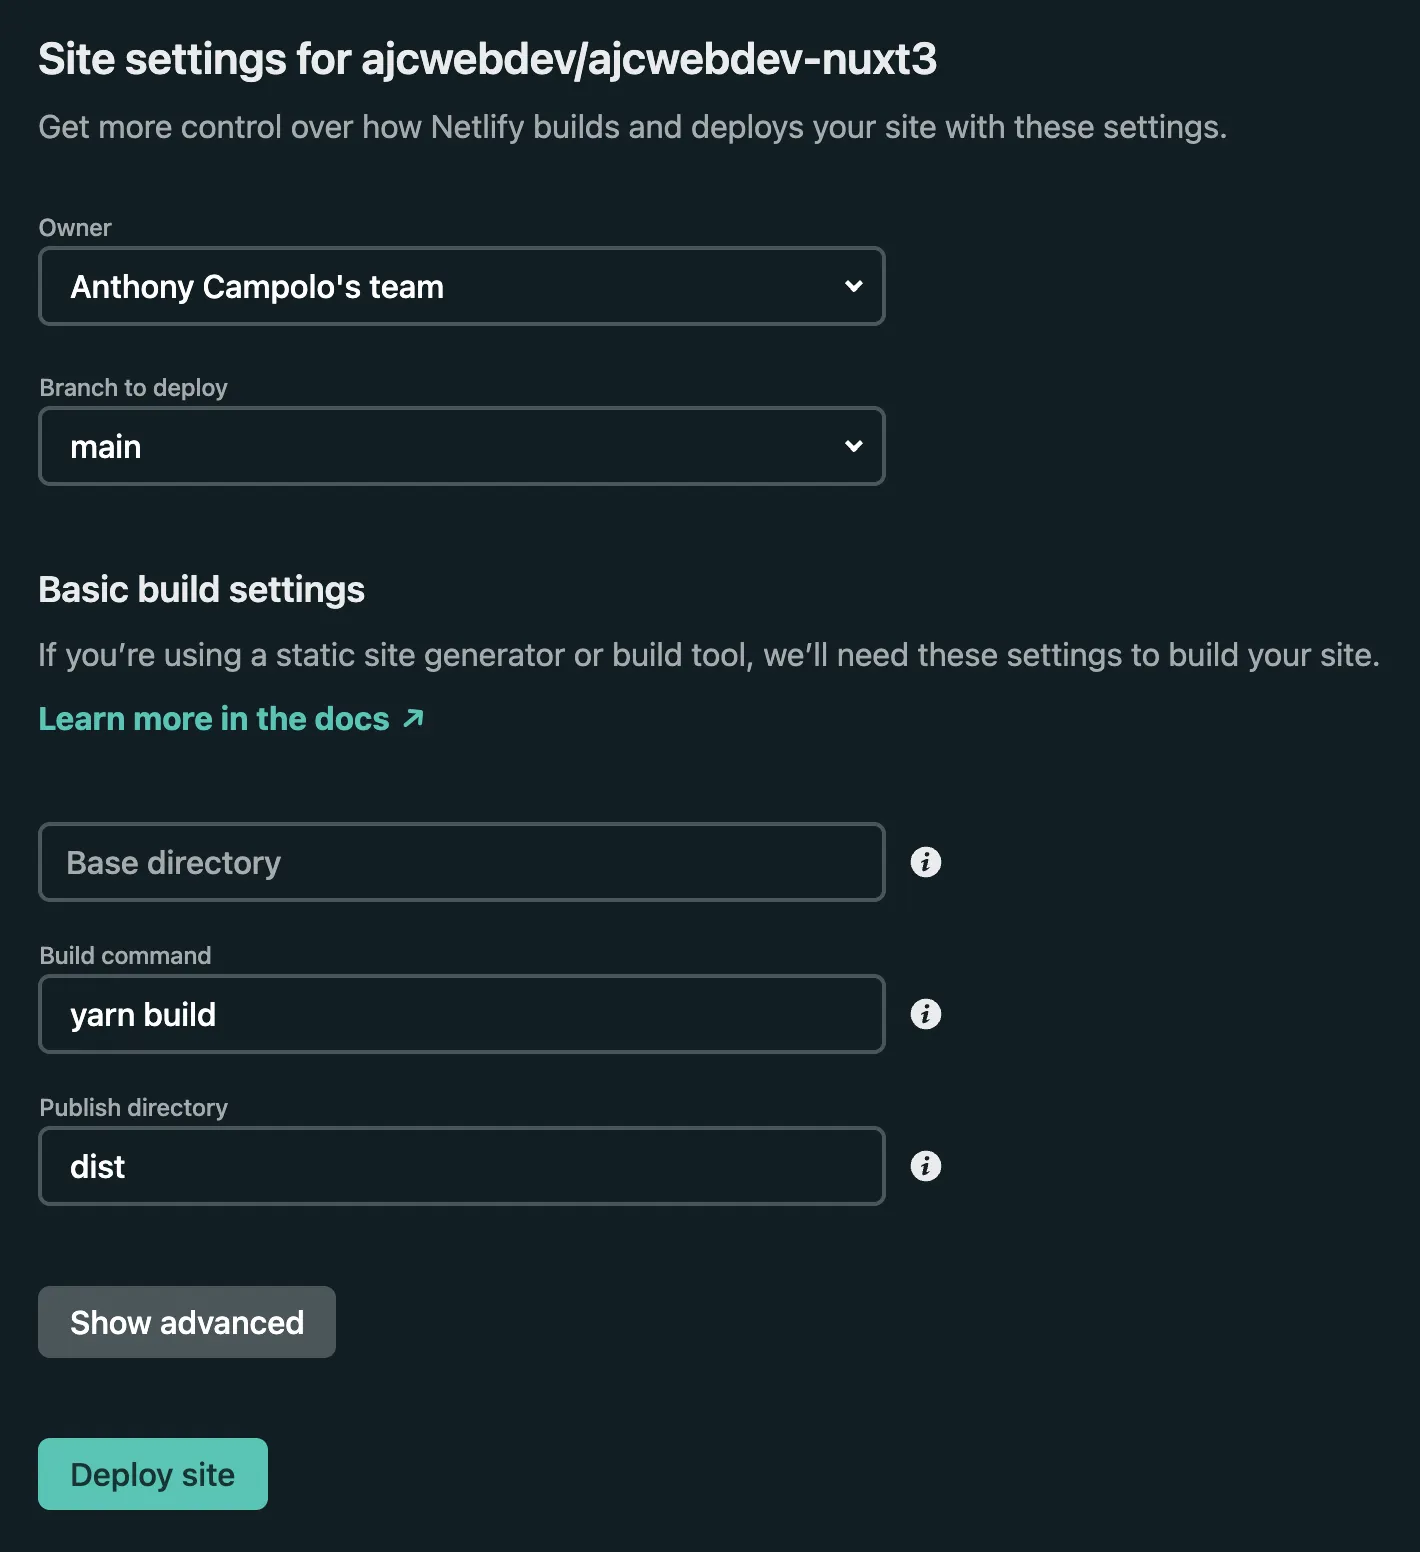
git initgit add .git commit -m "the nuxt best thing"gh repo create ajcwebdev-nuxt3 --public --push \ --source=. \ --description="An example Nuxt 3 application deployed on Netlify and Vercel" \ --remote=upstreamConnect your repo to your Netlify account.
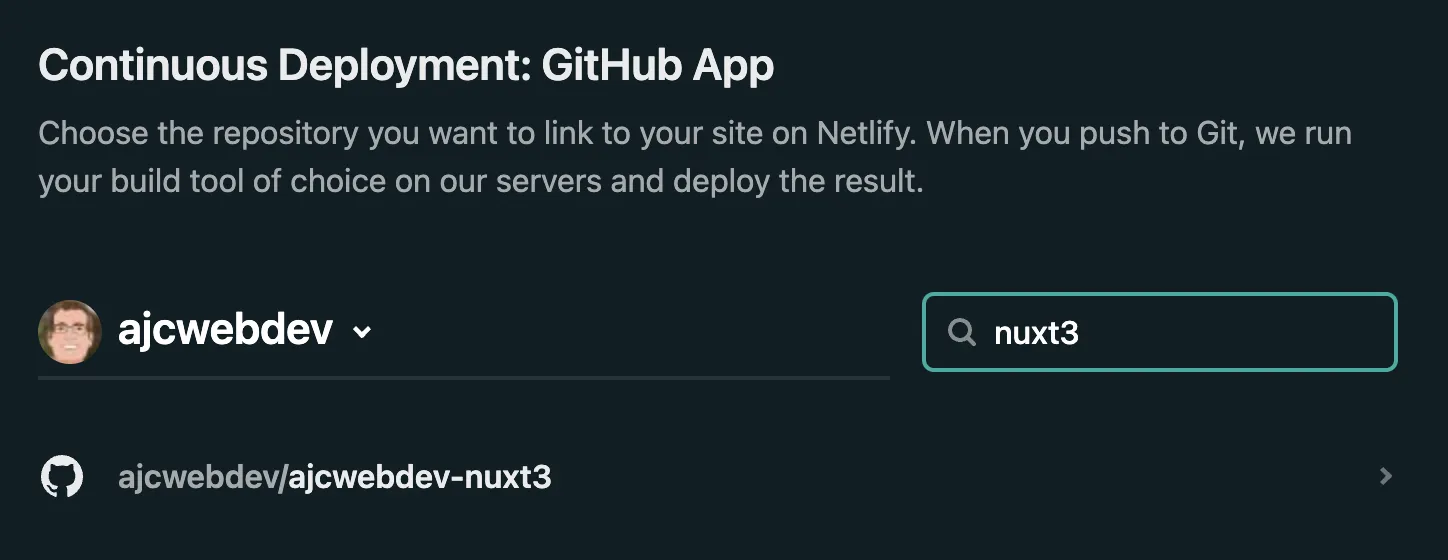
The build command and publish directory will be included automatically from the netlify.toml file.
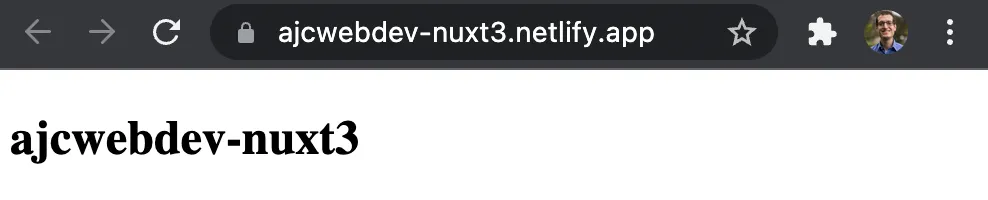
Lastly, give yourself a custom domain.
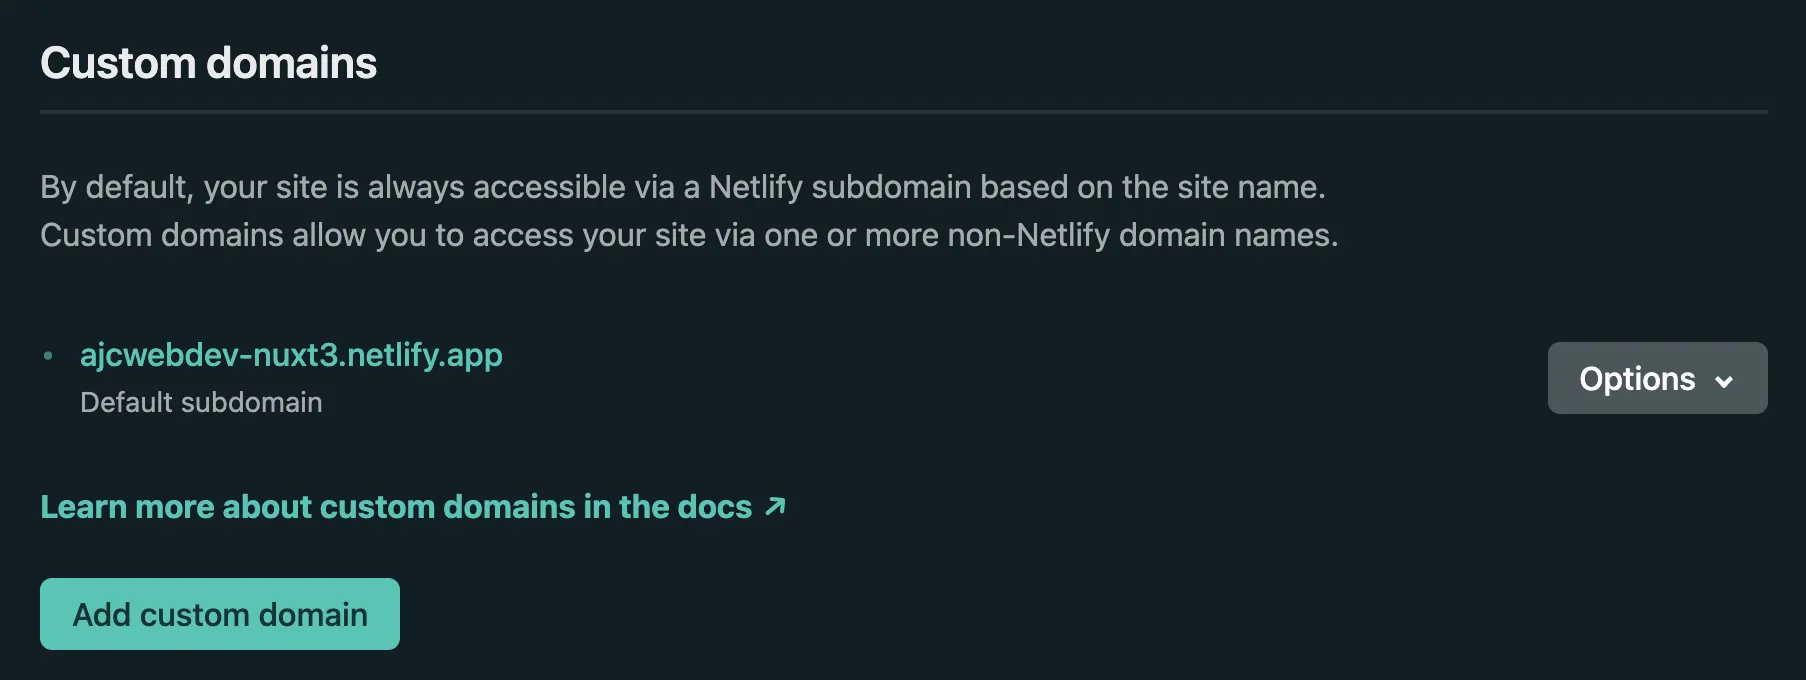
Open ajcwebdev-nuxt3.netlify.app.