A First Look at Pulumi
Published:
Pulumi provides open source infrastructure as code SDKs for creating, deploying, and managing infrastructure on multiple clouds in multiple languages.
Outline
All of this project’s code can be found in the First Look monorepo on my GitHub.
Introduction
Pulumi provides open source infrastructure as code SDKs that enable you to create, deploy, and manage infrastructure on numerous popular clouds in multiple programming languages.
Setup
In this tutorial, we’ll show you how to write a Pulumi program that creates a serverless app serving static content with dynamic routes in AWS Lambda.
Install Pulumi CLI
Instructions for downloading the CLI will vary depending on your operating system. This tutorial will use Homebrew on MacOS.
brew install pulumiSubsequent updates can be installed with brew upgrade.
brew upgrade pulumiConfigure AWS Credentials
Make sure you have the AWS CLI installed and an AWS account. For general use, aws configure is recommended as the fastest way to set up your AWS CLI installation.
aws configureWhen you enter this command, the AWS CLI prompts you for four pieces of information:
- Access key ID
- Secret access key
- AWS Region
- Output format
Go to My Security Credentials to find your Access Key ID, Secret Access Key, and default region. You can leave the output format blank.
AWS Access Key ID: <YOUR_ACCESS_KEY_ID>AWS Secret Access Key: <YOUR_SECRET_ACCESS_KEY>Default region name: <YOUR_REGION_NAME>Default output format [None]:Login to Pulumi
pulumi loginYou will be asked to hit <ENTER> to log in with your browser.
Manage your Pulumi stacks by logging in.
Run `pulumi login --help` for alternative login options.
Enter your access token from https://app.pulumi.com/account/tokens    or hit <ENTER> to log in using your browser
Create a New Pulumi Project
We’ll use the pulumi new command and generate a new project with the hello-aws-javascript template. It will be named ajcwebdev-pulumi with the --name flag.
mkdir ajcwebdev-pulumicd ajcwebdev-pulumipulumi new hello-aws-javascript --name ajcwebdev-pulumiYou will be asked to provide a description, stack name, and AWS region. I selected the default option for each.
Pulumi Yaml Files
A Pulumi project is any folder which contains a Pulumi.yaml file specifying metadata about your project. The project file must begin with a capitalized P and can use either .yml or .yaml extensions.
name: ajcwebdev-pulumiruntime: nodejsdescription: A simple AWS serverless JavaScript Pulumi programThe key-value pairs for any given stack are stored in your project’s stack settings file, which is automatically named Pulumi.<stack-name>.yaml.
config: aws:region: us-west-1Index File
Import the pulumi/aws package. Create a public HTTP endpoint using AWS API Gateway that serves static files from the www folder using AWS S3 with a REST API served on GET /name with AWS Lambda. Finally, export the public URL for the HTTP service with exports.url = endpoint.url.
const pulumi = require("@pulumi/pulumi")const aws = require("@pulumi/aws")const awsx = require("@pulumi/awsx")
const endpoint = new awsx.apigateway.API("hello", {  routes: [    {      path: "/",      localPath: "www",    },    {      path: "/source",      method: "GET",      eventHandler: (req, ctx, cb) => {        cb(undefined, {          statusCode: 200,          body: Buffer.from(JSON.stringify({ name: "AWS" }), "utf8").toString("base64"),          isBase64Encoded: true,          headers: { "content-type": "application/json" },        })      },    },  ],})
exports.url = endpoint.url
HTML Index File
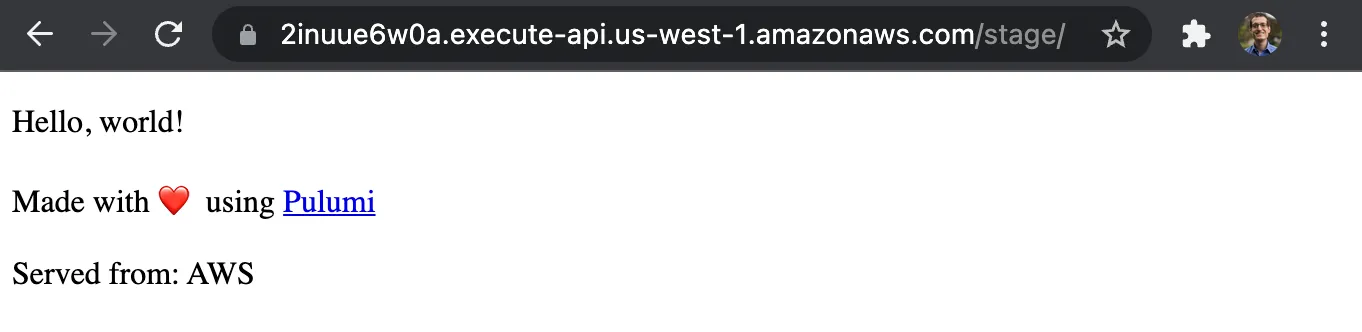
The project comes with a hello world example in the index.html file.
<!DOCTYPE html>
<html lang="en">  <head>    <meta charset="utf-8">    <title>Hello Pulumi</title>    <link rel="shortcut icon" href="favicon.png" type="image/png">  </head>
  <body>    <p>Hello, world!</p>    <p>Made with ❤️ using <a href="https://pulumi.com">Pulumi</a></p>    <p>Served from: <span id="source"></span></p>  </body>
  <script>    fetch("source")      .then(response => response.json())      .then(json => {        document.getElementById("source").innerText = json.name;      });  </script></html>
Deploy to Pulumi Cloud
Create or update the resources in a stack with pulumi up.
pulumi upDo you want to perform this update? [Use arrows to move, enter to select, type to filter]> yes no detailsSelect yes.
Outputs:    url: "https://2inuue6w0a.execute-api.us-west-1.amazonaws.com/stage/"
Resources:    + 22 created
Duration: 26s
Open the output’s URL, (2inuue6w0a.execute-api.us-west-1.amazonaws.com/stage/ in my case) to see your site.
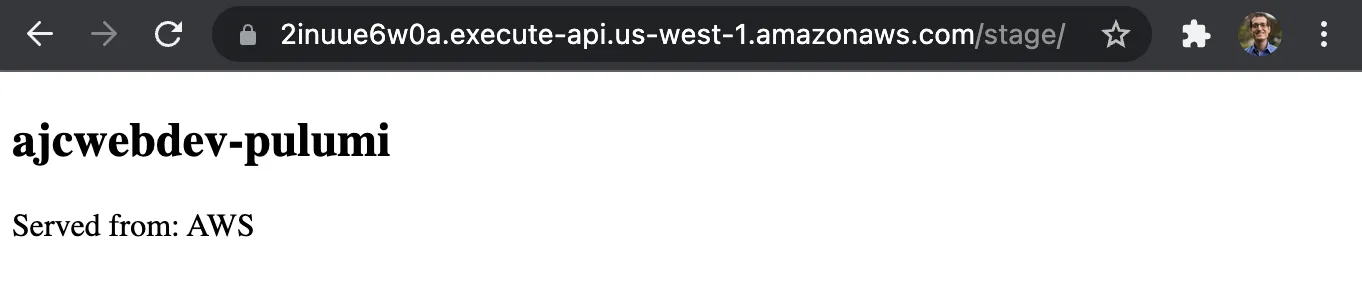
Update HTML File
Change stuff.
<!DOCTYPE html>
<html lang="en">  <head>    <meta charset="utf-8">    <title>ajcwebdev-pulumi</title>    <link rel="shortcut icon" href="favicon.png" type="image/png">  </head>
  <body>    <h2>ajcwebdev-pulumi</h2>    <p>Served from: <span id="source"></span></p>  </body>
  <script>    fetch("source")      .then(response => response.json())      .then(json => {        document.getElementById("source").innerText = json.name;      });  </script></html>
Run pulumi up again to deploy your changes.
pulumi upCheck back to your URL.