
Deploy Node on Digital Ocean with PM2
Published:
Learn how to create a backend Node.js server and deploy it on Digital Ocean with a popular Node process manager called PM2.
Outline
- Introduction
- Create Node App with PM2
- Deploy Linux Server on Digital Ocean Droplet
- Install Server Dependencies and Start Server
All of this project’s code can be found in the First Look monorepo on my GitHub.
Introduction
Serverless deployment is becoming easier and easier every year, but there will always be a subset of use cases that require a persistent, running server. Projects with stricter requirements around performance, computation, storage, concurrency, and isolation may opt for a more traditional deployment strategy and host a Linux server.
In this tutorial we will deploy a Node.js application on Digital Ocean with PM2. PM2 is a production process manager for Node.js applications. It contains a built-in load balancer that allows you to keep applications alive indefinitely and it can also reload applications without downtime.
Create Node App with PM2
We will generate a minimal Node.js application. The only dependency we will install is pm2.
mkdir ajcwebdev-pm2cd ajcwebdev-pm2yarn init -yyarn add pm2touch index.jsecho 'node_modules\n.DS_Store' > .gitignoreIf we look at our package.json file in the root of our project we will see:
{ "name": "ajcwebdev-pm2", "version": "1.0.0", "main": "index.js", "license": "MIT", "dependencies": { "pm2": "^5.1.2" }}Create HTTP Server
index.js will return a header and paragraph tag.
const http = require('http')
const port = process.env.PORT || 8080
const server = http.createServer((req, res) => {  res.statusCode = 200  res.setHeader('Content-Type', 'text/html')  res.write('<title>ajcwebdev-pm2</title>')  res.write('<h1>ajcwebdev-pm2</h1>')  res.end('<p>PM2 is a daemon process manager</p>')})
server.listen(port, () => {  console.log(`Server running on Port ${port}`)})
Start Server on Localhost
Enter the following command to start your development server and see your project.
node index.jsThe file is served to localhost:8080. You should see the following message in your terminal.
Server running on Port 8080Open localhost:8080 to see your application.

Configure Node App for PM2
Create a PM2 ecosystem configuration file.
yarn pm2 initTerminal output:
File /Users/ajcwebdev/ajcwebdev-pm2/ecosystem.config.js generatedOpen the newly created ecosystem.config.js file.
module.exports = {  apps : [{    script: 'index.js',    watch: '.'  }, {    script: './service-worker/',    watch: ['./service-worker']  }],
  deploy : {    production : {      user : 'SSH_USERNAME',      host : 'SSH_HOSTMACHINE',      ref  : 'origin/master',      repo : 'GIT_REPOSITORY',      path : 'DESTINATION_PATH',      'pre-deploy-local': '',      'post-deploy' : 'npm install && pm2 reload ecosystem.config.js --env production',      'pre-setup': ''    }  }}
We’ll make a few adjustments to the apps object.
module.exports = { apps : [{ name: "ajcwebdev-pm2", script: "./index.js", env: { NODE_ENV: "development", }, env_production: { NODE_ENV: "production", } }]}Create GitHub Repository
Create a repository on GitHub or use the gh repo create command with the GitHub CLI.
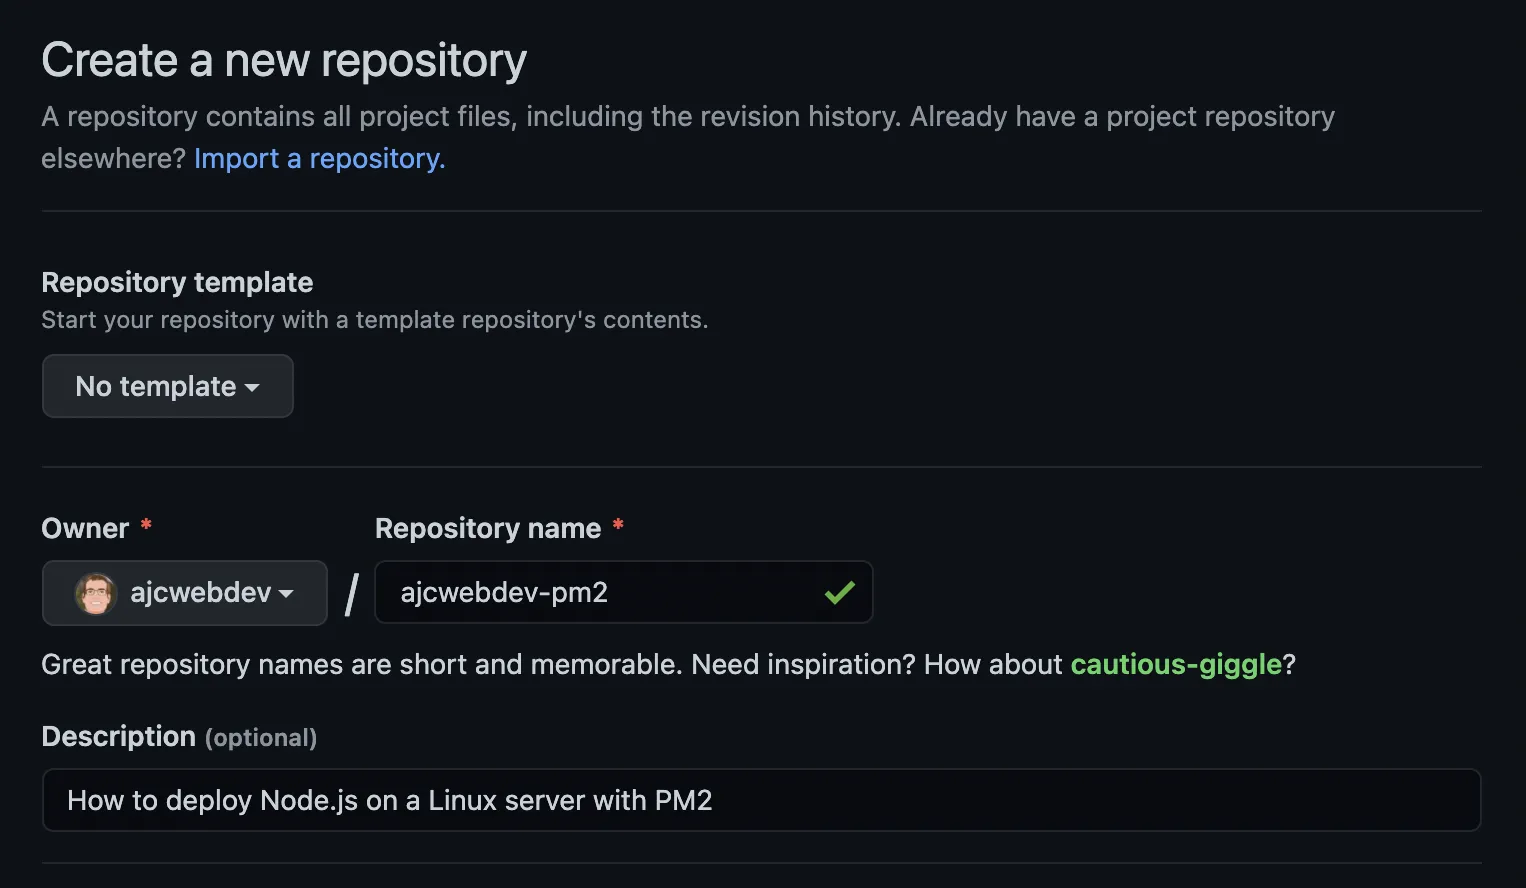
In your Node project initialize a Git repository.
git initgit add .git commit -m "Cause I need a server"Create a new repository, set the remote name from the current directory, and push the project to the newly created repository.
gh repo create ajcwebdev-pm2 \ --public \ --source=. \ --remote=upstream \ --pushVerify that your project was pushed to main.
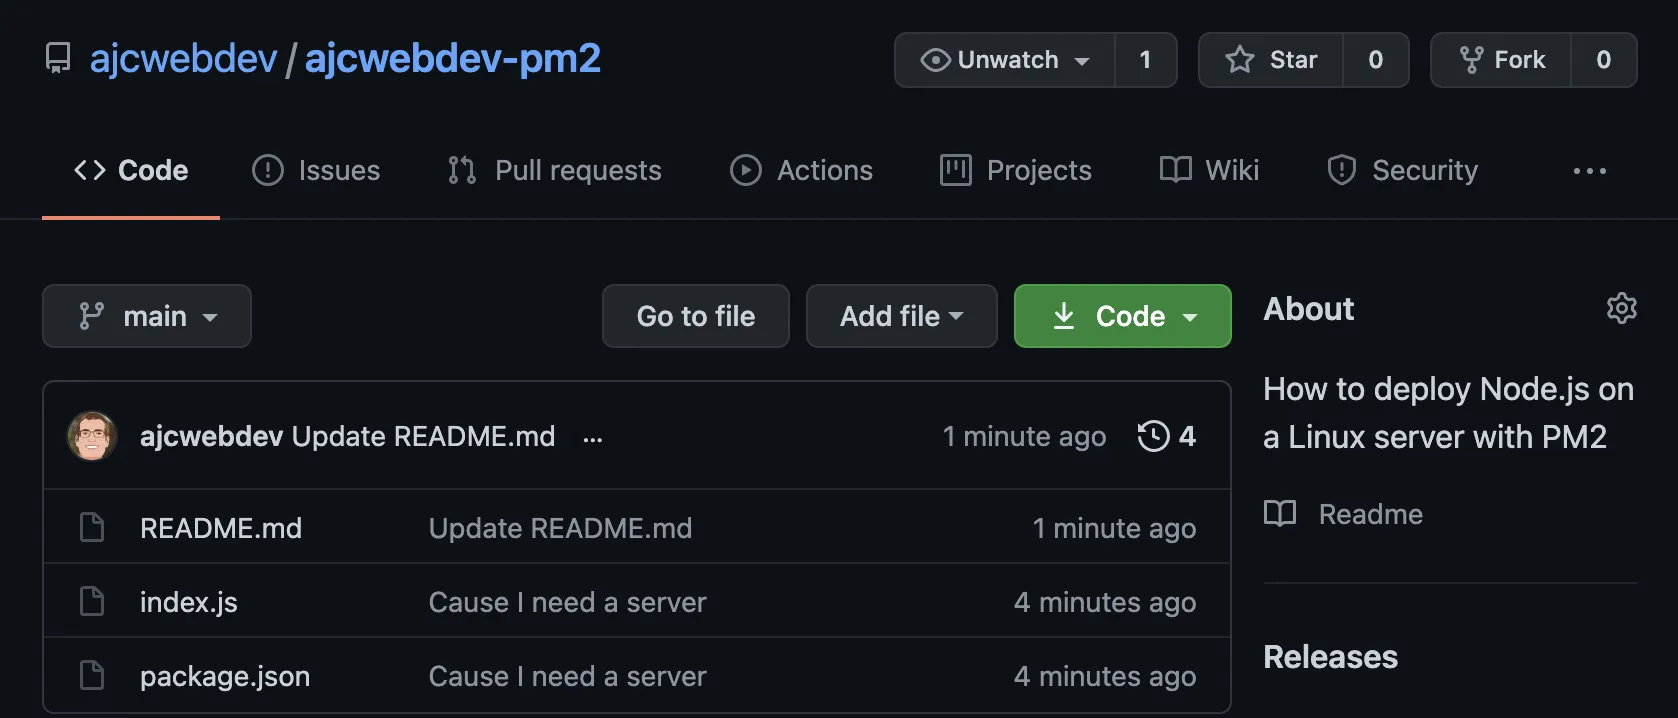
That was the easy part. Here be servers.
Deploy Linux Server on Digital Ocean Droplet
There are many ways to host a Linux server, if you are comfortable with other providers you should be able to host this example project essentially anywhere you can host a Node server. We will create an account on Digital Ocean which provides $100 of free credits to get started.
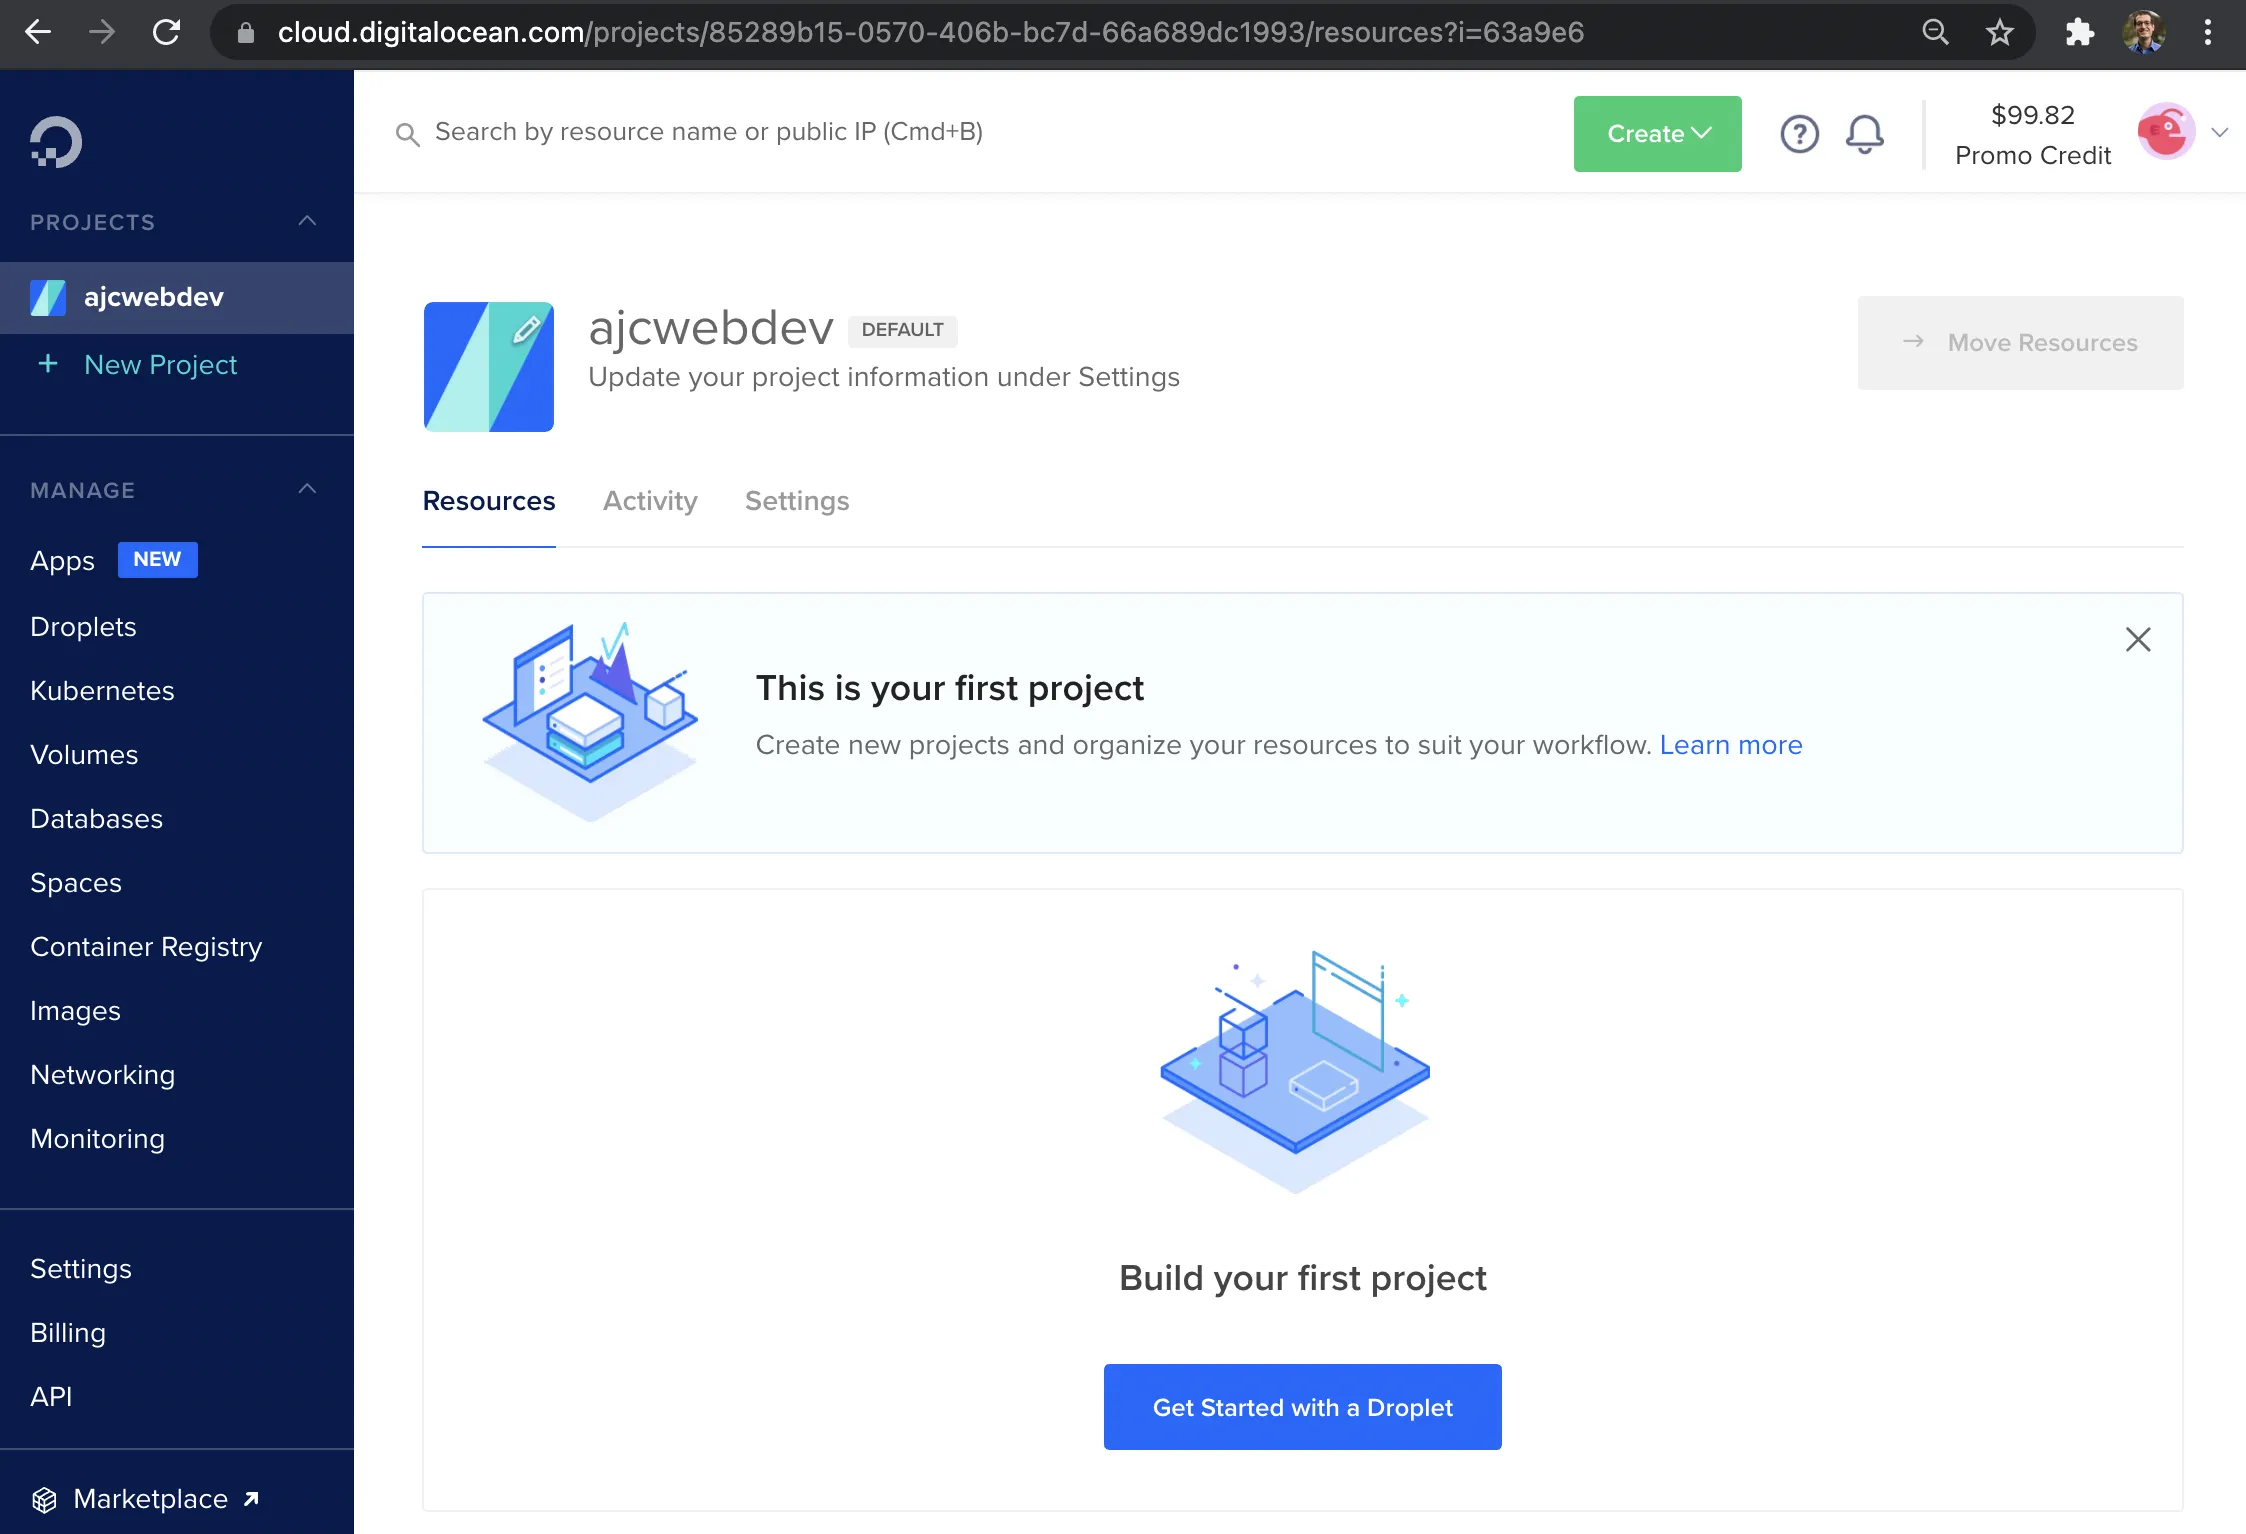
Click “Get Started with a Droplet” to get started with a droplet.
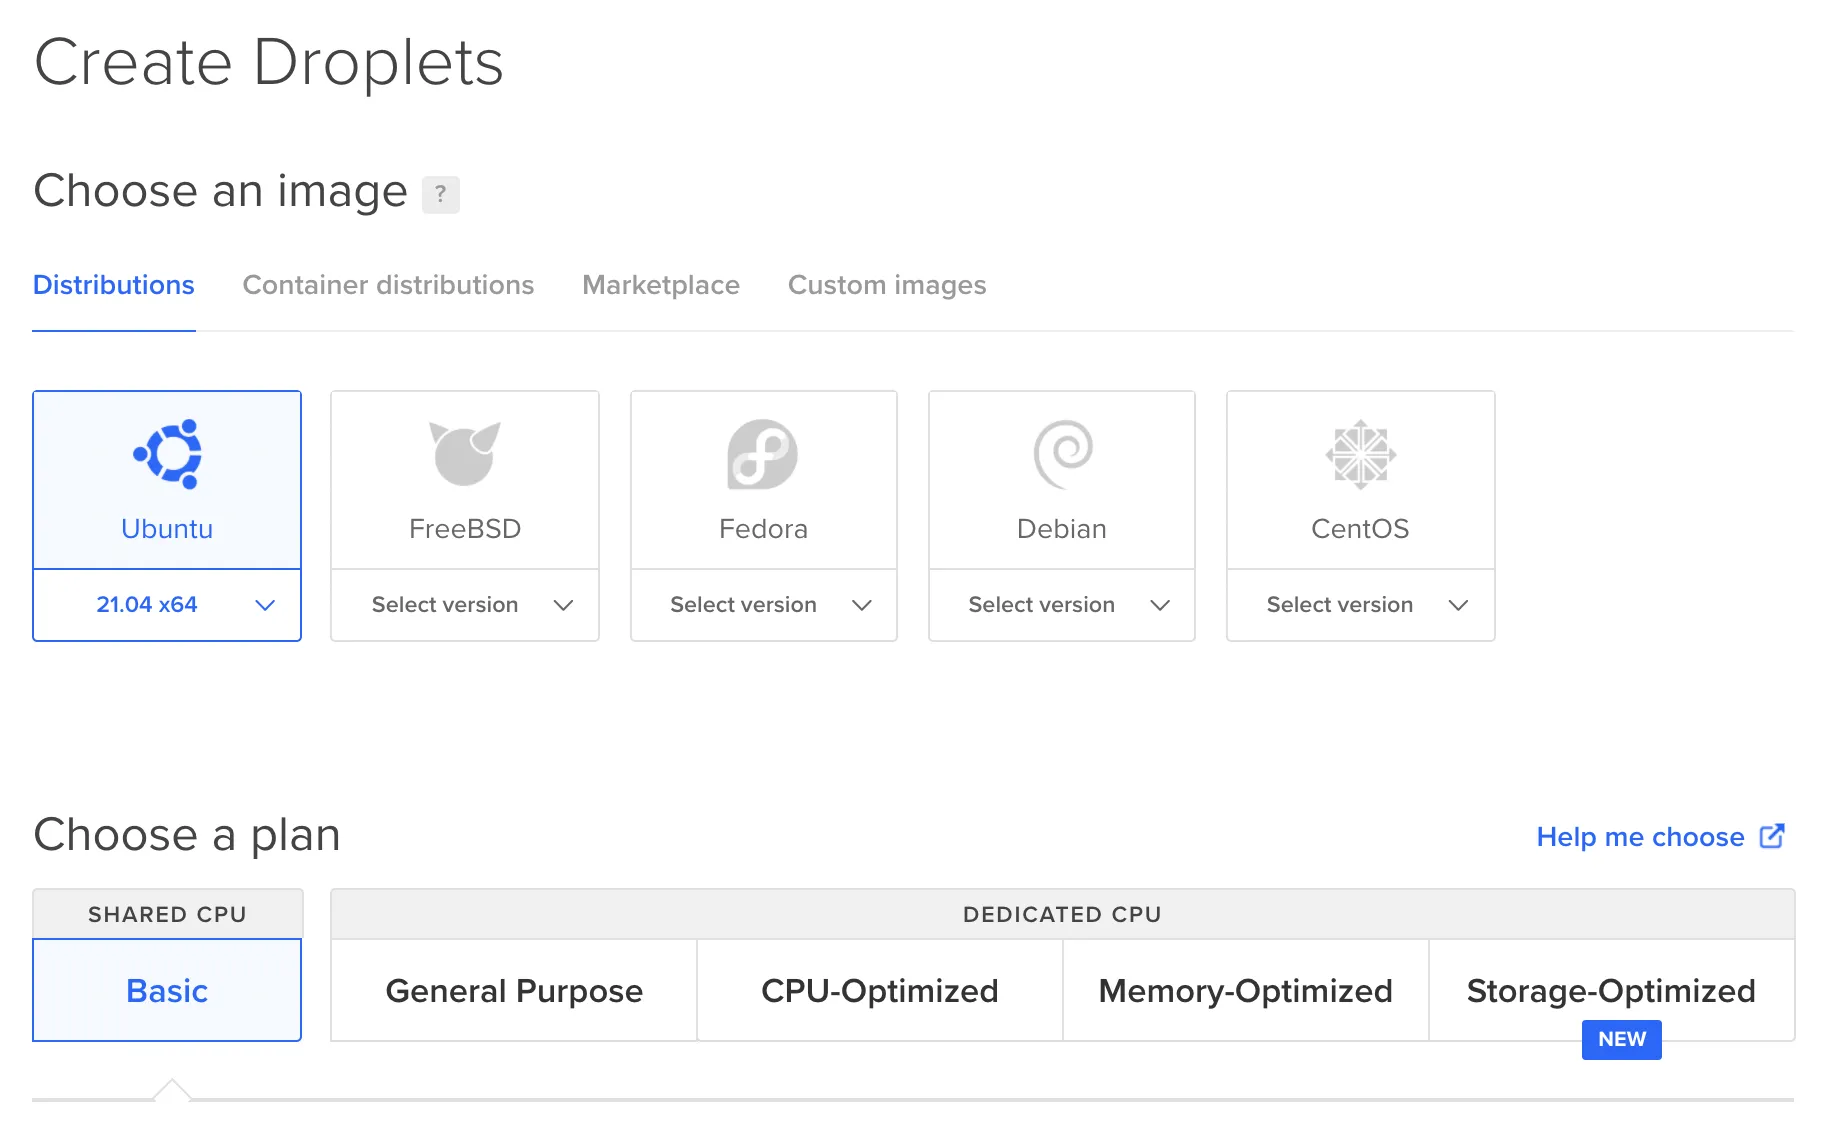
Select Ubuntu 21.04 x64 and the Shared CPU plan.

Select the cheapest option, Regular Intel with SSD and $5 a month.

We do not need block storage. Pick the datacenter region closest to your location.
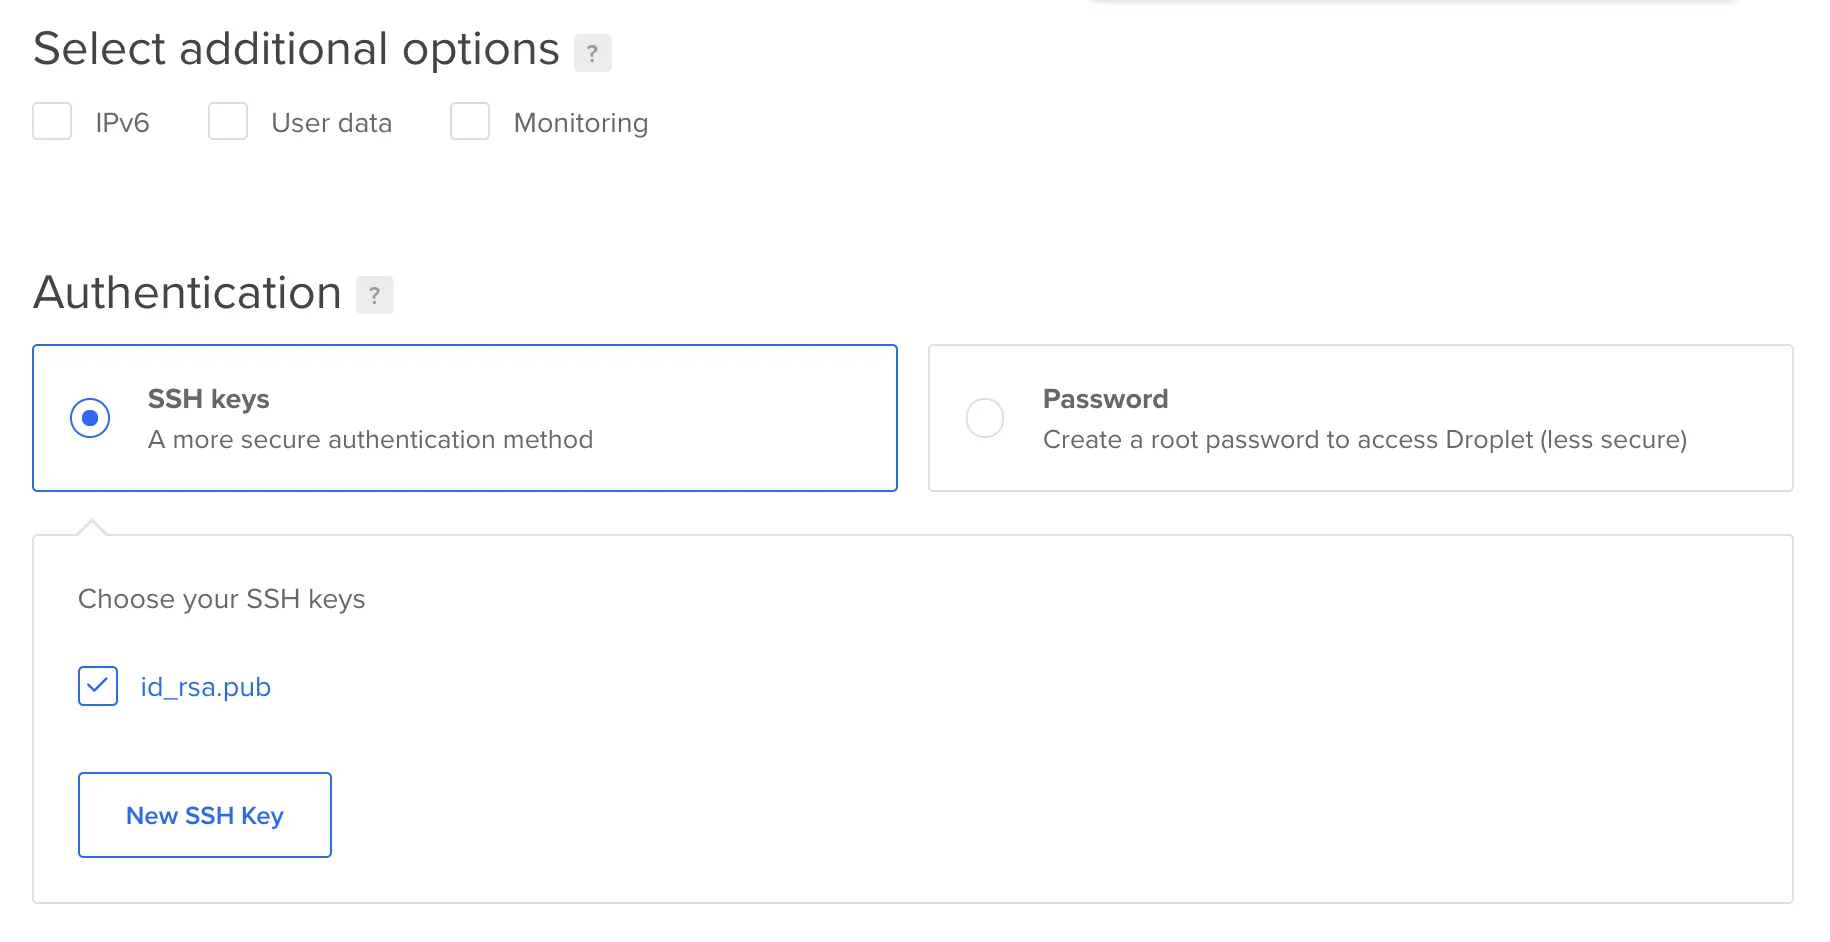
Setup SSH Keys
Click “New SSH key” to enter a new SSH key.
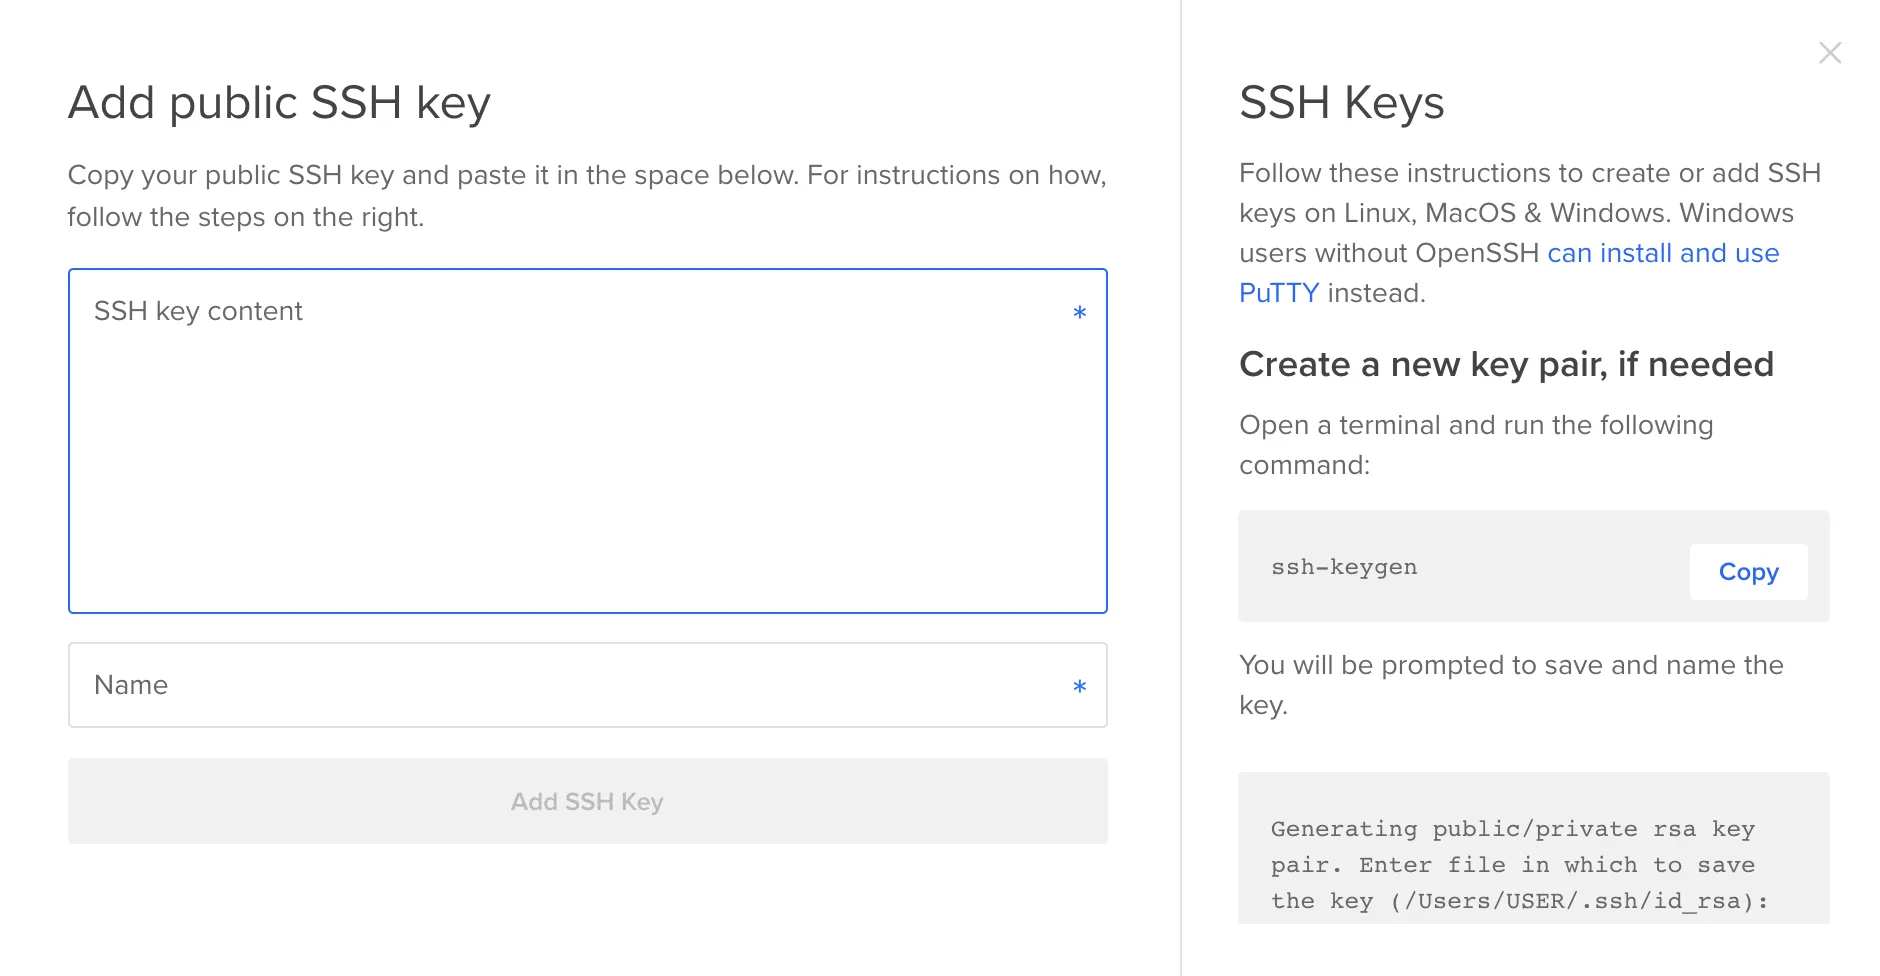
SSH keys provide a more secure way of logging into a virtual private server than using a password alone.
Generate an RSA Key Pair
There are several ways to use SSH; one is to use automatically generated public-private key pairs to simply encrypt a network connection, and then use password authentication to log on.
Another is to use a manually generated public-private key pair to perform the authentication, allowing users or programs to log in without having to specify a password.
ssh-keygenTerminal output:
Generating public/private rsa key pair.SSH is an authentication method used to gain access to an encrypted connection between systems with the intent of managing or operating the remote system.
SSH keys are 2048 bits by default. This is generally considered to be good enough for security, but if you think your 13 line JavaScript project might be a target for Advanced persistent threats you can include the -b argument with the number of bits you would like such as ssh-keygen -b 4096.
Enter file in which to save the key (/Users/ajcwebdev/.ssh/id_rsa):This prompt allows you to choose the location to store your RSA private key. Press ENTER to leave the default which stores them in the .ssh hidden directory in your user’s home directory.
Create a Password
Enter passphrase (empty for no passphrase):Enter same passphrase again:Terminal output:
Your identification has been saved in/Users/ajcwebdev/.ssh/id_rsa
Your public key has been saved in/Users/ajcwebdev/.ssh/id_rsa.pub
The key fingerprint is:SHA256:s9sV2rydQ6A4FtVgq2fckCFu7fZbYAhamXnUR/7SVNI ajcwebdev@macbook.local
The key's randomart image is:+---[RSA 3072]----+|.oO.o   . ...    || = B + o o oE    ||  = = . = =      || o = o + * o     ||  = . + S = .    ||   . o . O       ||      o + o .    ||       o +oo     ||        +oo+.    |+----[SHA256]-----+
Copy Key to the Clipboard
pbcopy < ~/.ssh/id_rsa.pubPaste the key into the SSH key content input and id_rsa.pub for the name input.
Choose a Hostname
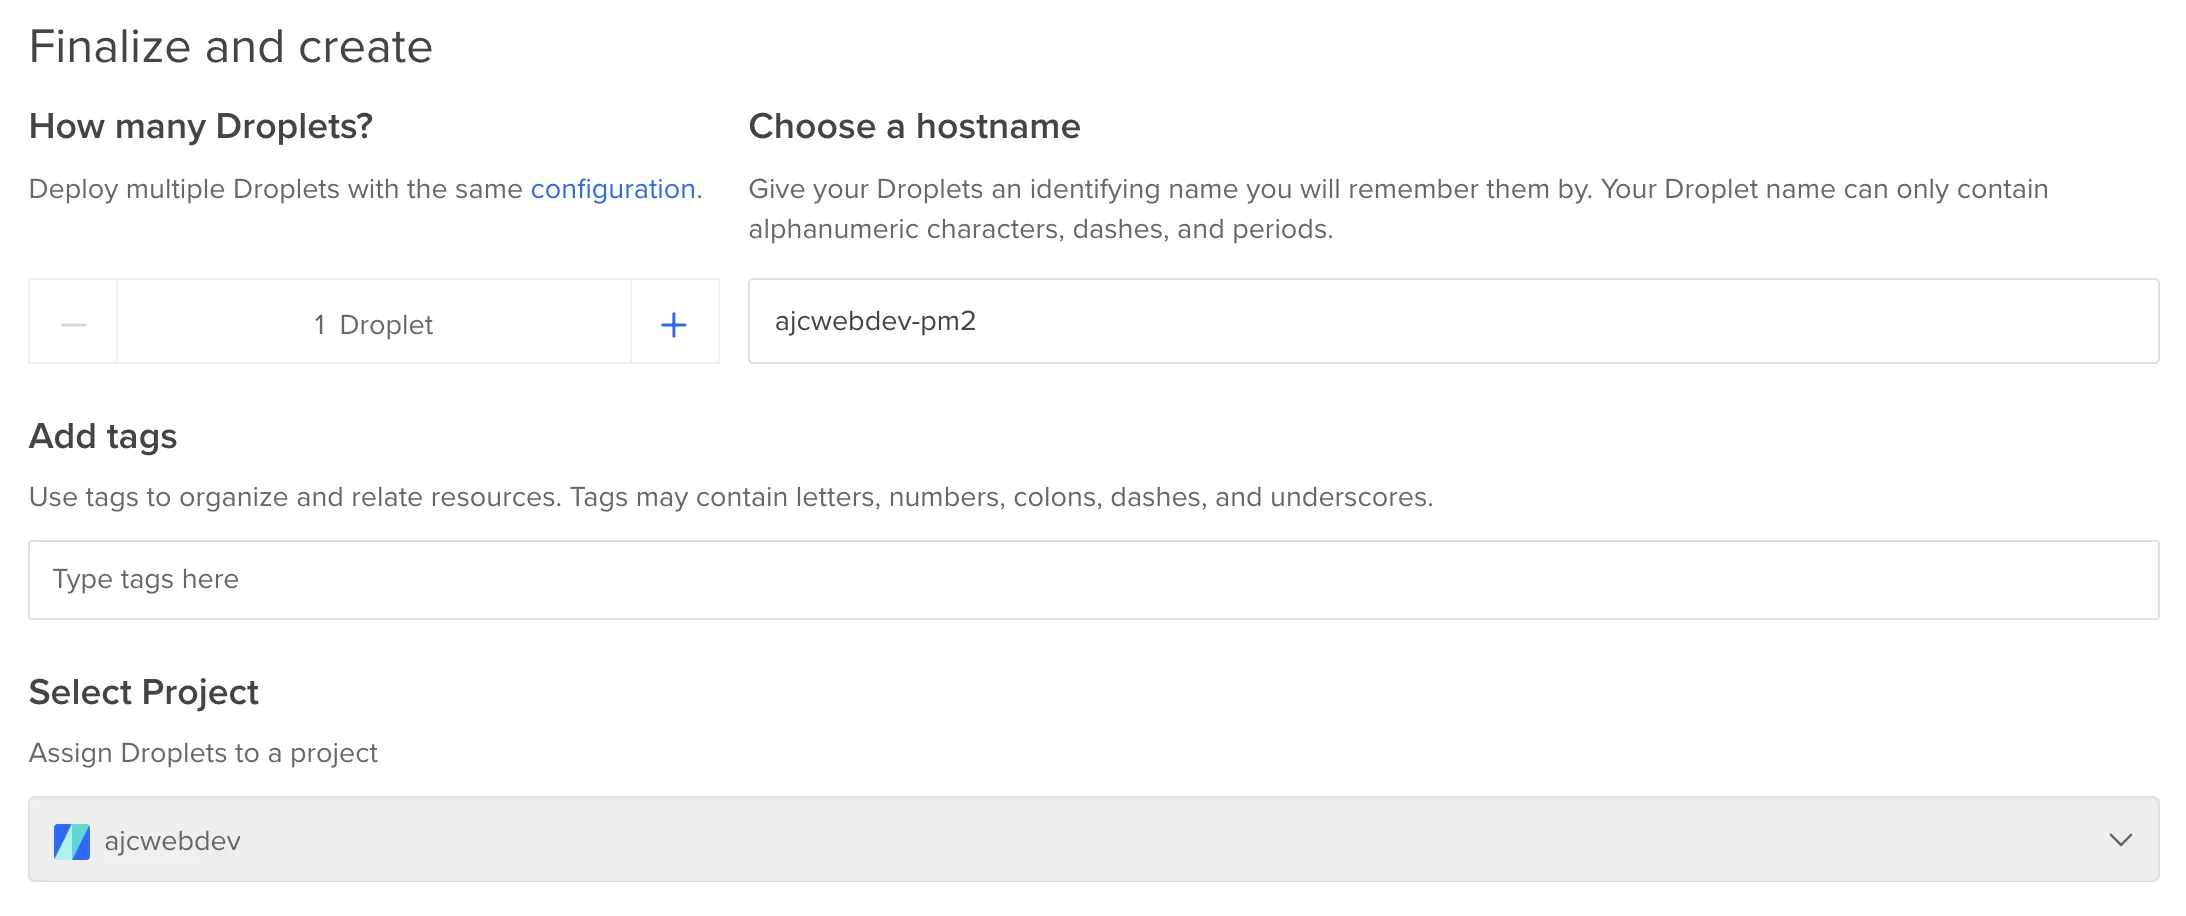
In a minute or so your server will be created and deployed.

Login to Server from Terminal
The username is root and the password is whatever you used when you created your server.
ssh root@144.126.219.200Enter Password
Enter passphrase for key '/Users/ajcwebdev/.ssh/id_rsa':Install Server Dependencies and Start Server
When you provision a Digital Ocean droplet or other common Linux based virtual machines, it is likely that the server does not include Node by default. Since the purpose of this tutorial is to deploy a Node application from scratch, we have chosen a fresh Linux box that needs to have Node installed. However, because of its ubiquity in web development, many hosting providers include the ability to provision a server with Node pre-installed.
Install Node
Let’s begin by installing the latest LTS release of Node.js, using the NodeSource package archives. First, install the NodeSource Personal Package Archive in order to get access to its contents. Use curl to retrieve the installation script for Node 12.
curl -sL https://deb.nodesource.com/setup_12.x | sudo -E bash -Install Node with apt-get and check Node version.
sudo apt-get install -y nodejsnode -vTerminal output:
v12.22.1Install Yarn with apt-get and check Yarn version.
curl -sL https://dl.yarnpkg.com/debian/pubkey.gpg | gpg --dearmor | sudo tee /usr/share/keyrings/yarnkey.gpg >/dev/nullecho "deb [signed-by=/usr/share/keyrings/yarnkey.gpg] https://dl.yarnpkg.com/debian stable main" | sudo tee /etc/apt/sources.list.d/yarn.listsudo apt-get update && sudo apt-get install yarnyarn -vTerminal output:
1.22.17Clone GitHub Repository and Install Node Modules
git clone https://github.com/ajcwebdev/ajcwebdev-pm2.gitcd ajcwebdev-pm2yarnStart App as a Process with PM2
yarn pm2 start index.js[PM2] Spawning PM2 daemon with pm2_home=/root/.pm2[PM2] PM2 Successfully daemonized[PM2] Starting /root/ajcwebdev-pm2/index.js in fork_mode (1 instance)[PM2] Done.┌─────┬──────────┬─────────────┬─────────┬─────────┬──────────┬────────┬──────┬───────────┬──────────┬──────────┬──────────┬──────────┐│ id │ name │ namespace │ version │ mode │ pid │ uptime │ ↺ │ status │ cpu │ mem │ user │ watching │├─────┼──────────┼─────────────┼─────────┼─────────┼──────────┼────────┼──────┼───────────┼──────────┼──────────┼──────────┼──────────┤│ 0 │ index │ default │ 1.0.0 │ fork │ 15233 │ 0s │ 0 │ online │ 0% │ 30.1mb │ root │ disabled │└─────┴──────────┴─────────────┴─────────┴─────────┴──────────┴────────┴──────┴───────────┴──────────┴──────────┴──────────┴──────────┘Display the application’s log with pm2 log.
yarn pm2 log[TAILING] Tailing last 15 lines for [all] processes (change the value with --lines option)
/root/.pm2/pm2.log last 15 lines:
PM2 | 2021-12-27T06:25:30: PM2 log: PM2 version : 5.1.2PM2 | 2021-12-27T06:25:30: PM2 log: Node.js version : 12.22.8PM2 | 2021-12-27T06:25:30: PM2 log: Current arch : x64PM2 | 2021-12-27T06:25:30: PM2 log: PM2 home : /root/.pm2PM2 | 2021-12-27T06:25:30: PM2 log: PM2 PID file : /root/.pm2/pm2.pidPM2 | 2021-12-27T06:25:30: PM2 log: RPC socket file : /root/.pm2/rpc.sockPM2 | 2021-12-27T06:25:30: PM2 log: BUS socket file : /root/.pm2/pub.sockPM2 | 2021-12-27T06:25:30: PM2 log: Application log path : /root/.pm2/logsPM2 | 2021-12-27T06:25:30: PM2 log: Worker Interval : 30000PM2 | 2021-12-27T06:25:30: PM2 log: Process dump file : /root/.pm2/dump.pm2PM2 | 2021-12-27T06:25:30: PM2 log: Concurrent actions : 2PM2 | 2021-12-27T06:25:30: PM2 log: SIGTERM timeout : 1600PM2 | 2021-12-27T06:25:30: PM2 log: ===============================================================================PM2 | 2021-12-27T06:25:30: PM2 log: App [index:0] starting in -fork mode-PM2 | 2021-12-27T06:25:30: PM2 log: App [index:0] online
/root/.pm2/logs/index-error.log last 15 lines:/root/.pm2/logs/index-out.log last 15 lines:0|index | Server running on Port 8080Open 144.126.219.200:8080.
