
A First Look at SvelteKit
Published:
SvelteKit is a serverless first Svelte metaframework for building web applications with filesystem-based routing and multiple rendering modes.
Outline
All of this project’s code can be found in the First Look monorepo on my GitHub.
Introduction
Back in July I was considering building a project with Sapper, which thankfully I never actually started. I say thankfully because, as Rich Harris announced at the recent Svelte Summit, Sapper 1.0 will be released… never.
Instead the Svelte core team is shifting its efforts to a project known as SvelteKit, as detailed in What’s the deal with SvelteKit?. It’s important to emphasize here that the people building Svelte, Sapper, and SvelteKit are all basically the same people. So really nothing drastic is changing here, it’s more of a rebrand and namespace migration. Or is it?
There is also going to be a larger focus on serverless technology, with Svelte now being referred to as a “serverless-first” framework. But to me the most significant change by far is the removal of Rollup as a development dependency and its replacement with Snowpack Vite.
SvelteKit is very new, so new it currently exists mostly in the form of the blog post linked at the beginning of this article a monorepo inside the SvelteJS GitHub organization and a website. But you can download it and start using it, albeit with many, many caveats attached to it.
Initialize Demo App
npm create svelte@latest ajcwebdev-sveltekitAfter initializing the project you’ll be given a disclaimer.
Welcome to SvelteKit!
This is release candidate software; expect bugs and missing features.
- Problems? Open an issue if none exists already.
- Stuck? Visit us at discord.com/invite/svelte.
- Install community-maintained integrations.
You’ll then be asked a series of questions to configure your application. Feel free to answer based on your own personal use case.
✔ Which Svelte app template? › SvelteKit demo app✔ Add type checking with TypeScript? › No✔ Add ESLint for code linting? … No / Yes✔ Add Prettier for code formatting? … No / Yes✔ Add Playwright for browser testing? … No / YesFor the sake of simplicity in this blog post I answered no to all options.
Install Dependencies and Start Development Server
cd ajcwebdev-sveltekitpnpm ipnpm devOpen localhost:5173 to see the project.
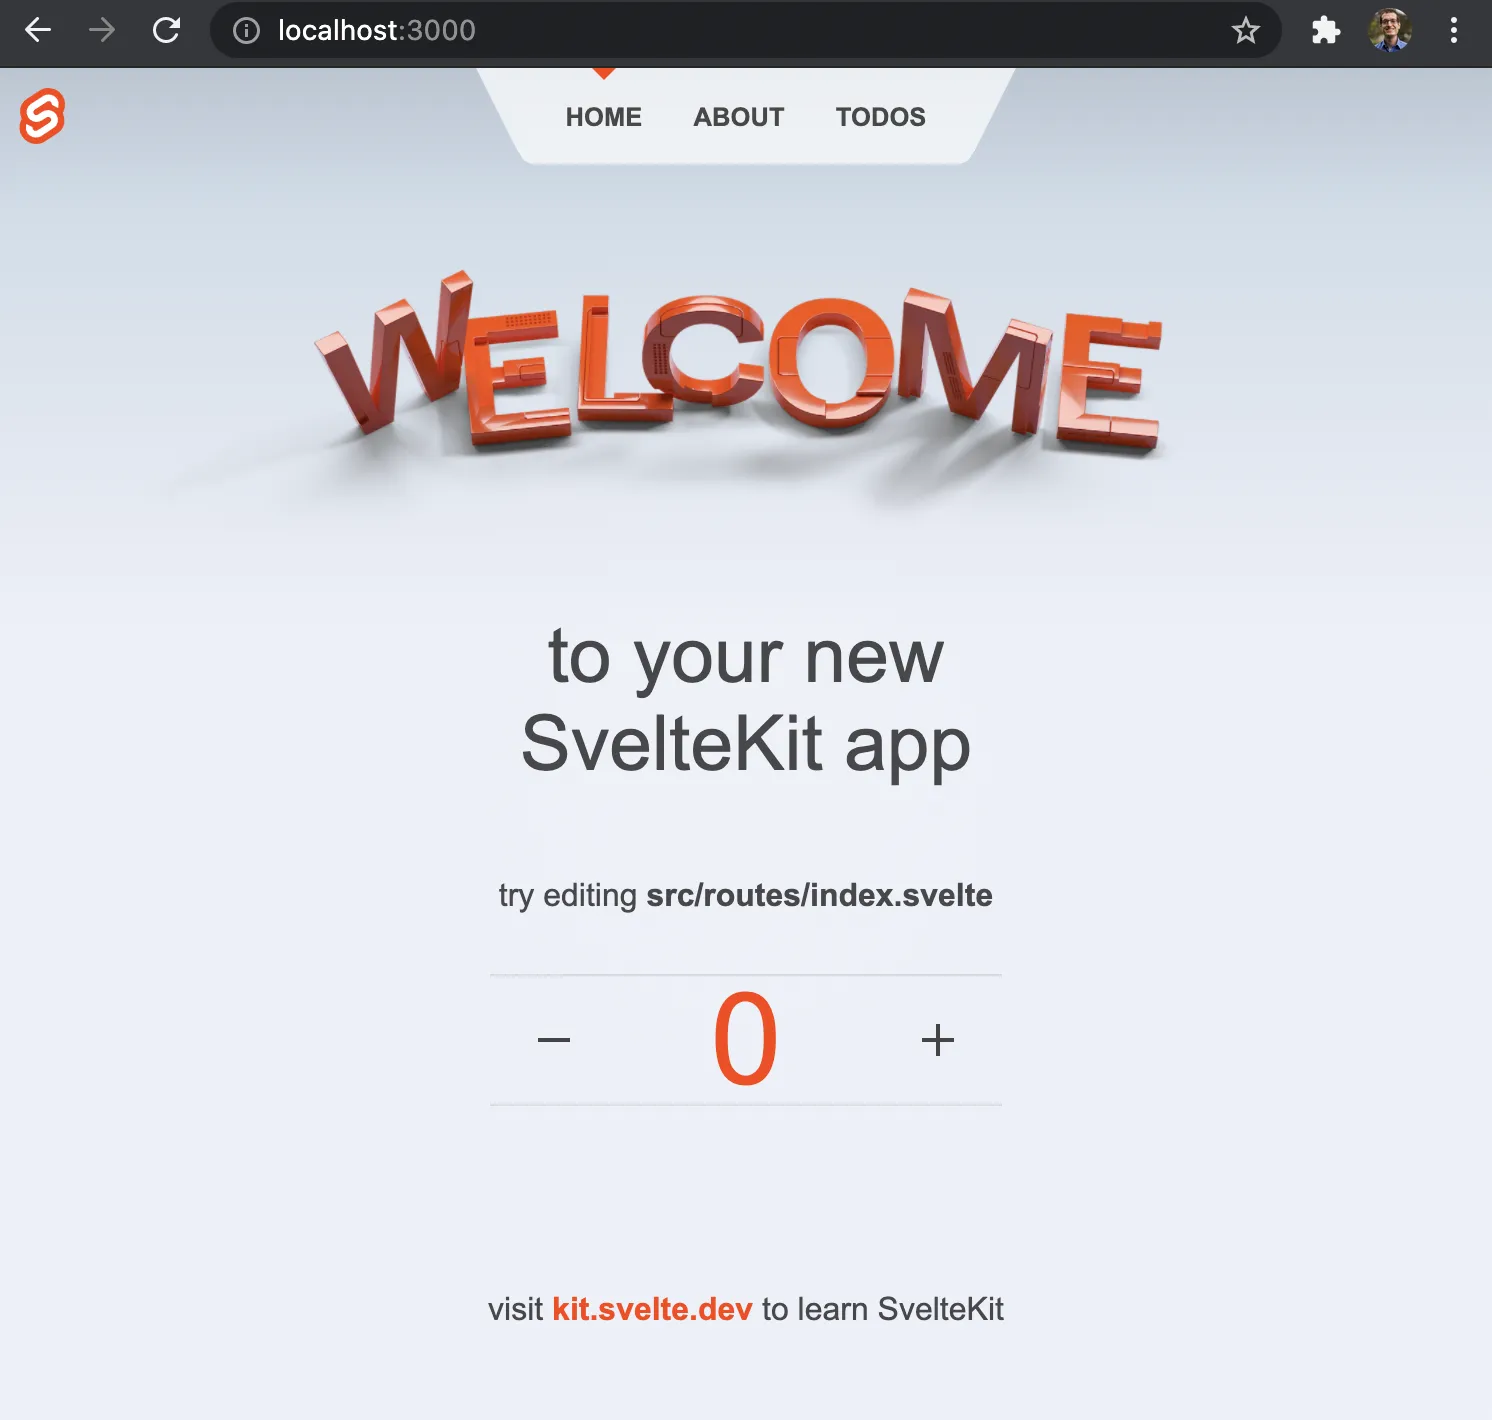
Something might happen if you click the + or - buttons around 0, although what that could be no one can possibly know.
Project Structure
I used to have a Snowpack joke here, unfortunately that joke is now deprecated. Now we’ll look at the code.
├── src│ ├── app.html│ ├── lib│ │ └── images│ │ ├── github.svg│ │ ├── svelte-logo.svg│ │ ├── svelte-welcome.png│ │ └── svelte-welcome.webp│ └── routes│ ├── +layout.svelte│ ├── +page.js│ ├── +page.svelte│ ├── Counter.svelte│ ├── Header.svelte│ ├── about│ │ ├── +page.js│ │ └── +page.svelte│ ├── styles.css│ └── sverdle│ ├── +page.server.js│ ├── +page.svelte│ ├── how-to-play│ │ ├── +page.js│ │ └── +page.svelte│ └── words.server.js├── static│ ├── favicon.png│ └── robots.txt├── README.md├── package.json├── svelte.config.js└── vite.config.jsHTML Entry Point
src/app.html contains our websites entry point and includes dynamic content for the head and body.
<!DOCTYPE html><html lang="en">  <head>    <meta charset="utf-8" />    <link rel="icon" href="%sveltekit.assets%/favicon.png" />    <meta name="viewport" content="width=device-width" />
    %sveltekit.head%  </head>
  <body data-sveltekit-prefetch>    <div>%sveltekit.body%</div>  </body></html>
App Entry Point
src/routes/+page.svelte contains our JavaScript entry point and includes a single file Svelte component. A .svelte file contains three parts:
<script>for JavaScript<style>for CSS- Any markup you want to include with HTML
<!-- src/routes/+page.svelte -->
<script>  import Counter from './Counter.svelte'  import welcome from '$lib/images/svelte-welcome.webp'  import welcome_fallback from '$lib/images/svelte-welcome.png'</script>
The <svelte:head> element allows you to insert elements inside the <head> of your document such as the title.
<!-- src/routes/+page.svelte -->
<svelte:head>  <title>Home</title>  <meta name="description" content="Svelte demo app" /></svelte:head>
<section>  <h1>    <span class="welcome">      <picture>        <source srcset={welcome} type="image/webp" />        <img src={welcome_fallback} alt="Welcome" />      </picture>    </span>    to your new<br />SvelteKit app  </h1>
  <h2>try editing <strong>src/routes/+page.svelte</strong></h2>
  <Counter /></section>
<!-- src/routes/+page.svelte -->
<style> section { display: flex; flex-direction: column; justify-content: center; align-items: center; flex: 0.6; }
h1 { width: 100%; }
.welcome { display: block; position: relative; width: 100%; height: 0; padding: 0 0 calc(100% * 495 / 2048) 0; }
.welcome img { position: absolute; width: 100%; height: 100%; top: 0; display: block; }</style>Pages
Each page of your app is a Svelte component written in a .svelte file. Pages are created by adding files and directories to the src/routes directory of your project. A +page.svelte component defines a page of your app, so src/routes/+page.svelte is the root of the site. By default, pages are rendered both on the server (SSR) for the initial request and in the browser (CSR) for subsequent navigation.
Counter Component
Unlike React, Svelte does not have a virtual DOM. Instead, Svelte includes its own system of reactivity to keep the DOM in sync with your application state. This includes responding to events, such as a mouse click. First we initialize a variable count to a value of 0.
<script>  import { spring } from 'svelte/motion'
  let count = 0
  const displayed_count = spring()  $: displayed_count.set(count)  $: offset = modulo($displayed_count, 1)
  function modulo(n, m) {    return ((n % m) + m) % m  }</script>
We can listen to any event on an element with the on: directive.
<div class="counter">  <button on:click={() => (count -= 1)} aria-label="Decrease the counter by one">    <svg aria-hidden="true" viewBox="0 0 1 1">      <path d="M0,0.5 L1,0.5" />    </svg>  </button>
  <div class="counter-viewport">    <div class="counter-digits" style="transform: translate(0, {100 * offset}%)">      <strong class="hidden" aria-hidden="true">        {Math.floor($displayed_count + 1)}      </strong>      <strong>{Math.floor($displayed_count)}</strong>    </div>  </div>
  <button on:click={() => (count += 1)} aria-label="Increase the counter by one">    <svg aria-hidden="true" viewBox="0 0 1 1">      <path d="M0,0.5 L1,0.5 M0.5,0 L0.5,1" />    </svg>  </button></div>
To test that everything is working, make a change to +page.svelte.
<!-- src/routes/+page.svelte -->
<script>  import Counter from './Counter.svelte'</script>
<svelte:head>  <title>Home</title>  <meta name="description" content="Svelte demo app" /></svelte:head>
<section>  <h1>ajcwebdev-sveltekit</h1>
  <Counter />  <p><a href="https://ajcwebdev.com">Blog</a></p>  <p><a href="https://github.com/ajcwebdev">GitHub</a></p>  <p><a href="https://twitter.com/ajcwebdev">Twitter</a></p></section>
<style>  section {    display: flex;    flex-direction: column;    justify-content: center;    align-items: center;    flex: 1;  }
  h1 {    width: 100%;  }</style>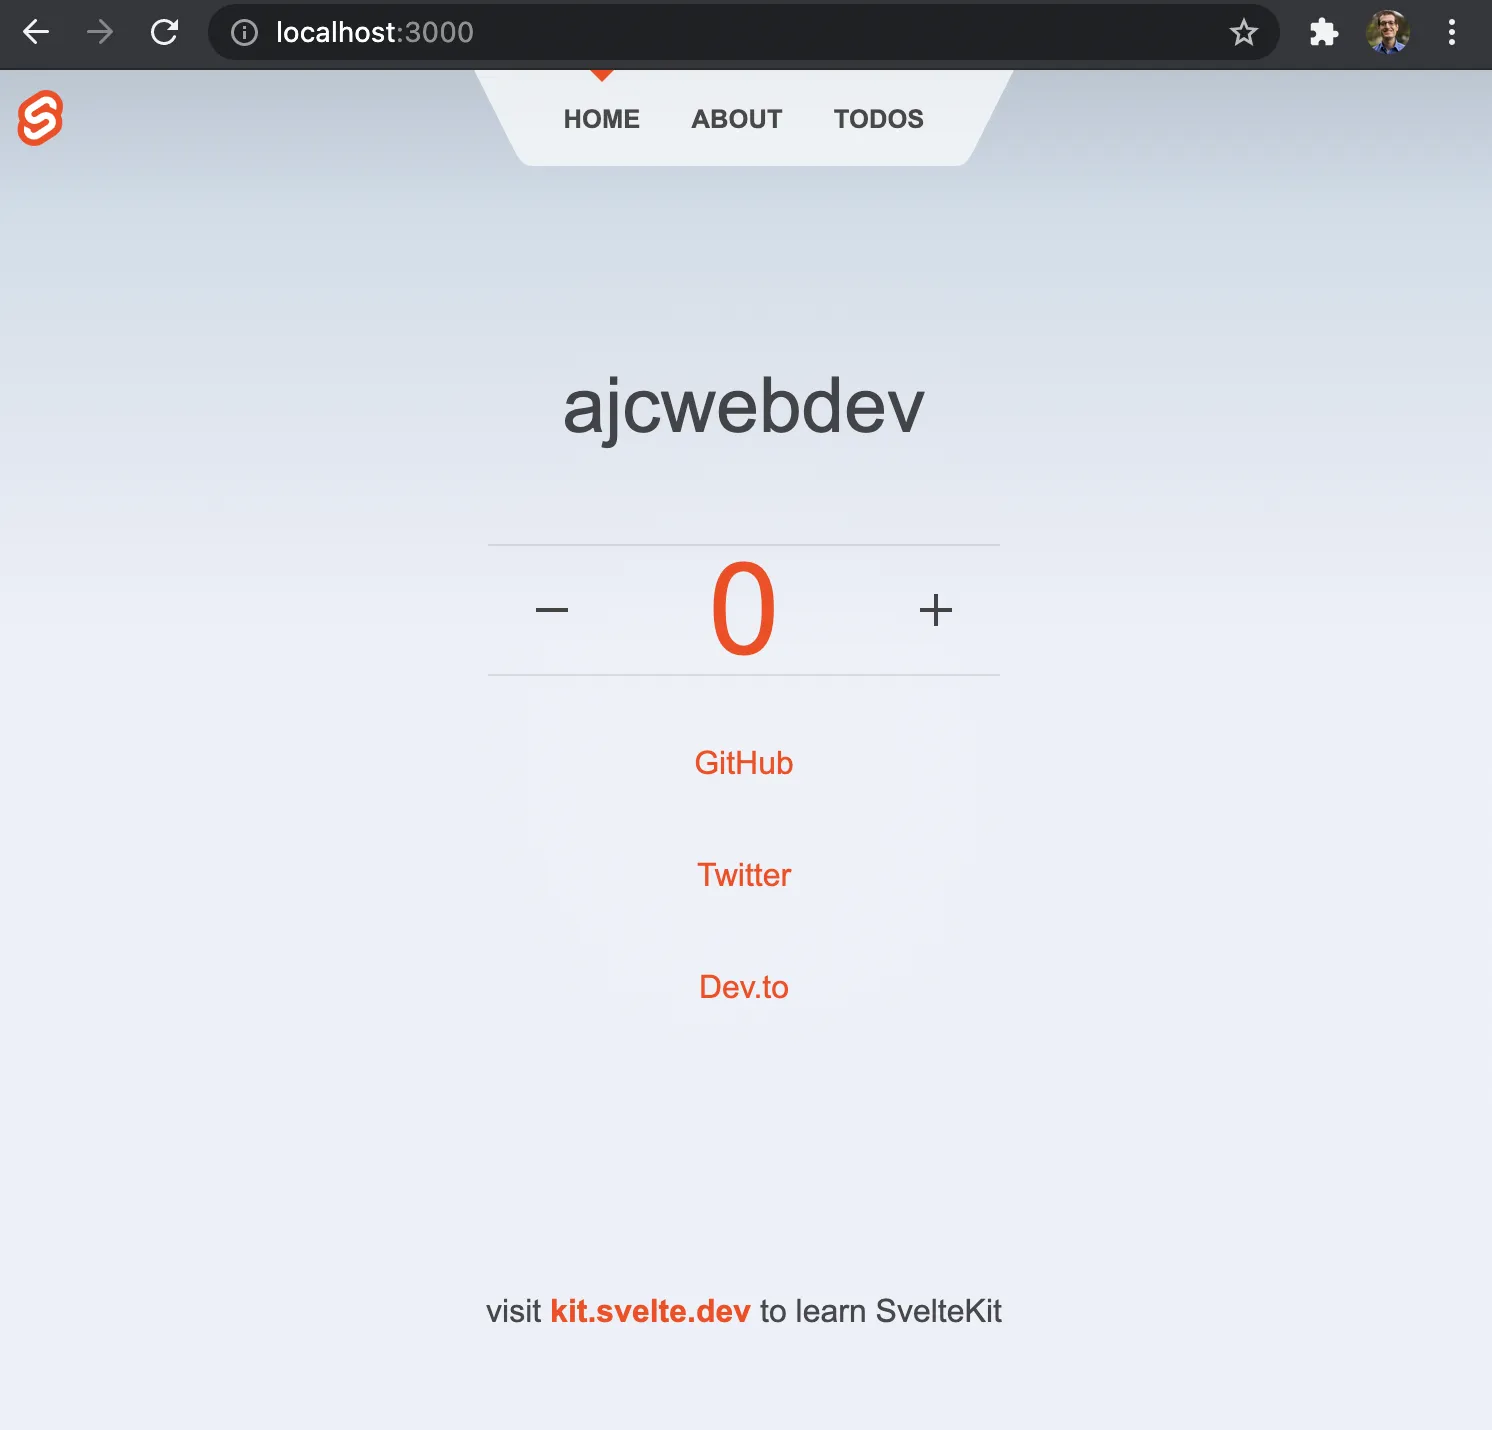
Modules
The $app/environment module provides variables for checking the app’s current environment. browser is true when the app is running in the browser and false when running on the server, in development mode, or in production. dev is true in development mode and false in production.
// src/routes/about/+page.js
import { dev } from '$app/environment'
// we don't need any JS on this page, though we'll load// it in dev so that we get hot module replacementexport const csr = dev
// since there's no dynamic data here, we can prerender// it so that it gets served as a static asset in productionexport const prerender = true
If the client-side router is already loaded because we came here from elsewhere in the app then it is used automatically. Since there’s no dynamic data on this page, we can prerender and serve it as a static asset in production.
<svelte:head> <title>About</title> <meta name="description" content="About this app" /></svelte:head>
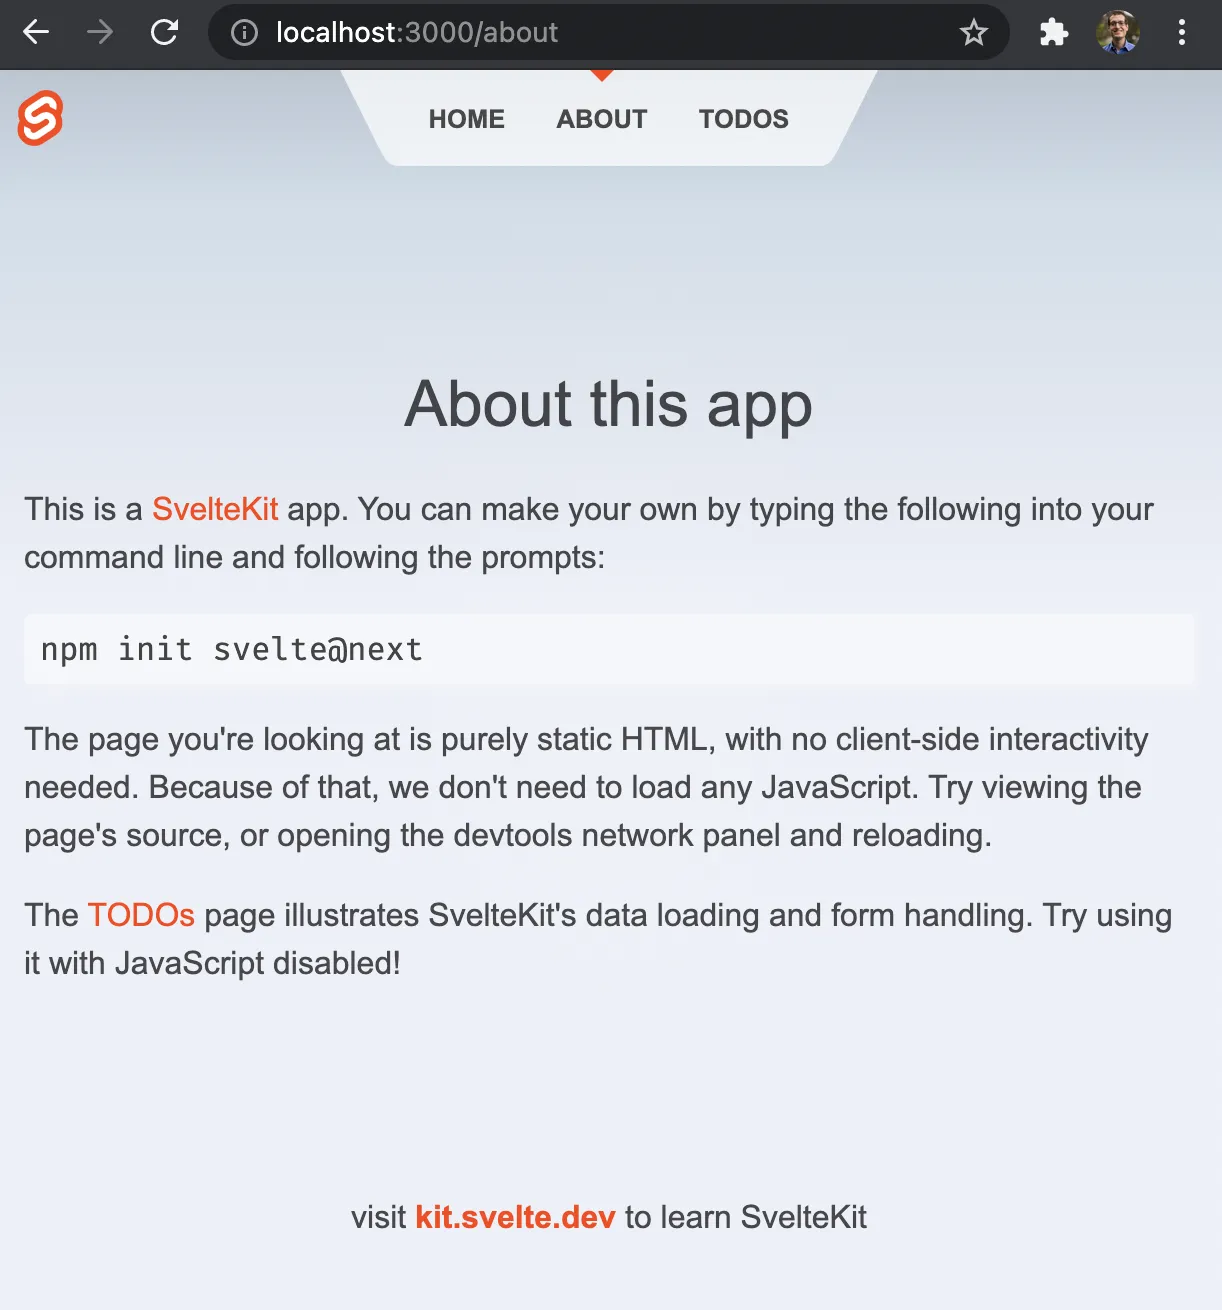
<div class="content"> <h1>About this app</h1>
<p> This is a <a href="https://kit.svelte.dev">SvelteKit</a> app. You can make your own by typing the following into your command line and following the prompts: </p>
<pre>npm create svelte@next</pre>
<p> The page you're looking at is purely static HTML, with no client-side interactivity needed. Because of that, we don't need to load any JavaScript. Try viewing the page's source, or opening the devtools network panel and reloading. </p>
<p> The <a href="/sverdle">Sverdle</a> page illustrates SvelteKit's data loading and form handling. Try using it with JavaScript disabled! </p></div>Open localhost:5173/about to see this page.
Layouts
Inside src/routes is a layout component that applies to every page. Links between pages are contained in the <Header> component.
<!-- src/routes/+layout.svelte -->
<script>  import Header from './Header.svelte'  import './styles.css'</script>
<div class="app">  <Header />
  <main>    <slot />  </main>
  <footer>    <p>visit <a href="https://kit.svelte.dev">kit.svelte.dev</a> to learn SvelteKit</p>  </footer></div>
<script>  import Header from './Header.svelte'  import './styles.css'</script>
<div class="app">  <Header />
  <main>    <slot />  </main>
  <footer>    <p>visit <a href="https://kit.svelte.dev">kit.svelte.dev</a> to learn SvelteKit</p>  </footer></div>
<style>  .app {    display: flex;    flex-direction: column;    min-height: 100vh;  }
  main {    flex: 1;    display: flex;    flex-direction: column;    padding: 1rem;    width: 100%;    max-width: 64rem;    margin: 0 auto;    box-sizing: border-box;  }
  footer {    display: flex;    flex-direction: column;    justify-content: center;    align-items: center;    padding: 12px;  }
  footer a {    font-weight: bold;  }
  @media (min-width: 480px) {    footer {      padding: 12px 0;    }  }</style>
A <slot /> tag indicates where a component places its children, so our layout component is the parent of our pages.
Stores
Inside src/routes/Header is a Header.svelte file which imports page from $app/stores. Stores are added to the context of your root component. They are unique to each request on the server rather than shared between multiple requests handled by the same server simultaneously.
This makes it is safe to include user-specific data in page, but it also means the stores are not free-floating objects. They must be accessed during component initialization.
<script> import { page } from '$app/stores' import logo from '$lib/images/svelte-logo.svg' import github from '$lib/images/github.svg'</script>page is a readable store whose value reflects the object passed to load functions. It contains:
hostpathparamsquery
The stores themselves attach to the correct context at the point of subscription so you can import and use them directly in components without boilerplate.
<header>  <div class="corner">    <a href="https://kit.svelte.dev">      <img src={logo} alt="SvelteKit" />    </a>  </div>
  <nav>    <svg viewBox="0 0 2 3" aria-hidden="true">      <path d="M0,0 L1,2 C1.5,3 1.5,3 2,3 L2,0 Z" />    </svg>
    <ul>      <li aria-current={$page.url.pathname === '/' ? 'page' : undefined}>        <a href="/">Home</a>      </li>      <li aria-current={$page.url.pathname === '/about' ? 'page' : undefined}>        <a href="/about">About</a>      </li>      <li aria-current={$page.url.pathname.startsWith('/sverdle') ? 'page' : undefined}>        <a href="/sverdle">Sverdle</a>      </li>    </ul>    <svg viewBox="0 0 2 3" aria-hidden="true">      <path d="M0,0 L0,3 C0.5,3 0.5,3 1,2 L2,0 Z" />    </svg>  </nav>
  <div class="corner">    <a href="https://github.com/sveltejs/kit">      <img src={github} alt="GitHub" />    </a>  </div></header>
SvelteKit will run the page’s load function as soon as the user hovers over the link (on desktop) or touches it (on mobile). This makes the app feel snappier since you aren’t waiting for the click event to trigger navigation.
Config
You may have heard in the past that SvelteKit was using Snowpack. While SvelteKit was heavily developed in tandem with Snowpack, it migrated to Vite in February 2021 about a month before its beta launch. You can read Rich Harris’s reasoning for the switch on GitHub:
While we had misgivings about Vite 1 (which gave Vue apps preferential treatment, and didn’t really support SSR), Vite 2 does a really great job of solving some tricky problems that were previously in SvelteKit’s domain, like CSS code-splitting or fixing stack traces during SSR. Since it’s Rollup-based, it also means that SvelteKit apps can benefit from the very large ecosystem of Rollup plugins.
The project’s configuration can be found in svelte.config.js.
import adapter from '@sveltejs/adapter-auto'
/** @type {import('@sveltejs/kit').Config} */const config = {  kit: {    adapter: adapter()  }}
export default config
Official Adapters for Deployment
Svelte apps are built with adapters for optimizing your project to deploy with different environments.
adapter-cloudflare-workersfor Cloudflare Workersadapter-cloudflarefor Cloudflare Pagesadapter-netlifyfor Netlifyadapter-vercelfor Vercel
There are also adapters for running your app on a Node server or deploying on a static hosting provider.
adapter-nodefor creating self-contained Node apps.adapter-staticfor prerendering your entire site as a collection of static files.adapter-autofor automatically choosing the adapter for your current environment if it is a supported environment.
By default, vite build will generate a Node app that you can run with pnpm preview. To use a different adapter, install it and update svelte.config.js accordingly. We do not need to install the Vercel adapter unless we want to use Vercel specific features. Otherwise adapter-auto will have everything needed for deployment.
pnpx vercelGo to ajcwebdev-sveltekit.vercel.app to see the deployed app.