A First Look at AWS Fargate
Published:
Fargate is an AWS service for dockerizing applications and running containers on ECS without managing servers or clusters of EC2 instances.
Outline
- Introduction
- Example Container Task Definition
- Setup and Verify ECS CLI with PGP Signatures
- Configure AWS Credentials and IAM Role
- Create ECS Cluster and Security Group
- Deploy Docker Container to the Cluster
- Clean Up and Summary
All of this project’s code can be found in the First Look monorepo on my GitHub.
Introduction
Fargate is an AWS service that allows you to run containers on ECS without managing servers or clusters of EC2 instances. It manages provisioning, configuring, and scaling clusters of virtual machines to run containers. This includes selecting the server type, deciding when to scale the clusters, and optimizing cluster packing.
Running your tasks and services with the Fargate launch type includes packaging your application in containers, specifying the CPU and memory requirements, defining network and IAM policies, and launching the application. Each Fargate task has its own isolation boundary and does not share the underlying kernel, CPU resources, memory resources, or elastic network interface with another task.
In this tutorial, you’ll learn how to:
- Install and verify the ECS CLI
- Configure an IAM role
- Set up a cluster with a security group
- Deploy a service with tasks using the Fargate launch type
Example Container Task Definition
A task definition is required to run Docker containers in Amazon ECS. Parameters you can specify include:
| Parameters | Definition |
|---|---|
image | Docker images for each container in a task |
cpu, memory | CPU and memory for each task or each container within a task |
requiresCompatibilities | Launch type to determine the infrastructure on which tasks are hosted |
networkMode | Docker networking mode for containers in a task |
logConfiguration | Logging configuration for tasks |
command | Command to run when the container is started |
volumes | Data volumes for containers in a task |
executionRoleArn | IAM role tasks should use |
This task definition sets up a web server using the Fargate launch type and an Apache httpd:2.4 image. The container is named sample-fargate-app and includes log configuration and port mappings. It sets the entry point to sh -c and runs a shell command that prints an HTML document to a file called index.html. This is placed inside the usr/local/apache2/htdocs/ directory.
{ "containerDefinitions": [{ "command": [ "/bin/sh -c \"echo '<html><head><title>ECS Sample App</title></head><body><div> <h1>ECS Sample App</h1><p>App running on a container in Amazon ECS.</p> </div></body></html>' > /usr/local/apache2/htdocs/index.html && httpd-foreground\"" ], "entryPoint": [ "sh", "-c" ], "essential": true, "image": "httpd:2.4", "logConfiguration": { "logDriver": "awslogs", "options": { "awslogs-group" : "/ecs/fargate-task-definition", "awslogs-region": "us-east-1", "awslogs-stream-prefix": "ecs" } }, "name": "sample-fargate-app", "portMappings": [{ "containerPort": 80, "hostPort": 80, "protocol": "tcp" }] }], "cpu": "256", "executionRoleArn": "arn:aws:iam::012345678910:role/ecsTaskExecutionRole", "family": "fargate-task-definition", "memory": "512", "networkMode": "awsvpc", "requiresCompatibilities": [ "FARGATE" ]}Lastly, the Apache HyperText Transfer Protocol (HTTP) server program, httpd, is started with containerPort and hostPort set to 80. The network mode is set to awsvpc which means the task is allocated the same networking properties as Amazon EC2 instances. This includes having its own elastic network interface (ENI) and a primary private IPv4 address.
Setup and Verify ECS CLI with PGP Signatures
Instructions for downloading the Amazon ECS CLI binary will be different for each operating system. The instructions in this article are for macOS (M1 specifically). See the AWS docs to find installation instructions for Windows or Linux. Run the following curl command for the ECS CLI install script:
sudo curl -Lo /usr/local/bin/ecs-cli \ https://amazon-ecs-cli.s3.amazonaws.com/ecs-cli-darwin-amd64-latestsudo is required because files located within the systems directory require root permissions.
Install GnuPG and Create File for ECS PGP Public Key
The Amazon ECS CLI executables are cryptographically signed using PGP signatures. The PGP signatures can be used to verify the validity of the Amazon ECS CLI executable. To verify the signatures download and install GnuPG with Homebrew.
brew install gnupgSee Step 2: Verify the Amazon ECS CLI using PGP signatures for the public key block.
touch aws-ecs-pgpThe details of the Amazon ECS PGP public key for reference:
Key ID: BCE9D9A42D51784FType: RSASize: 4096/4096Expires: NeverUser ID: Amazon ECSKey fingerprint: F34C 3DDA E729 26B0 79BE AEC6 BCE9 D9A4 2D51 784FImport ECS PGP Public Key
gpg --import aws-ecs-pgpDownload and Verify ECS CLI Signature
The signatures are ASCII detached PGP signatures stored in files with the extension .asc.
curl -Lo ecs-cli.asc \ https://amazon-ecs-cli.s3.amazonaws.com/ecs-cli-darwin-amd64-latest.ascThe signatures file has the same name as its corresponding executable but with .asc appended.
gpg --verify ecs-cli.asc \ /usr/local/bin/ecs-cliThe output will include a warning that there is no chain of trust between your personal PGP key (if you have one) and the Amazon ECS PGP key.
Signature made Tue Apr 3 13:29:30 2018 PDT using RSA key DE3CBD61ADAF8B8EGood signature from "Amazon ECS <ecs-security@amazon.com>" [unknown]
WARNING: This key is not certified with a trusted signature!There is no indication that the signature belongs to the owner.
Primary key fingerprint: F34C 3DDA E729 26B0 79BE AEC6 BCE9 D9A4 2D51 784FSubkey fingerprint: EB3D F841 E2C9 212A 2BD4 2232 DE3C BD61 ADAF 8B8E
Apply Execute Permissions to CLI Binary
Running chmod +x followed by a file name will make that file executable.
sudo chmod +x /usr/local/bin/ecs-cliCheck CLI Version Number
See the amazon-ecs-cli changelog for the current version.
ecs-cli --versionOutput:
ecs-cli version 1.21.0 (bb0b8f0)Configure AWS Credentials and IAM Role
You must configure the ECS CLI with your AWS credentials, an AWS Region, and an Amazon ECS cluster name before you can use it.
Make sure you have the AWS CLI installed and an AWS account. For general use, aws configure is recommended as the fastest way to set up your AWS CLI installation.
aws configureGo to My Security Credentials to find your Access Key ID, Secret Access Key, and default region. You can leave the output format blank.
AWS Access Key ID: <YOUR_ACCESS_KEY_ID>AWS Secret Access Key: <YOUR_SECRET_ACCESS_KEY>Default region name: <YOUR_REGION_NAME>Default output format [None]:The Amazon ECS container agent makes calls to AWS APIs on your behalf, so it requires an IAM policy and role for the service to know that the agent belongs to you. An IAM role is an IAM identity that you can create in your account that has specific permissions.
An IAM role is similar to an IAM user; it is an AWS identity with permission policies determining what the identity can and cannot do. But unlike an IAM user, a role is intended to be used by anyone who needs it instead of being uniquely associated with one person.
Create Directory and Project Files
After configuring the CLI create a blank directory with three files:
task-execution-assume-role.jsonfor configuring the application’s task execution IAM role.docker-compose.ymlfor specifying the image, running our container, and configuring logs.ecs-params.ymlfor ECS specific parameters.
mkdir ajcwebdev-fargatecd ajcwebdev-fargatetouch task-execution-assume-role.json docker-compose.yml ecs-params.ymlCreate Task Execution Role
AssumeRole returns a set of temporary security credentials that you can use to access AWS resources that you might not normally have access to. Add the following contents to the task-execution-assume-role.json file.
{ "Version": "2012-10-17", "Statement": [{ "Sid": "", "Effect": "Allow", "Principal": { "Service": "ecs-tasks.amazonaws.com" }, "Action": "sts:AssumeRole" }]}This will generate temporary credentials consisting of an access key ID, a secret access key, and a security token. Set the new task execution role with iam create-role and the two required options:
--assume-role-policy-documentgrants an entity permission to assume the role by setting the trust relationship policy document which is specified in the JSON string insidetask-execution-assume-role.json.--role-namesets the name of the newly created role toecsTaskExecutionRole.
aws iam create-role \ --role-name ecsTaskExecutionRole \ --assume-role-policy-document file://task-execution-assume-role.jsonThis role is called a task execution IAM role.
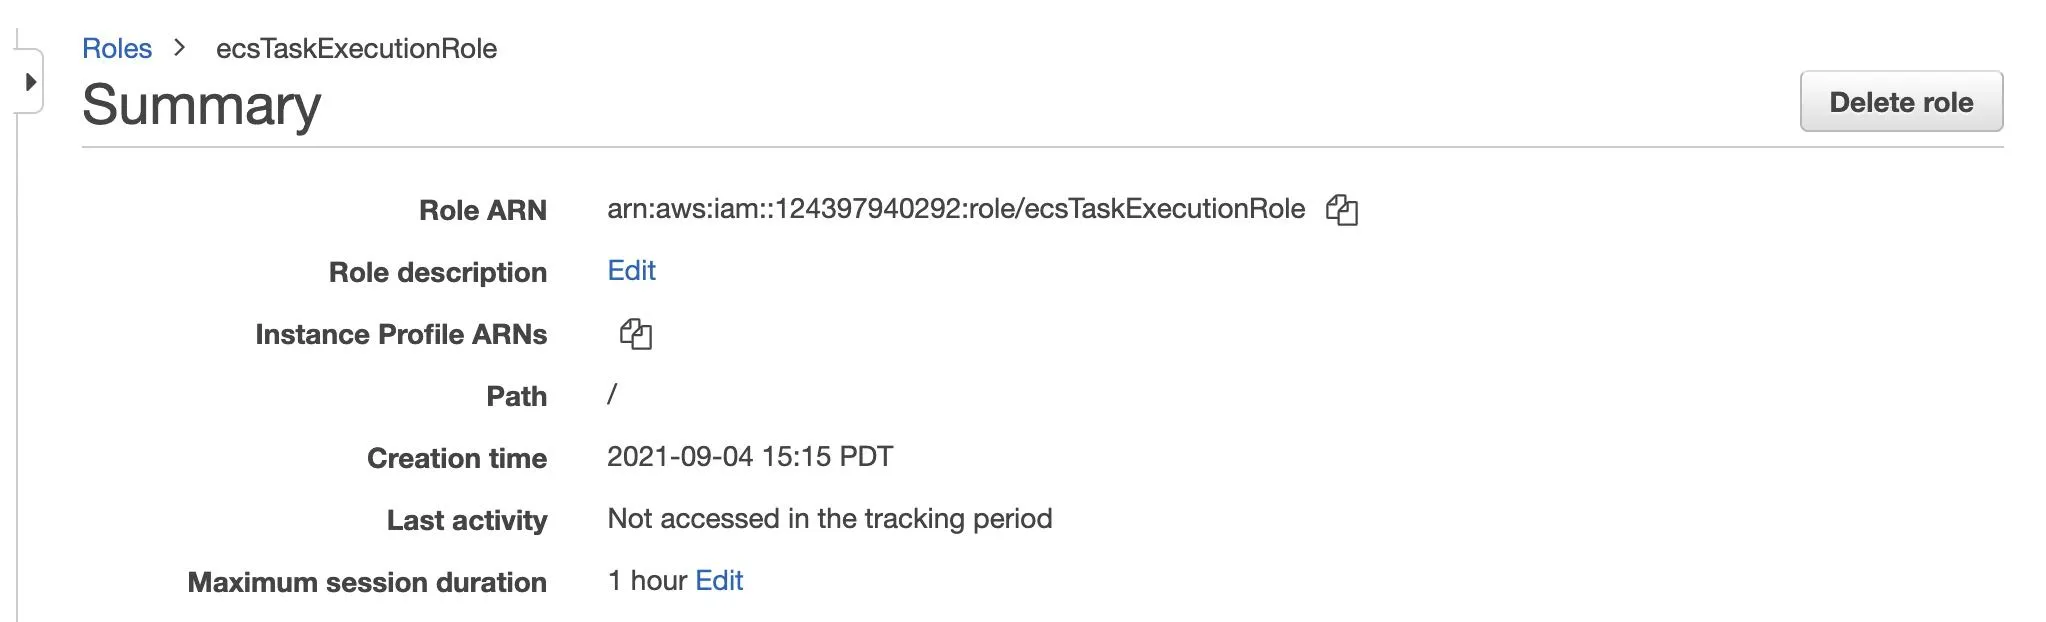
{ "Role": { "Path": "/", "RoleName": "ecsTaskExecutionRole", "RoleId": "AROARZ5VR5ZCPAE2OSEPD", "Arn": "arn:aws:iam::124397940292:role/ecsTaskExecutionRole", "CreateDate": "2021-12-29T07:40:34+00:00", "AssumeRolePolicyDocument": { "Version": "2012-10-17", "Statement": [{ "Sid": "", "Effect": "Allow", "Principal": { "Service": "ecs-tasks.amazonaws.com" }, "Action": "sts:AssumeRole" }] } }}The unique ID for an IAM resource is not available in the IAM console and must be obtained through the AWS CLI via the iam command or the IAM API. When you assume a role it provides you with temporary security credentials for your role session. You can see this role in the IAM console.
Attach Task Execution Role Policy
A role does not have standard long-term credentials associated with it such as a password or access keys. Instead, we will attach the role policy created in the previous section with iam attach-role-policy.
aws iam attach-role-policy \ --role-name ecsTaskExecutionRole \ --policy-arn arn:aws:iam::aws:policy/service-role/AmazonECSTaskExecutionRolePolicy--policy-arn uses an AWS managed policy with its own Amazon Resource Name (ARN) that includes the policy name. It is a standalone policy that is created and administered by AWS. Back in your console you will see a policy name under the Permissions tab.
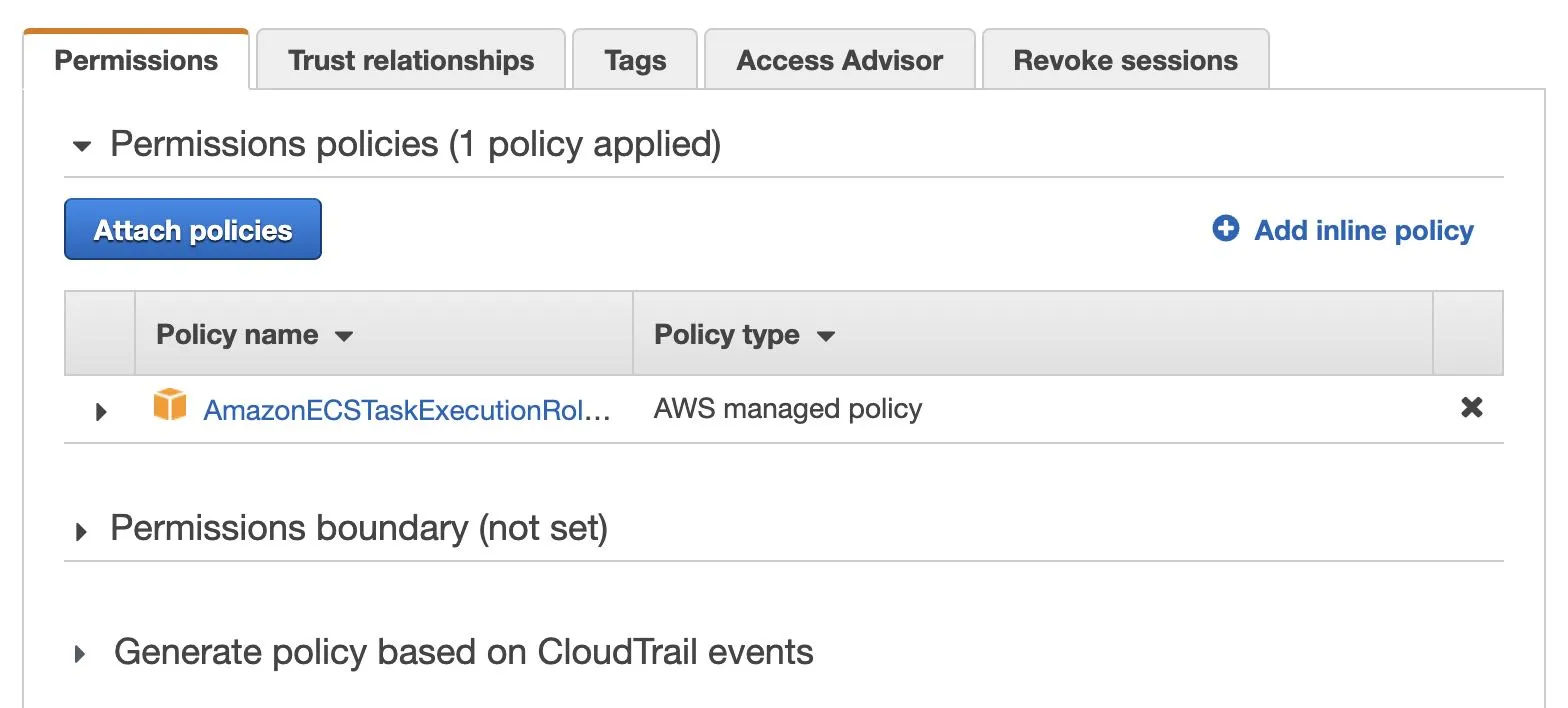
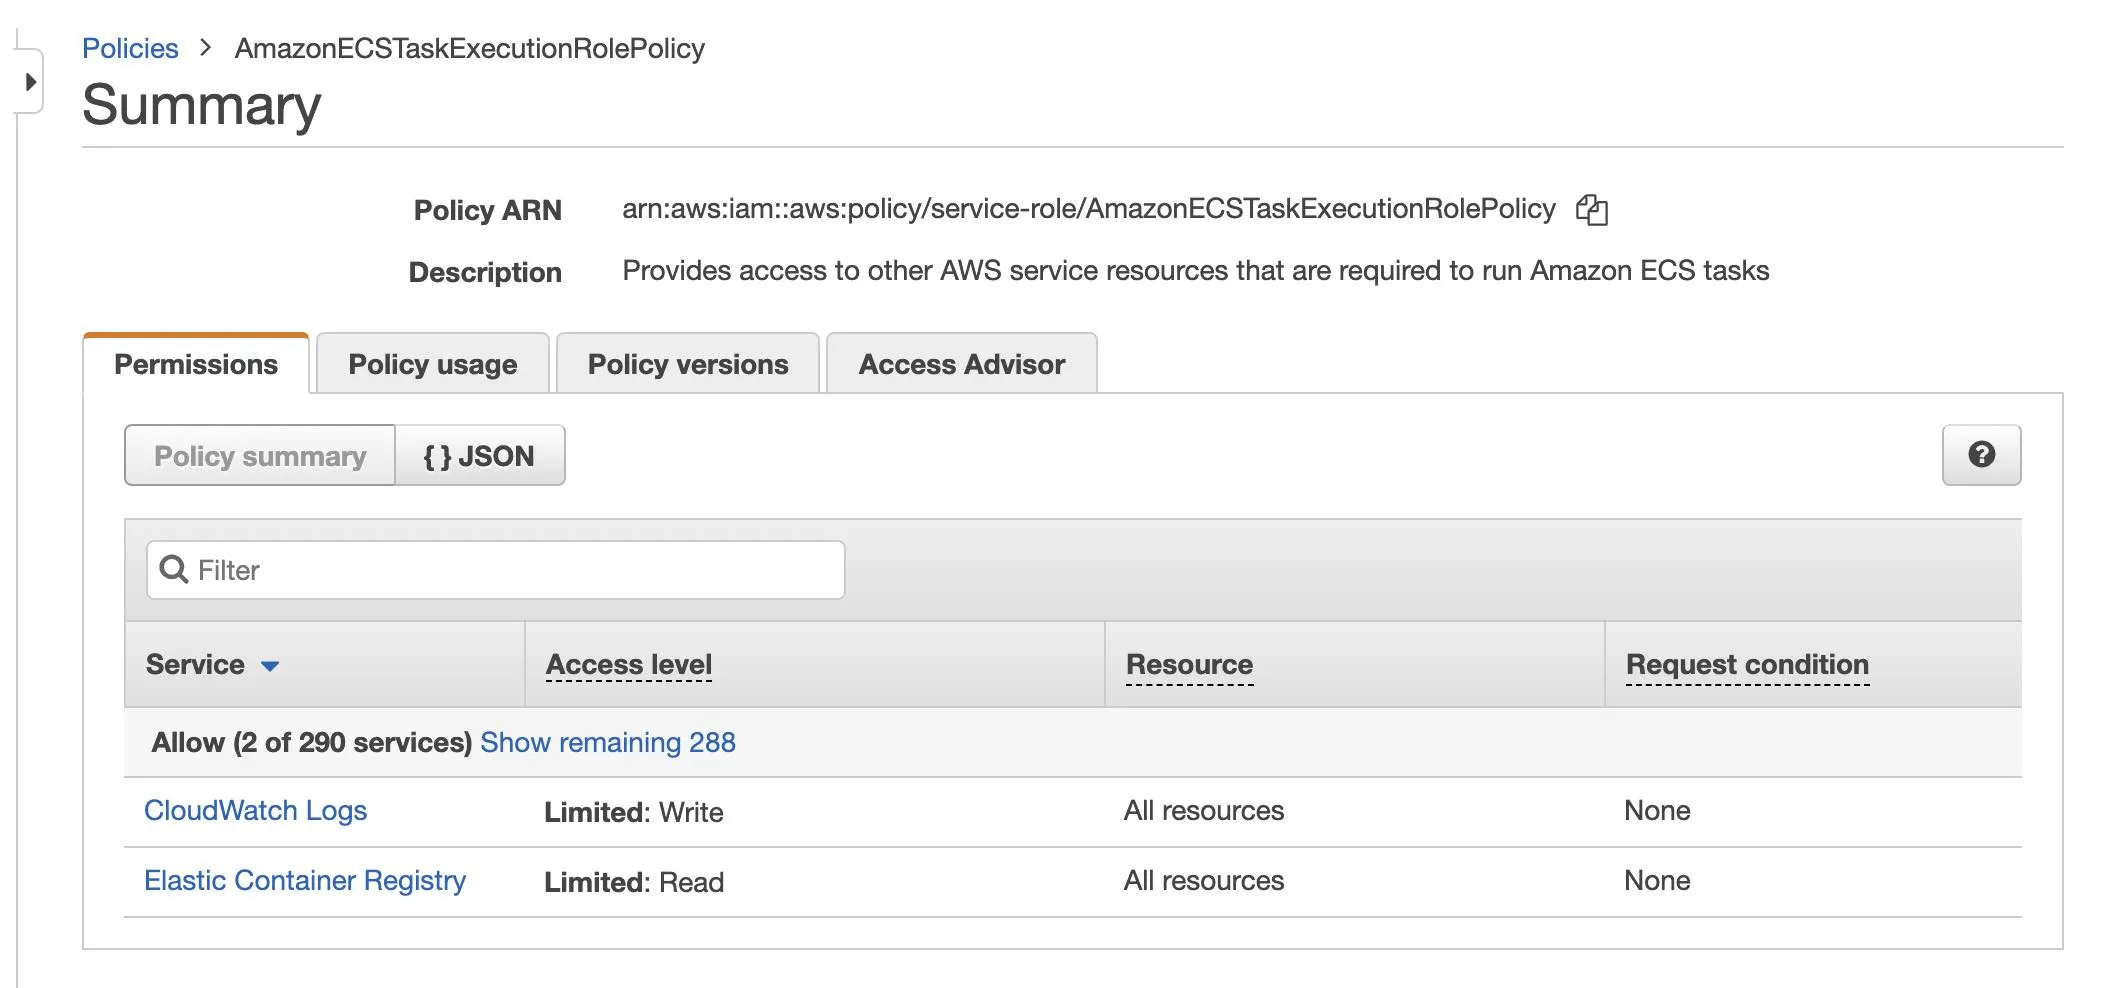
Click the name of the policy to see more details.
Configure ECS CLI
The Amazon ECS CLI requires credentials in order to make API requests on your behalf. ecs-cli configure can pull credentials from environment variables, an AWS profile, or an Amazon ECS profile.
ecs-cli configure \ --region us-west-1 \ --cluster tutorial \ --config-name tutorial-config \ --default-launch-type FARGATEOutput:
Saved ECS CLI cluster configuration tutorial-config.This creates a cluster configuration defining the AWS region to use, resource creation prefixes, and the cluster name to use with the ECS CLI.
--regionspecifiesus-west-1as the AWS Region.--clusterspecifiestutorialas the Amazon ECS cluster name.--config-namespecifiestutorial-configas the name of the cluster configuration which can be referenced in commands using the--cluster-configflag.--default-launch-typespecifiesFARGATEas the default launch type.
Create a CLI Profile
The Amazon ECS CLI supports the configuring of multiple sets of AWS credentials as named profiles using the ecs-cli configure profile command. Use your AWS access key and secret key found on My Security Credentials and set --profile-name to tutorial-profile.
ecs-cli configure profile \ --access-key AWS_ACCESS_KEY_ID \ --secret-key AWS_SECRET_ACCESS_KEY \ --profile-name tutorial-profileOutput:
Saved ECS CLI profile configuration tutorial-profile.Create ECS Cluster and Security Group
An Amazon ECS cluster is a logical grouping of tasks or services. Your tasks and services are run on infrastructure that is registered to a cluster.
Create Cluster
Since the default launch type is set to Fargate in the cluster configuration, ecs-cli up creates an empty cluster and a VPC configured with two public subnets.
ecs-cli up \ --cluster-config tutorial-config \ --ecs-profile tutorial-profileOutput:
Created cluster
cluster=tutorialregion=us-west-1
VPC created: vpc-02f2b177d9e8c0f61Subnet created: subnet-03072fb22009b2ba0Subnet created: subnet-047889e3250dfb5b0
This may take a few minutes to complete as your resources are created. Once the cluster is created you can find it on the ECS console.
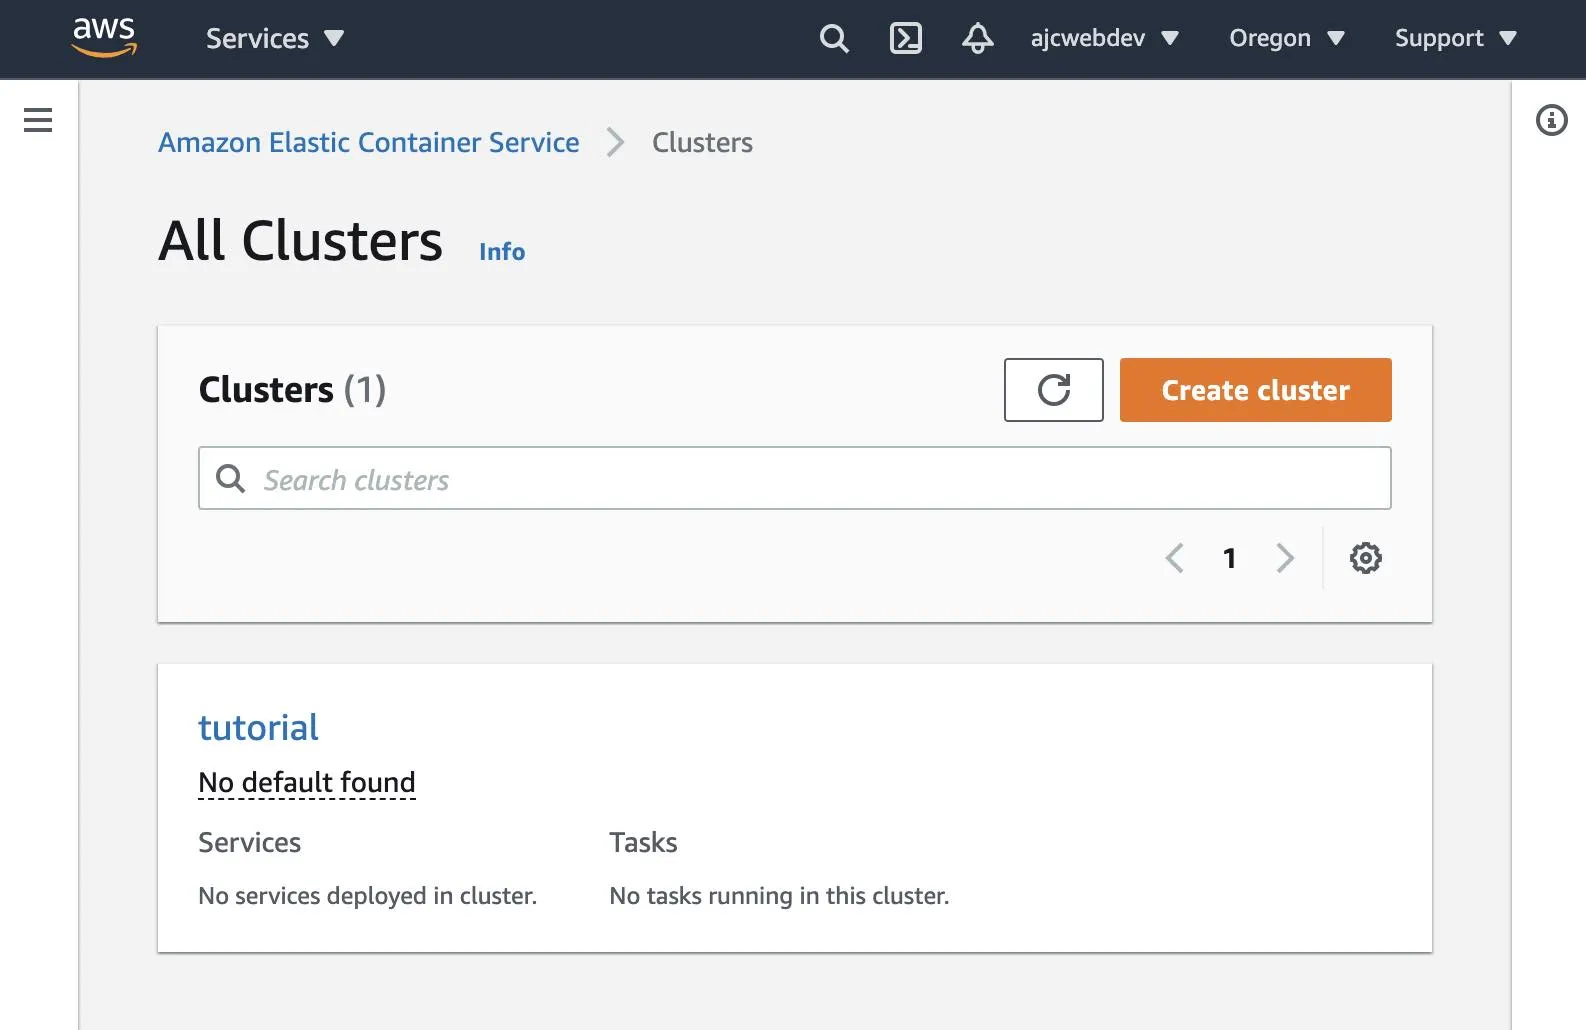
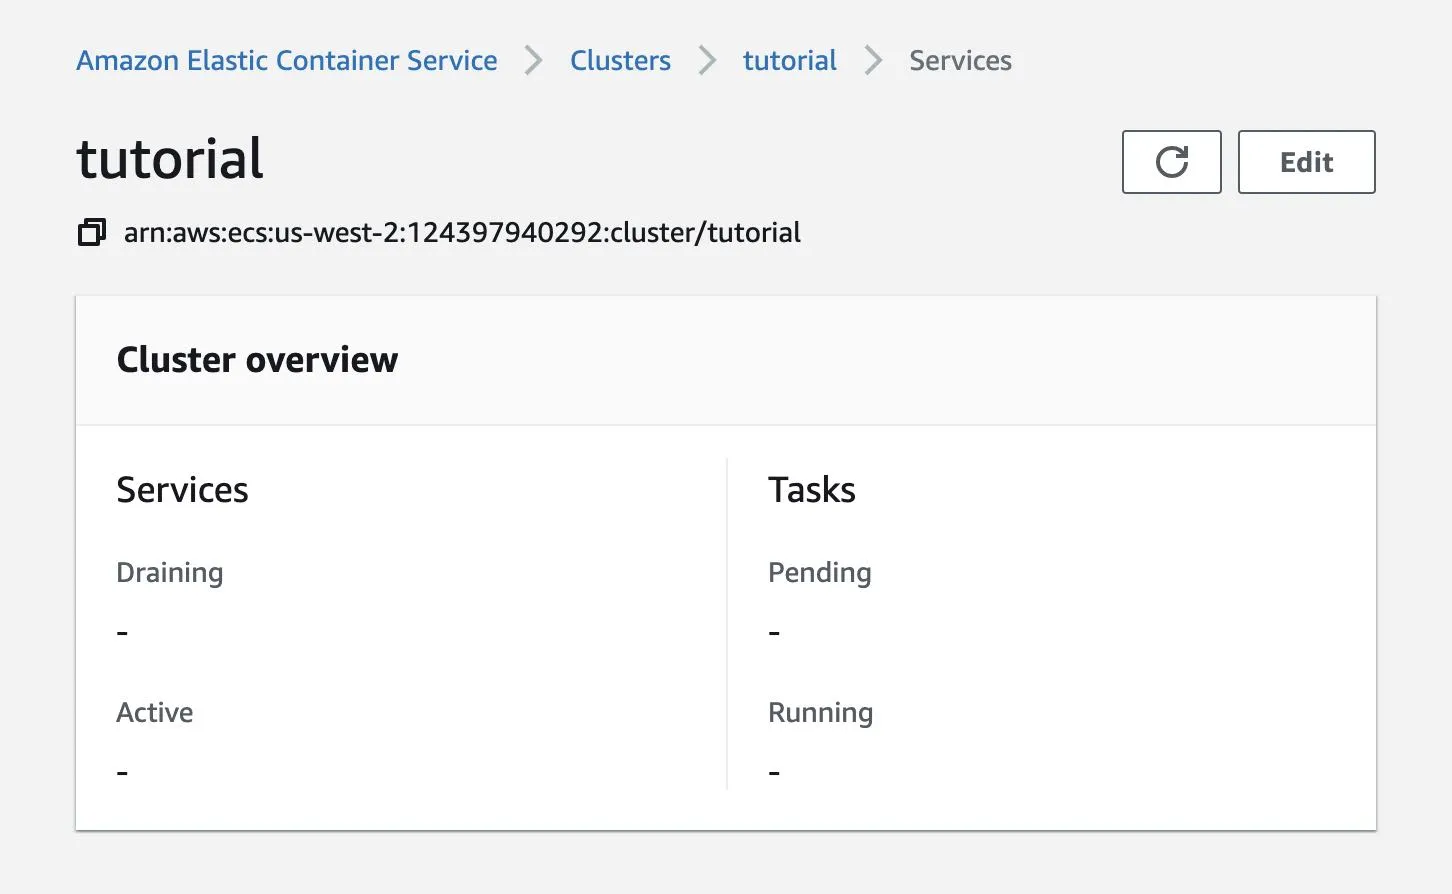
Each cluster is region specific, so if you do not see your cluster in the console double check the region at the top right of the AWS console. In this example the cluster is in us-west-1. Click the name of the cluster to see more details.
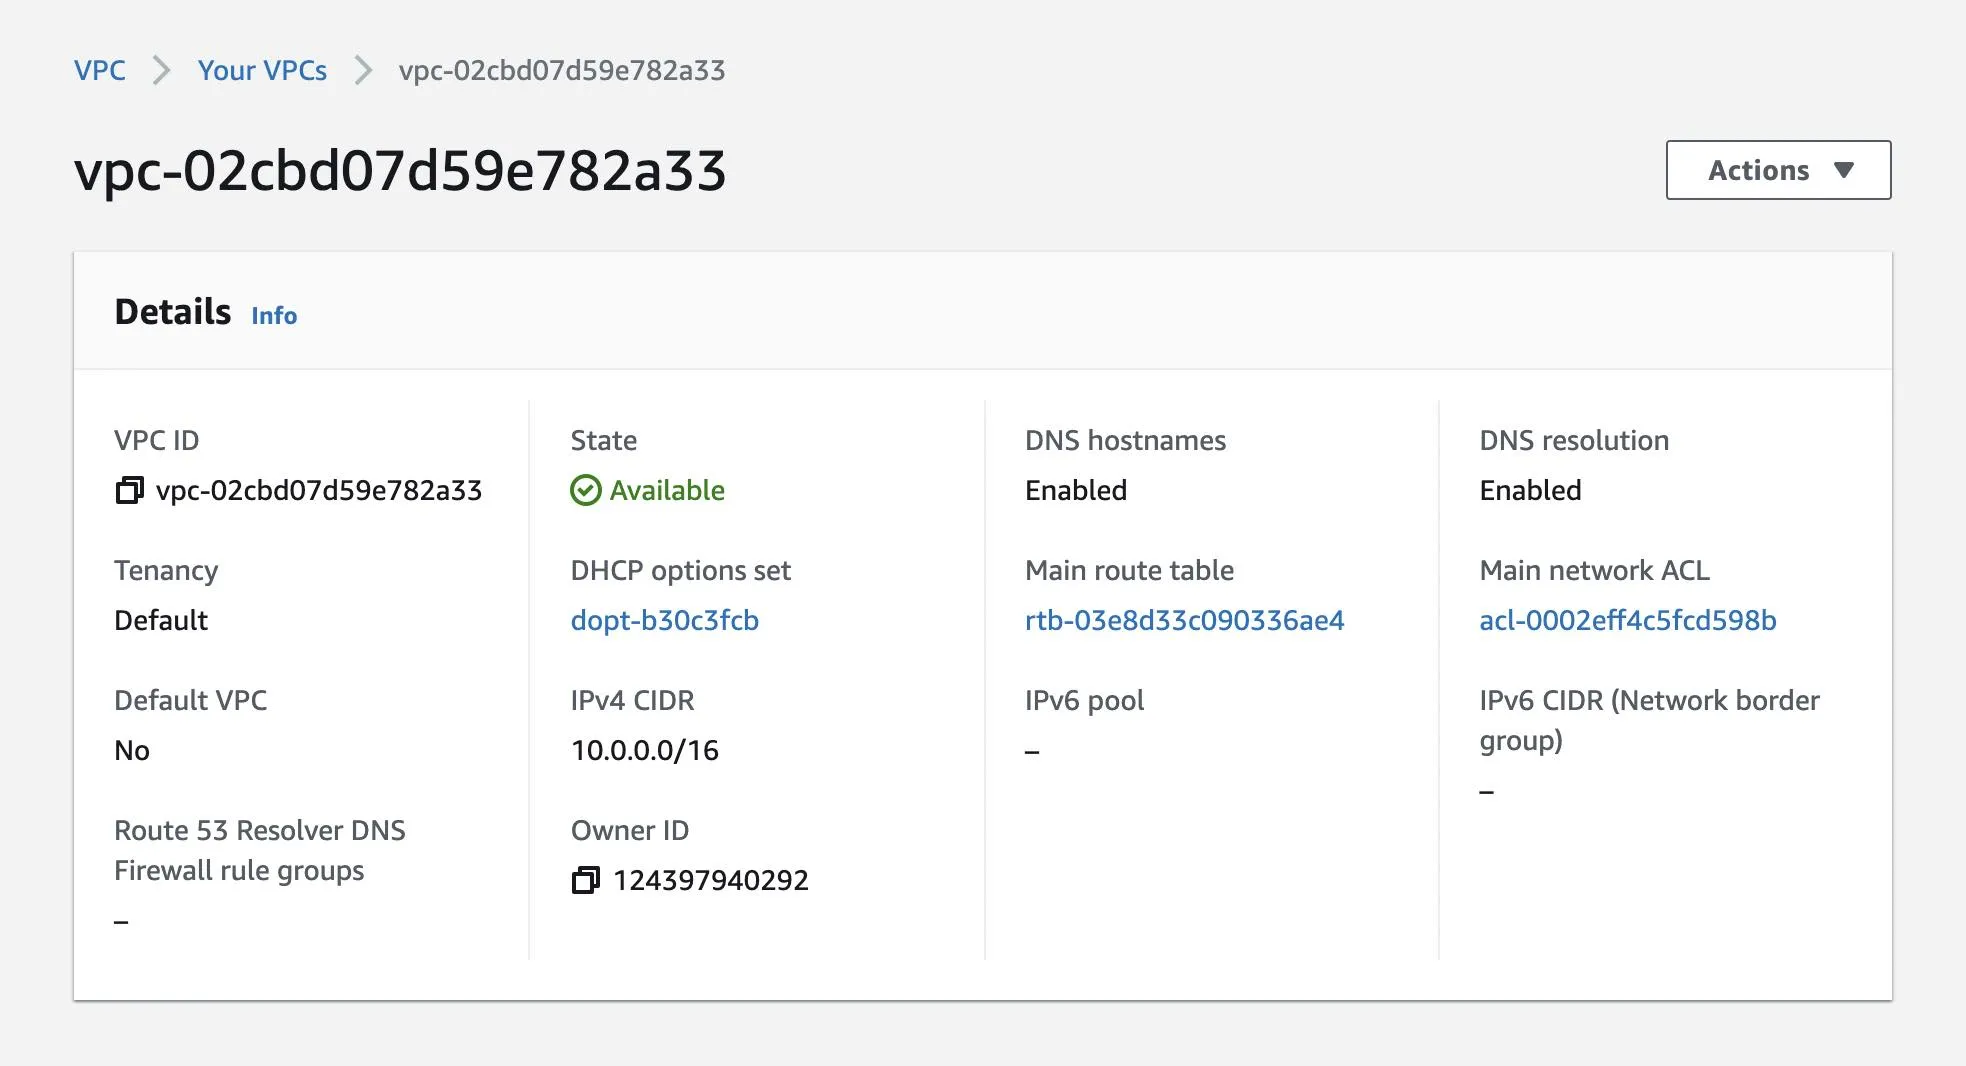
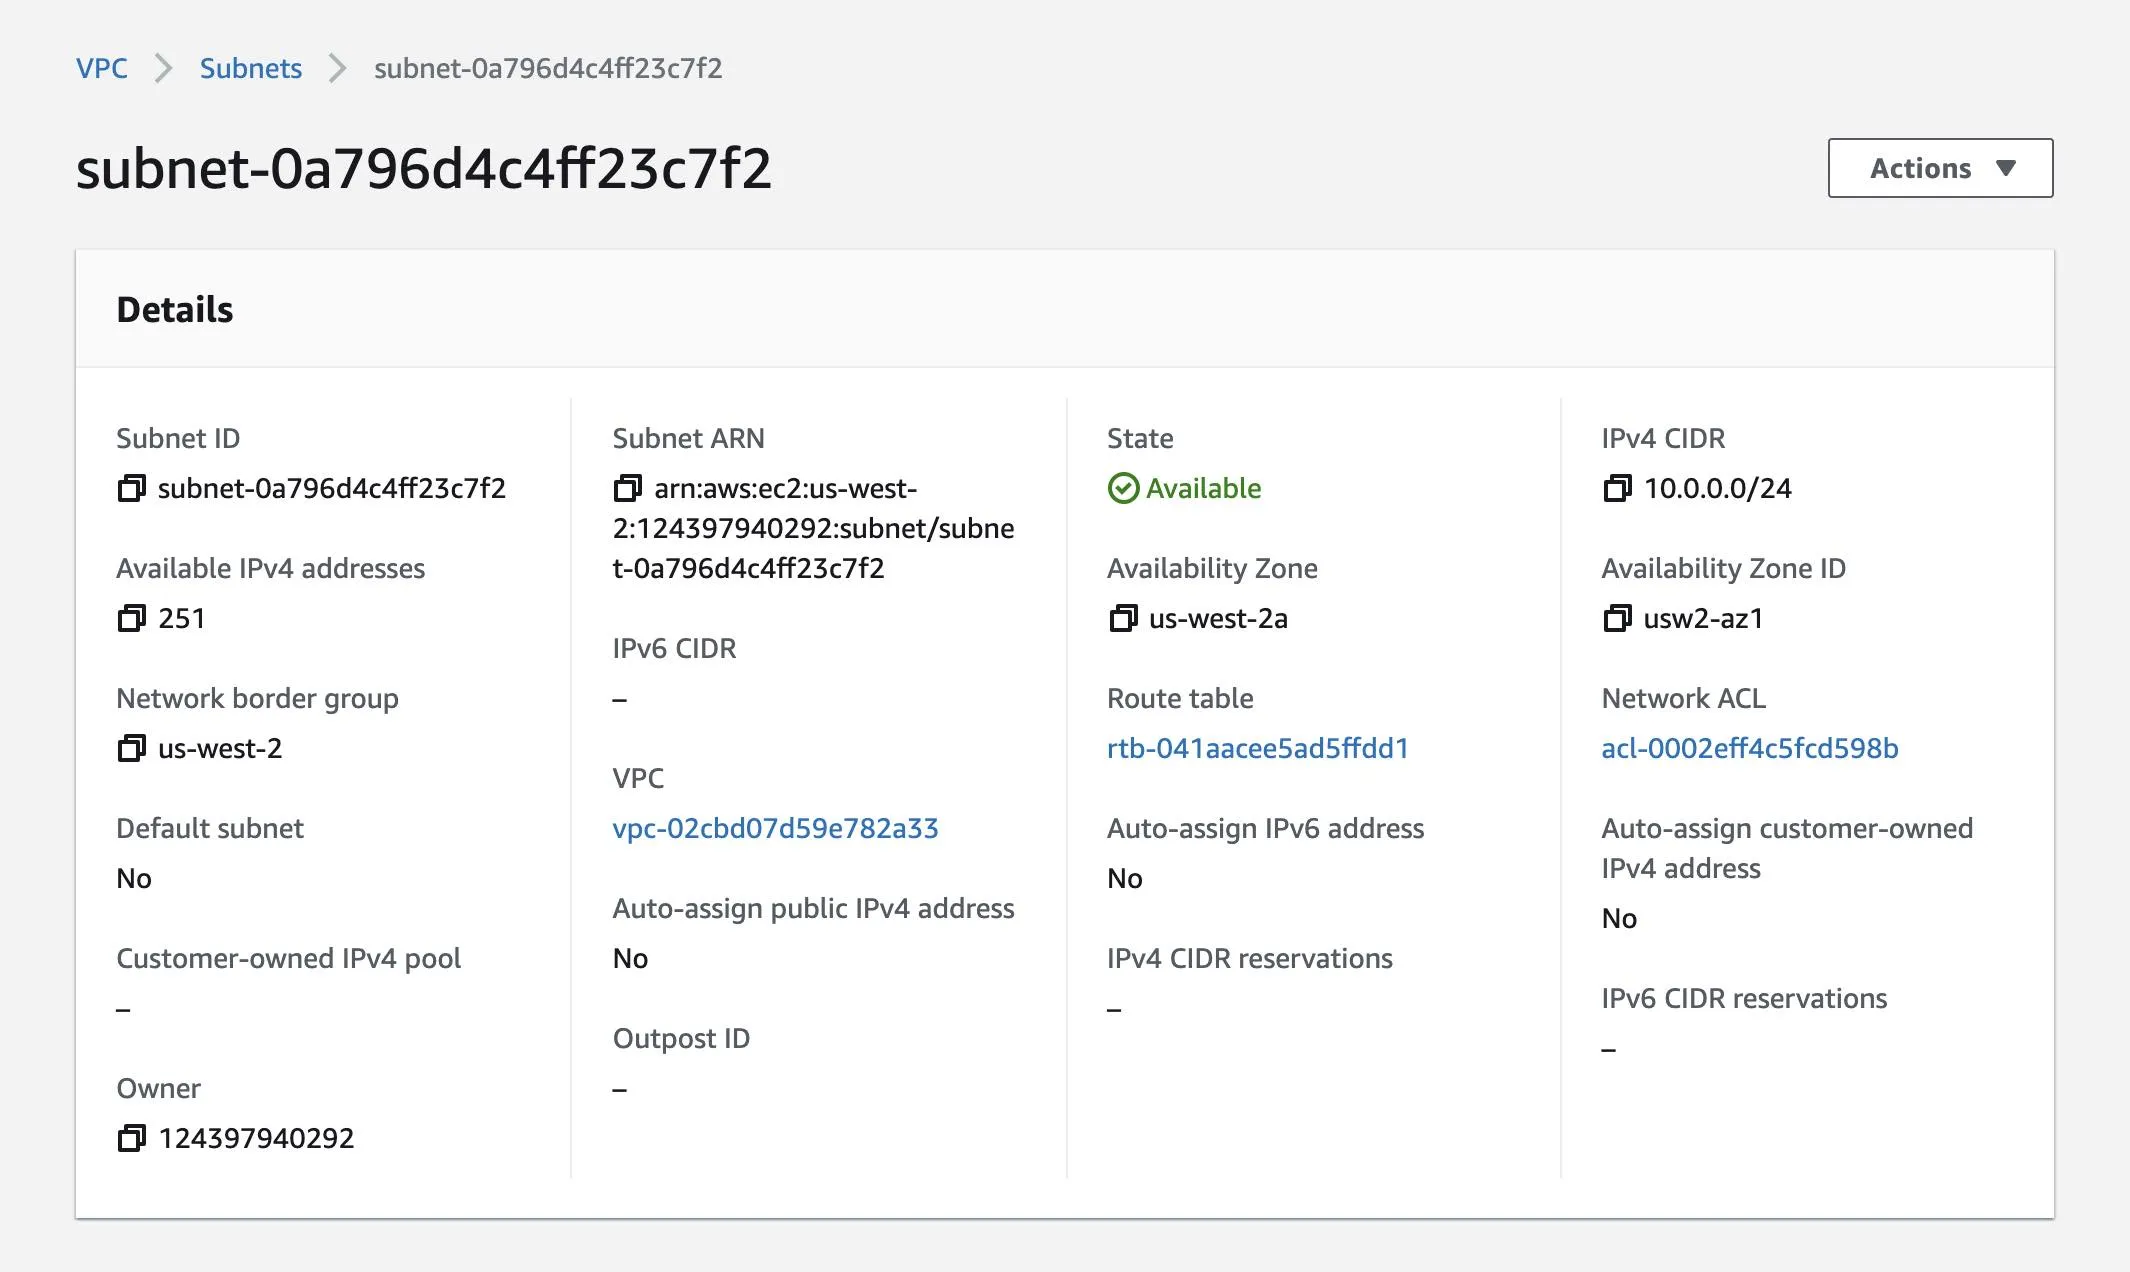
You can find more VPC details on the VPC console under the Your VPCs and Subnets tabs.
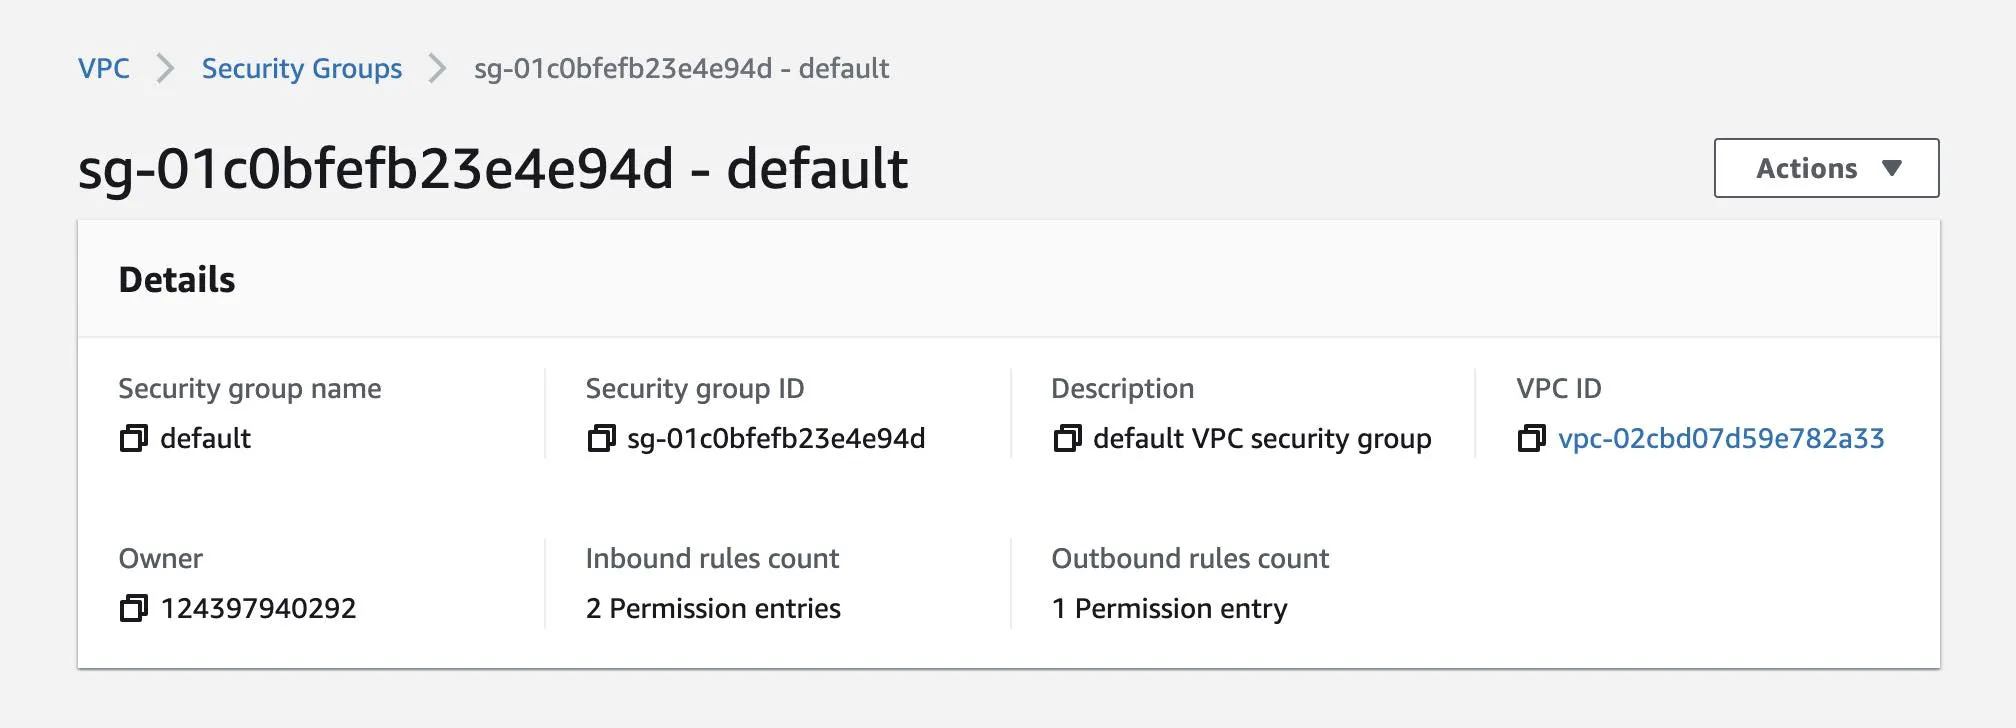
Retrieve VPC Default Security Group ID
ec2 describe-security-groups describes the specified security groups. Filters can be used to return a more specific list of results from a describe operation. A filter name and value pair can be used to match a set of resources by specific criteria, such as tags, attributes, or IDs. Replace VPC_ID with the VPC ID from the previous output. This will retrieve the VPC default security group ID.
aws ec2 describe-security-groups \ --filters Name=vpc-id,Values=VPC_IDThis will print out a JSON object with your GroupId. Save this value for future reference.
{ "SecurityGroups": [{ "Description": "default VPC security group", "GroupName": "default", "IpPermissions": [{ "IpProtocol": "-1", "UserIdGroupPairs": [{ "GroupId": "sg-0acd34feae1cd3bb6", "UserId": "124397940292" }] }], "OwnerId": "124397940292", "GroupId": "sg-0acd34feae1cd3bb6", "IpPermissionsEgress": [{ "IpProtocol": "-1", "IpRanges": [{ "CidrIp": "0.0.0.0/0" }], }], "VpcId": "vpc-02f2b177d9e8c0f61" }]}You can also find this information under the Security Groups tab.
Add Security Group Rule
ec2 authorize-security-group-ingress adds the specified inbound (ingress) rules to a security group. Use the security group ID from the previous output to allow inbound access on port 80.
aws ec2 authorize-security-group-ingress \ --group-id SECURITY_GROUP_ID \ --protocol tcp \ --port 80 \ --cidr 0.0.0.0/0Output:
{ "Return": true, "SecurityGroupRules": [{ "SecurityGroupRuleId": "sgr-07e0fc15e502634a1", "GroupId": "sg-0acd34feae1cd3bb6", "GroupOwnerId": "124397940292", "IsEgress": false, "IpProtocol": "tcp", "FromPort": 80, "ToPort": 80, "CidrIpv4": "0.0.0.0/0" }]}Deploy Docker Container to the Cluster
Compose is a tool for defining and running multi-container Docker applications.
Define Docker Compose Web Service
After configuring your application’s services with a YAML file, you can create and start all your services with a single command. Enter the following content into docker-compose.yml to create a PHP web application.
version: '3'services: web: coverImage: src: amazon/amazon-ecs-sample ports: - "80:80" logging: driver: awslogs options: awslogs-group: tutorial awslogs-region: us-west-1 awslogs-stream-prefix: webThe web container exposes port 80 for inbound traffic to the web server. It also configures container logs to go to the CloudWatch log group created earlier.
ECS Parameters
In addition to the Compose information, there are some parameters specific to ECS that you must specify for the service. Enter the following content into ecs-params.yml with the subnet and security group IDs from the previous steps.
version: 1task_definition: task_execution_role: ecsTaskExecutionRole ecs_network_mode: awsvpc task_size: mem_limit: 0.5GB cpu_limit: 256run_params: network_configuration: awsvpc_configuration: subnets: - "subnet ID 1" - "subnet ID 2" security_groups: - "security group ID" assign_public_ip: ENABLEDDeploy Compose File
After you create the compose file, you can deploy it to your cluster with ecs-cli compose service up. The command looks for files called docker-compose.yml and ecs-params.yml in the current directory.
ecs-cli compose --project-name tutorial service up \ --create-log-groups \ --cluster-config tutorial-config \ --ecs-profile tutorial-profileOutput:
Using ECS task definition  TaskDefinition="tutorial:1"
Created Log Group tutorial in us-west-1Auto-enabling ECS Managed Tags
(service tutorial) has started 1 tasks:(task c8d20b796bb7450799dfb8887331a930).  timestamp="2021-12-29 08:19:37 +0000 UTC"
Service status  desiredCount=1  runningCount=1  serviceName=tutorial
ECS Service has reached a stable state  desiredCount=1  runningCount=1  serviceName=tutorial
Created an ECS service  service=tutorial  taskDefinition="tutorial:1"
By default, the resources created by this command have the current directory in their titles, but you can override that with the --project-name option. The --create-log-groups option creates the CloudWatch log groups for the container logs.
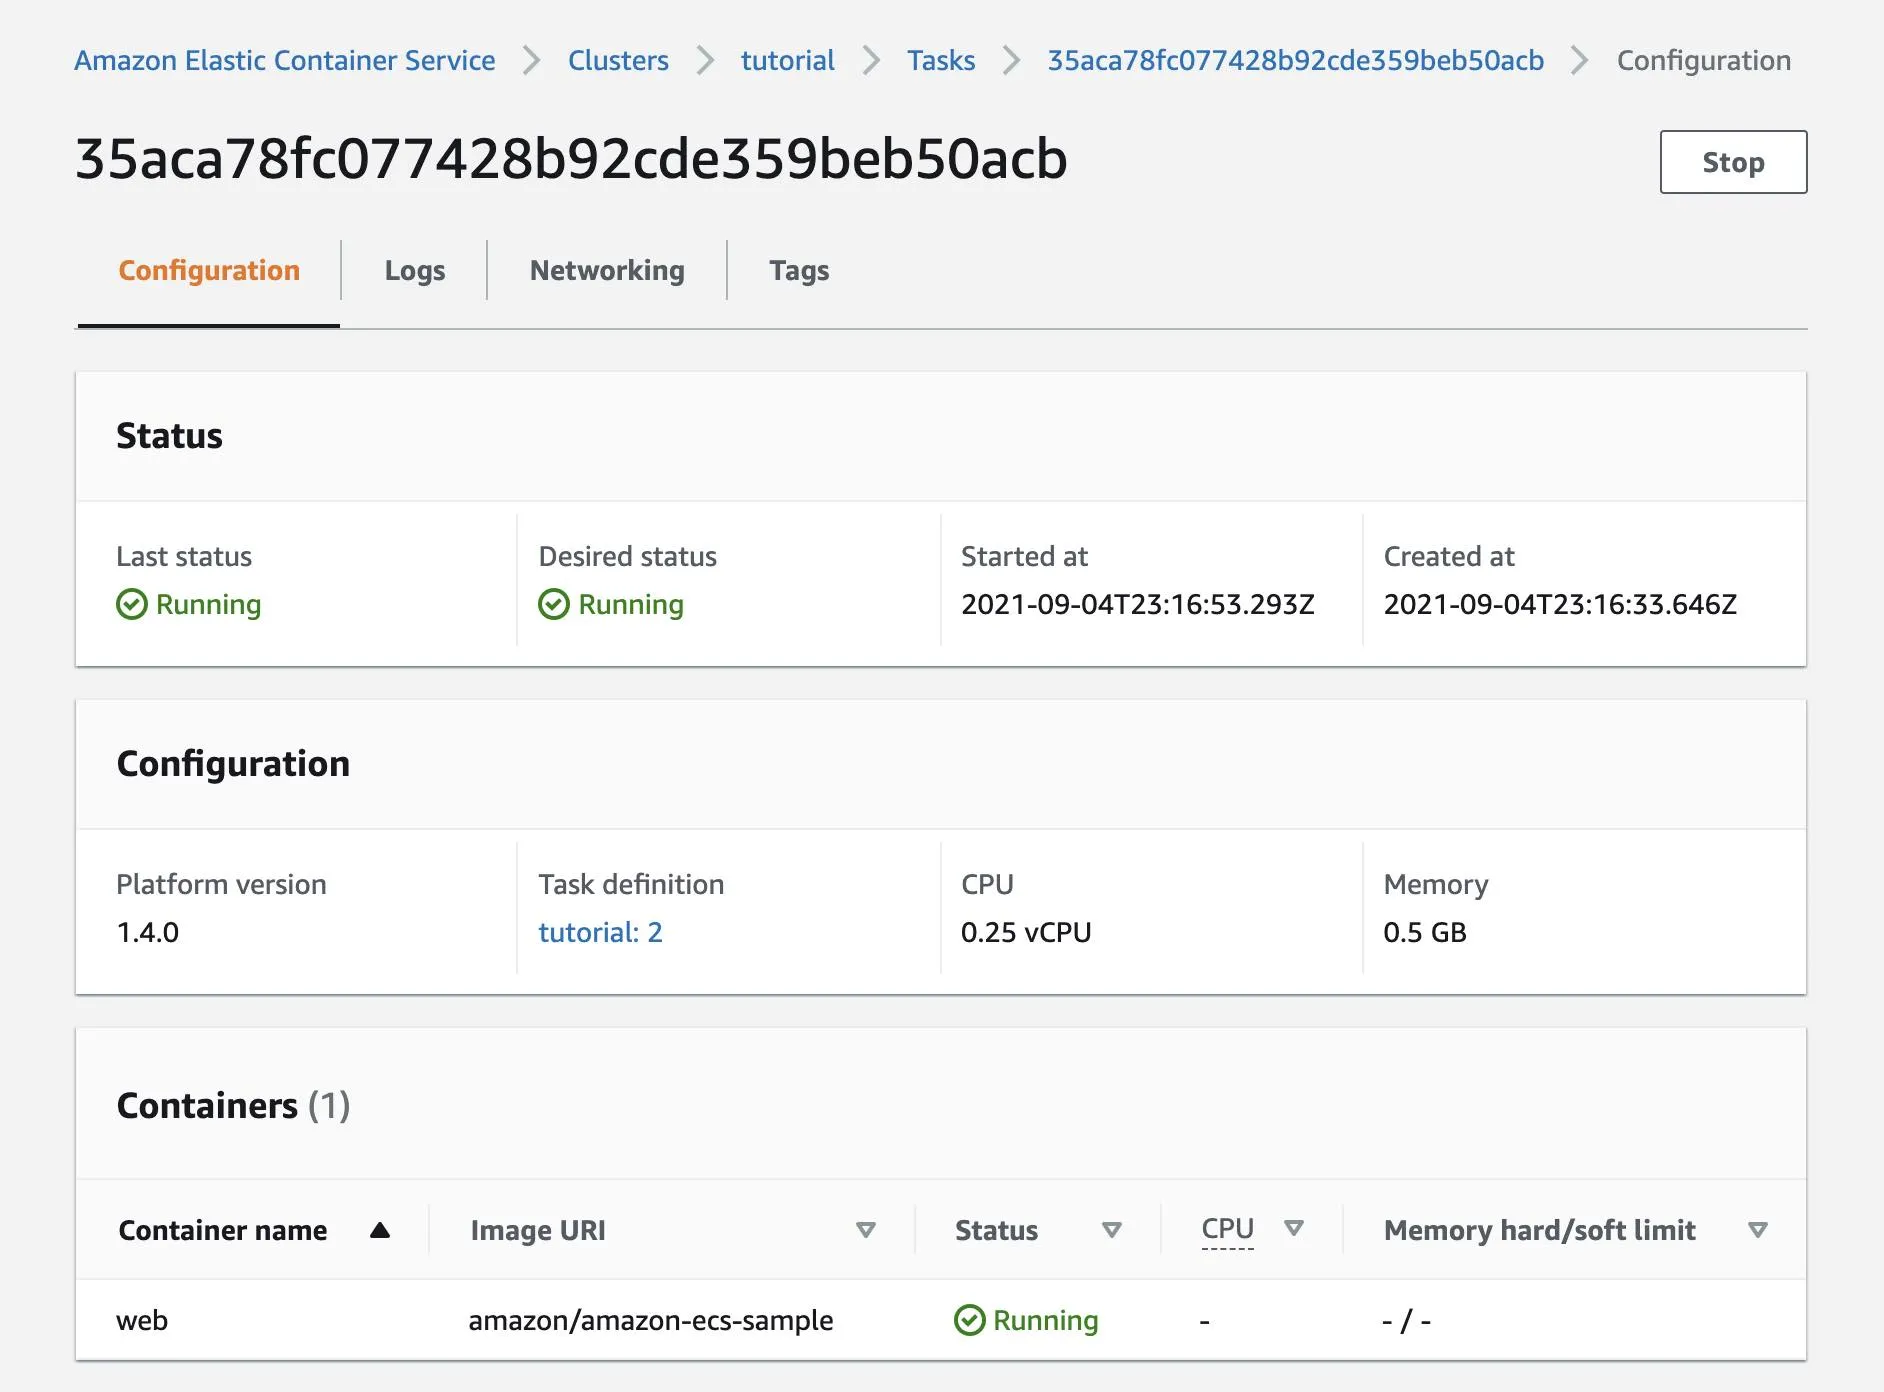
View Running Containers
After you deploy the compose file, you can view the containers that are running in the service by returning to the ECS console.
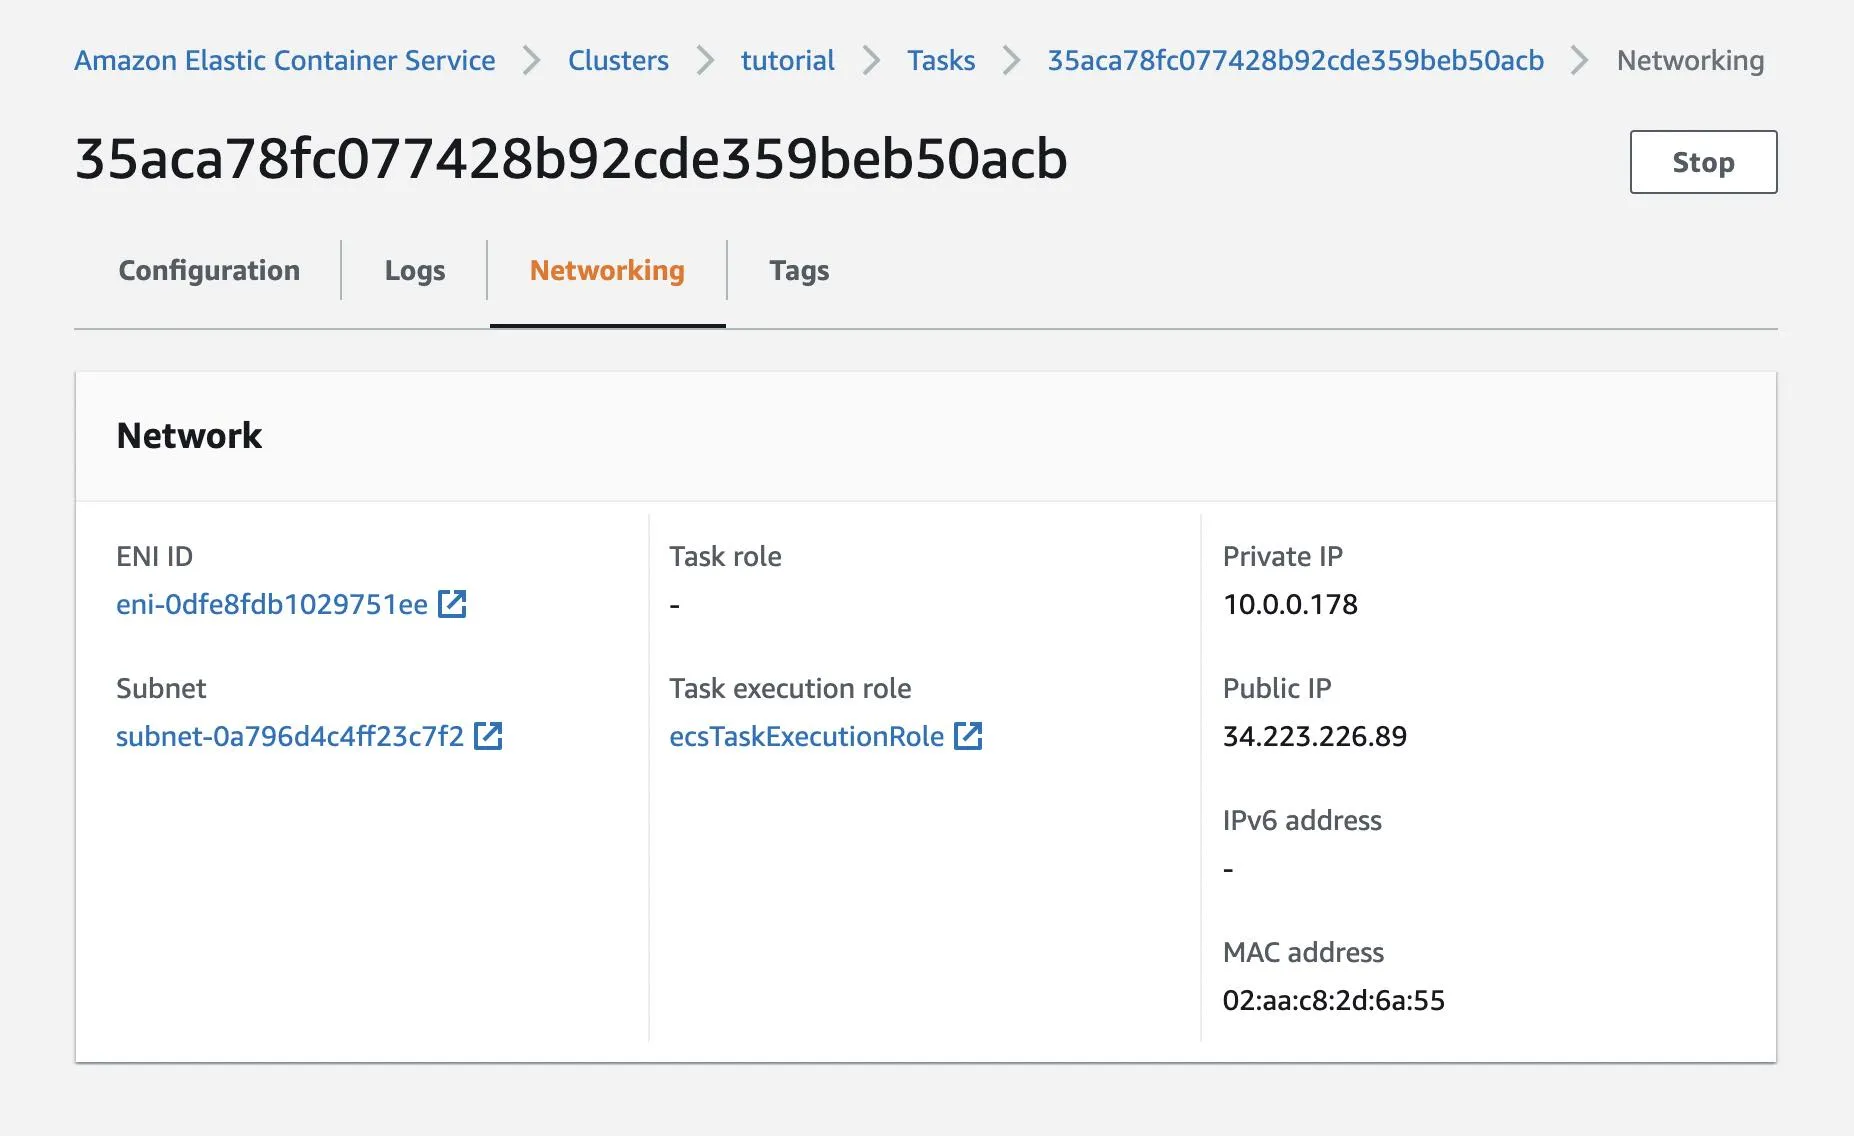
Click the network tab to see your public IP address.
Alternatively, you can run ecs-cli compose service ps to view the running containers.
ecs-cli compose --project-name tutorial service ps \ --cluster-config tutorial-config \ --ecs-profile tutorial-profileOutput:
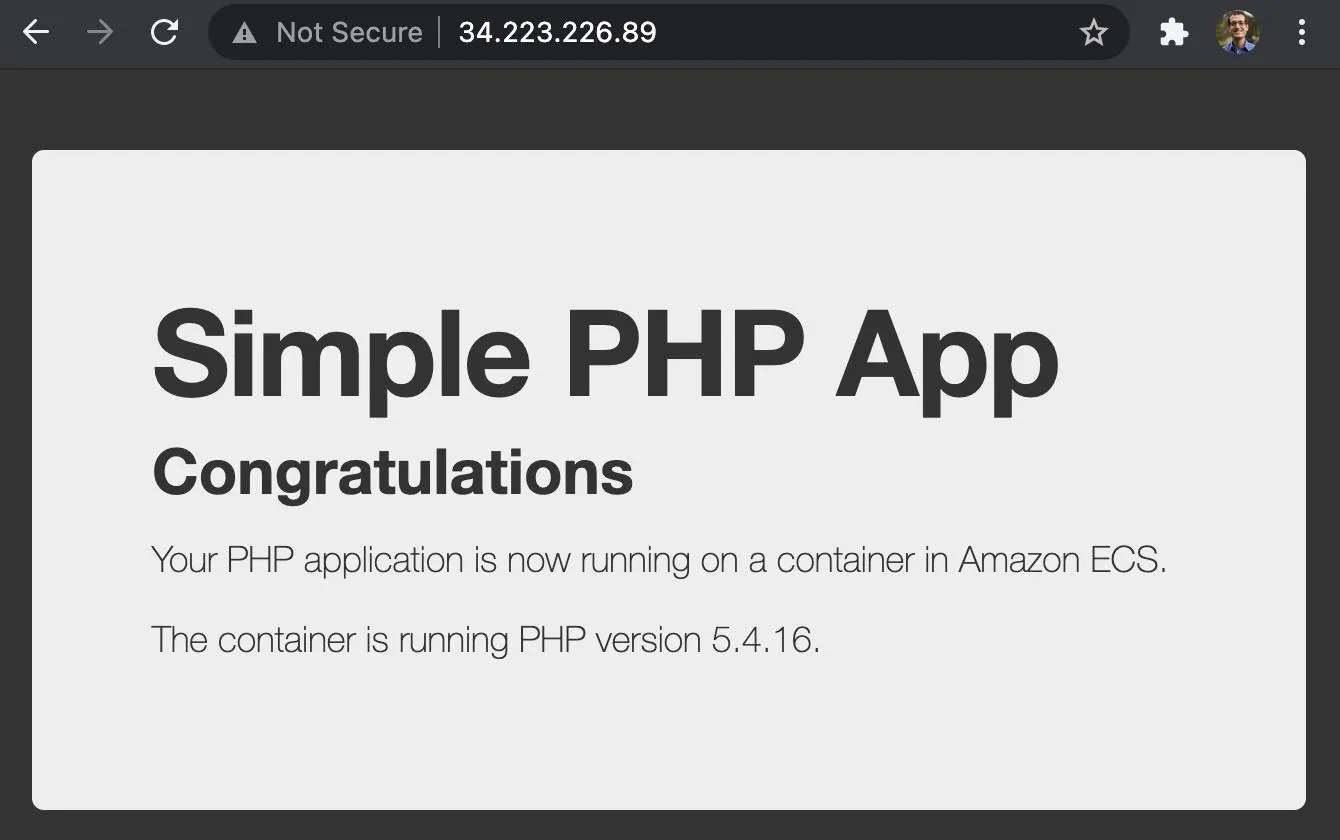
Name: tutorial/c8d20b796bb7450799dfb8887331a930/webState: RUNNINGPorts: 54.241.222.168:80->80/tcpTaskDefinition: tutorial:1Health: UNKNOWNView Web Application
Open the IP address in your browser to see a PHP web application.
Clean Up and Summary
You may have heard or read that Fargate is a service that provides Serverless compute for containers. You may also have heard that Serverless is the way of the future thanks to scaling to zero. You would then be surprised to learn that Fargate does not scale to zero except with significant additional configuration with other services.
Delete Your Service
Since Fargate does not scale to zero, you should clean up your resources when you are done with this tutorial. This will ensure the resources will not incur any more charges. Stop the running container with ecs-cli compose service down.
ecs-cli compose --project-name tutorial service down \ --cluster-config tutorial-config \ --ecs-profile tutorial-profileTake Down Your Cluster
Use ecs-cli down to clean up the resources created earlier with ecs-cli up.
ecs-cli down \ --cluster-config tutorial-config \ --force \ --ecs-profile tutorial-profileWow that took a long time. Should have just used Fly or Flightcontrol.